April showers may bring May flowers, but they also bring the welcome, wet conditions to start countless seedlings, and satisfy the thirsty roots of transplants. Here in New Jersey, our final frost date falls between mid-April and the end of the month, so many of the seedlings you started earlier will be safe to plant out soon — making room for more indoor starters!
Planting out seedlings
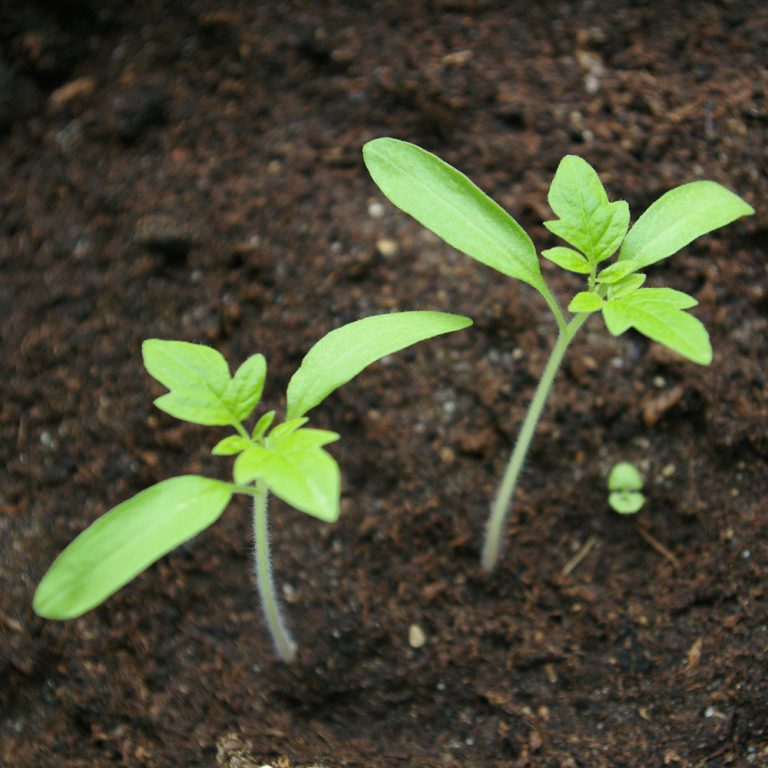
If you started seedlings indoors by early March, many of them should be just about ready to relocate to their more permanent residence. Young plants — like escarole, lettuce, Swiss chard, various cabbages, and many flowers — are ready to plant out when they have some true leaves (not to be confused with the cotyledons — the first leafy vegetation to appear, which has access to the stored food from the seed), and a good root system started.
You can get a good idea of the condition of the roots just by peeking at the bottom of their planting cells. If the roots are coming out of the bottom, these plants are looking for a bigger space with more soil. Unless the seed pack specifies otherwise (like basil), most of your early greens can tolerate the cooler night temperatures and thus be safely be planted out in April.
To prepare for planting, clean and weed your bed, removing any remaining organic debris, labels and temporary structures from last season. Dress with a fresh layer of finished compost, and plan the layout based on how much spacing your specific plants will need.
If you know the mature size for your plants, you probably have a good idea how far apart to put the seedlings.The spacing can range from a measly 3 inches for spinach, to a whopping 18 for cabbage, so be sure to check your seed packets if you are unsure.
Success
You are now signed up for our newsletter
Success
Check your email to complete sign up
It is a common mistake to crowd plants in hopes of getting more food. This has its advantages — such as reducing the space for weeds to take hold, and providing an early tender crop (the thinnings); but you must remember to thin the plants to their proper spacing as they fill out. When greens lack the space they need, they tend to get leggy and go to seed prematurely, foiling your plans to spite you.
Plant your seedlings out at the same depth they are growing in the cell packs. Although the seedlings may be floppy and weak from getting started in low sunlight; the plants will perk up on their own as they grow stronger with exposure to natural sunlight, changing temperatures, and unrestricted soil. Propping them up with extra soil is a misguided approach which can cause crown rot, leading to the plants’ early demise.
Water everything in well after planting, and protect them from critters with fencing, netting, row covers, or perhaps a cat.
Direct sow outdoors
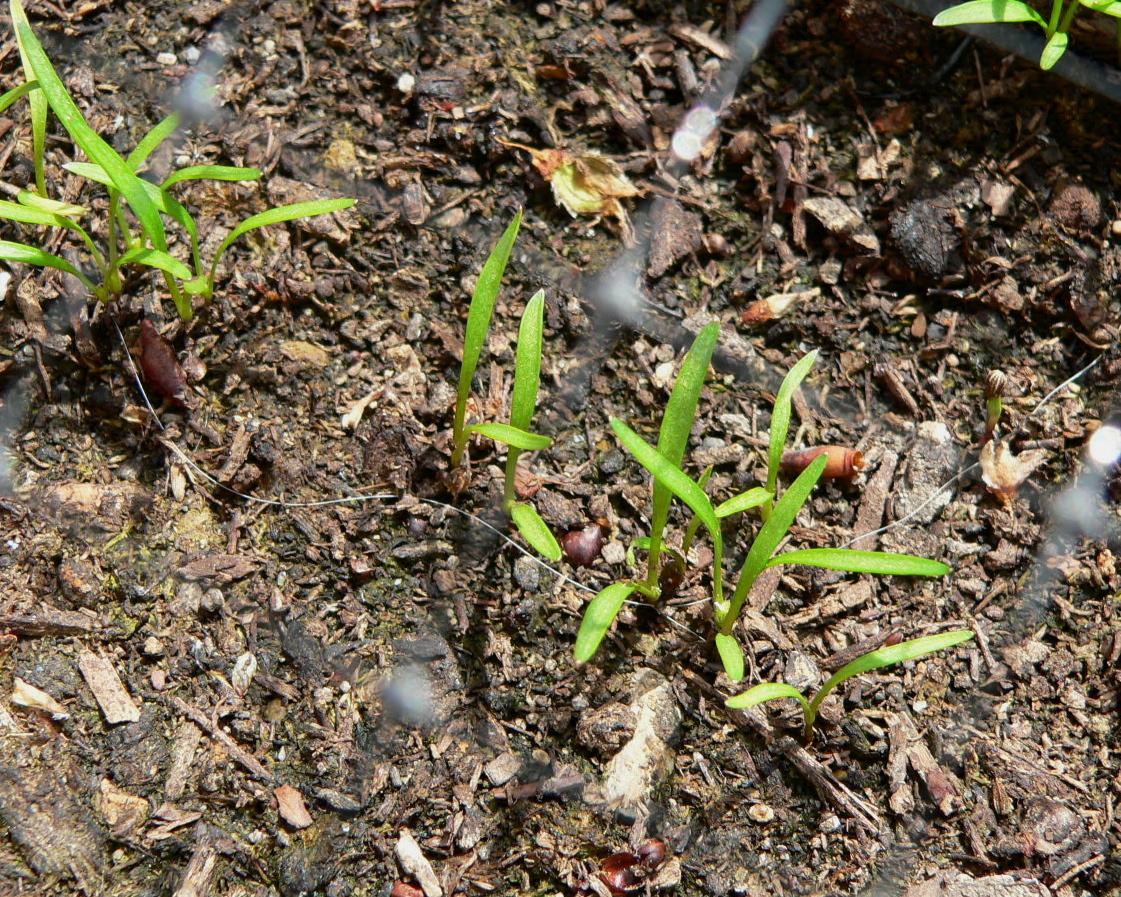
April is also a great time to direct sow various root vegetables, as well as herbs and greens that have long taproots, and thus don’t transplant well. For ease of maintenance, sow seeds in neat rows that will allow for a hoe in between.
Direct-sown seeds — unless germination is extremely poor — need to be thinned. As the rule goes, “plant thick, thin quick.” Sow seeds to a depth equal to twice the diameter of the seed. Some classic crops to direct sow include arugula, beets, carrots, cilantro, chives, collards, onions, parsley, peas, radishes, spinach, and turnips.
To save space, and mark your row, carrots and radishes can be sown together. Radishes are remarkably quick to germinate, while carrots take their time. This combination reminds you that you have carrots coming — even though you can’t see them; and by the time their show starts, the radishes will have finished their performance.
Although they are not exactly seeds, potatoes (cut into golf-ball sized blocks) should also be “sown” about now. As long as the fragment has some skin, the eyes of the potato will sprout roots and stem, forming a genetic clone of the mother plant. Potatoes can be grown in containers, as long as there is sufficient depth (12 inches) of fertile, well-drained soil.
Seedlings to start indoors
Now that you’ve freed up your window-space, dust off the soil crumbles, and start over — this time focusing on fruiting crops. Yes, now you can start your cucumbers, peppers, pumpkins, tomatoes and watermelons for an abundant and glorious summer harvest.
These heat-loving plants require ample warmth for their seeds to even germinate. So, unless you have your thermostat set to “toasty,” you may need a heating mat to ensure continuous temperatures around 80 degrees. Alternatively, two incandescent lights in your oven — left on with the door closed — can serve as a warm germination chamber; but be careful not to accidentally bake your seeds!
Germination can take up to two weeks. Allow seedlings to emerge completely before removing from the heat; then give them the sunniest spot you can manage, or a grow light. You can continue to provide extra warmth if it is convenient, but it is not crucial after germination.
With good growing conditions, these seedlings may need to be bumped up into larger pots before transplanting outdoors. When the roots are reaching out of the drainage holes, pot up individual plants into 4-inch containers. Dozens of these can take up a lot of space, so be mindful of your limitations as you sow. Potting-up time may mean an opportunity to share with your friends and neighbors.
By the time late-May rolls around, and the soil has warmed up, you should have a collection of robust plants ready to transplant. Plant them out, using care not to disturb the roots of cucumbers and pumpkins. Tomatoes, unlike most other plants, can — and should — be planted deep. These vines will produce roots along any area of the stem that is buried, providing additional stability, as well as improving the plant’s ability to collect water and nutrients.
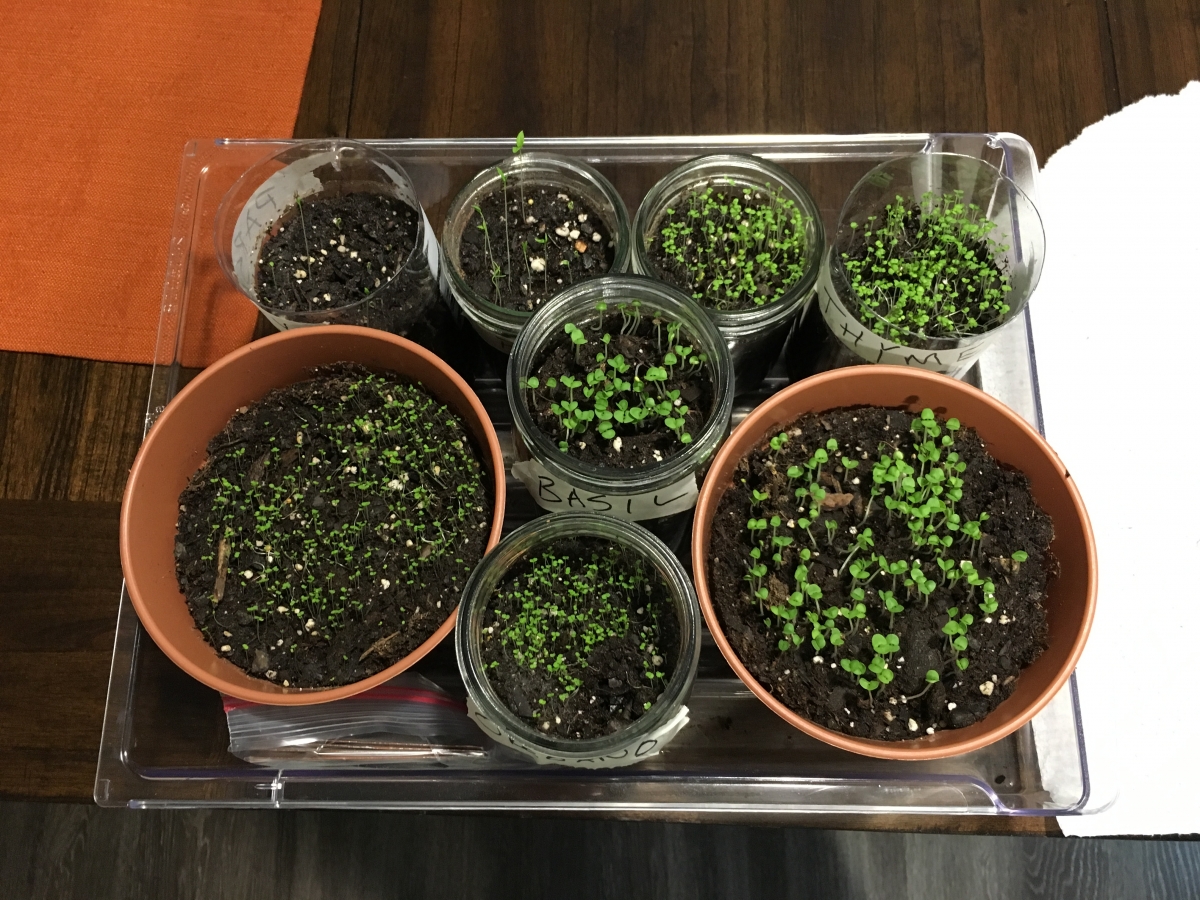
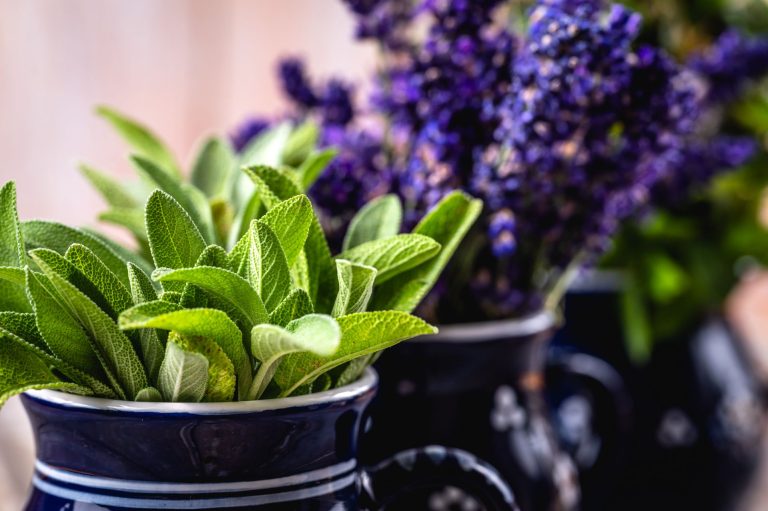
Now is also a good time to start basil and other tender herbs indoors. Even though basil will not tolerate cold, its seeds will start readily on a sunny windowsill. Sprinkle a pinch of seed into a four inch pot, cover lightly, and water. Like their cousin chia, basil seeds will become visibly gelatinous almost immediately.
Once the seedlings emerge, you can carefully transfer them into a cell tray of moist soil. Two basils per cell works pretty well, but woody herbs like thyme, rosemary or sage should be separated into individual plants – since once established, they can live for many years. Herbs can be transplanted in the ground, but they are also a good choice for containers. They have a fast-growing and vigorous root system, however, so be ready to bump them up into larger pots each year.
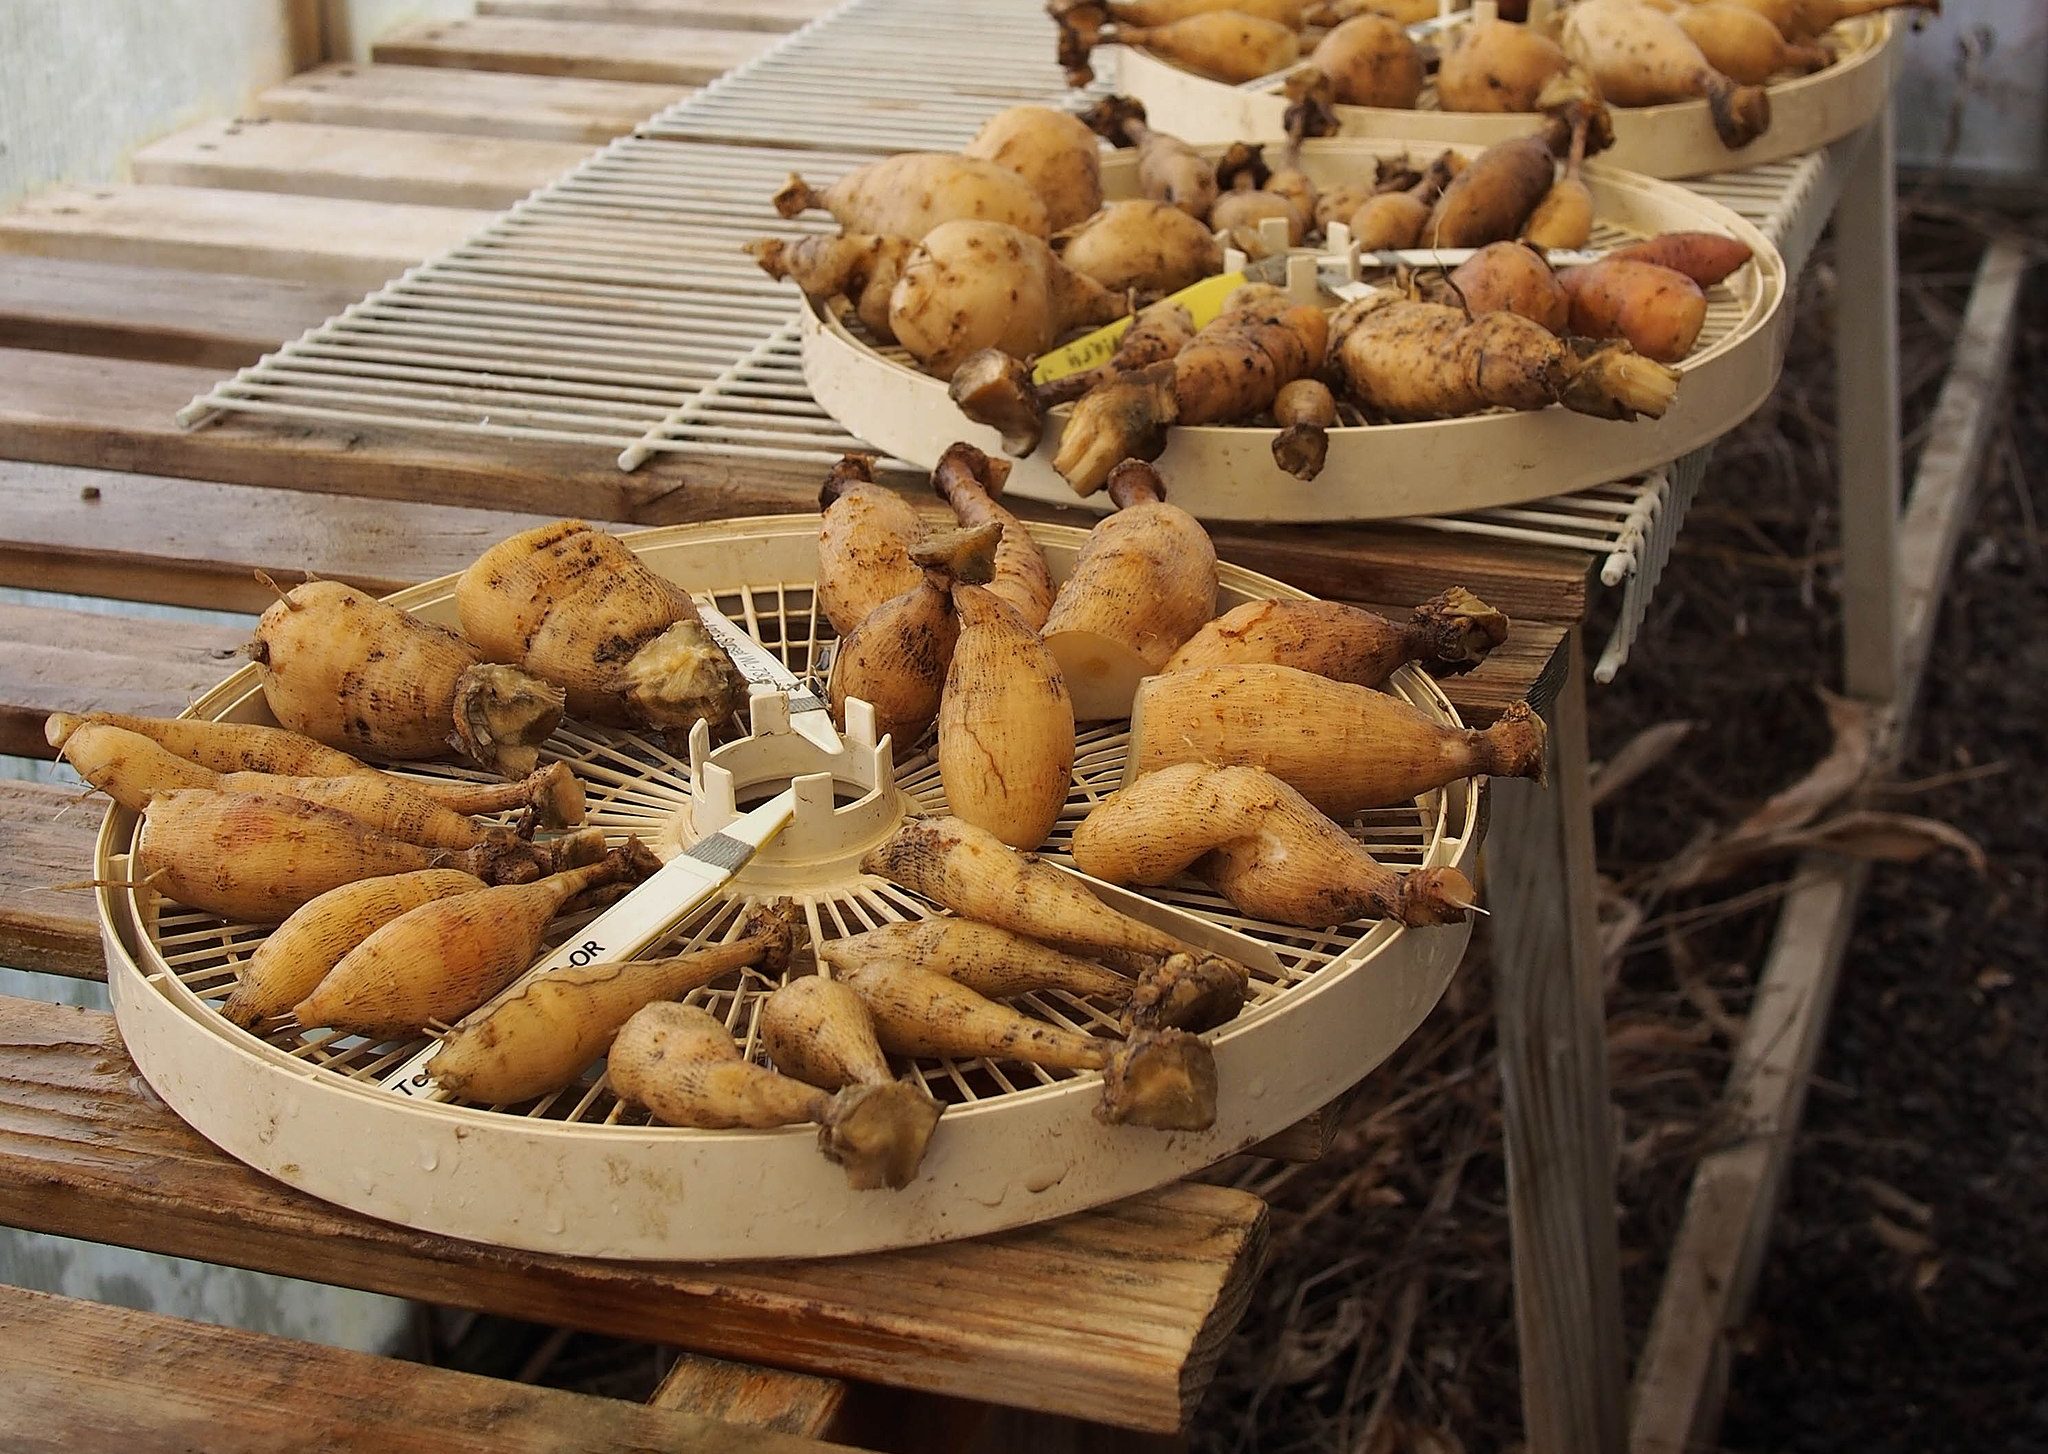
Setting out tender bulbs
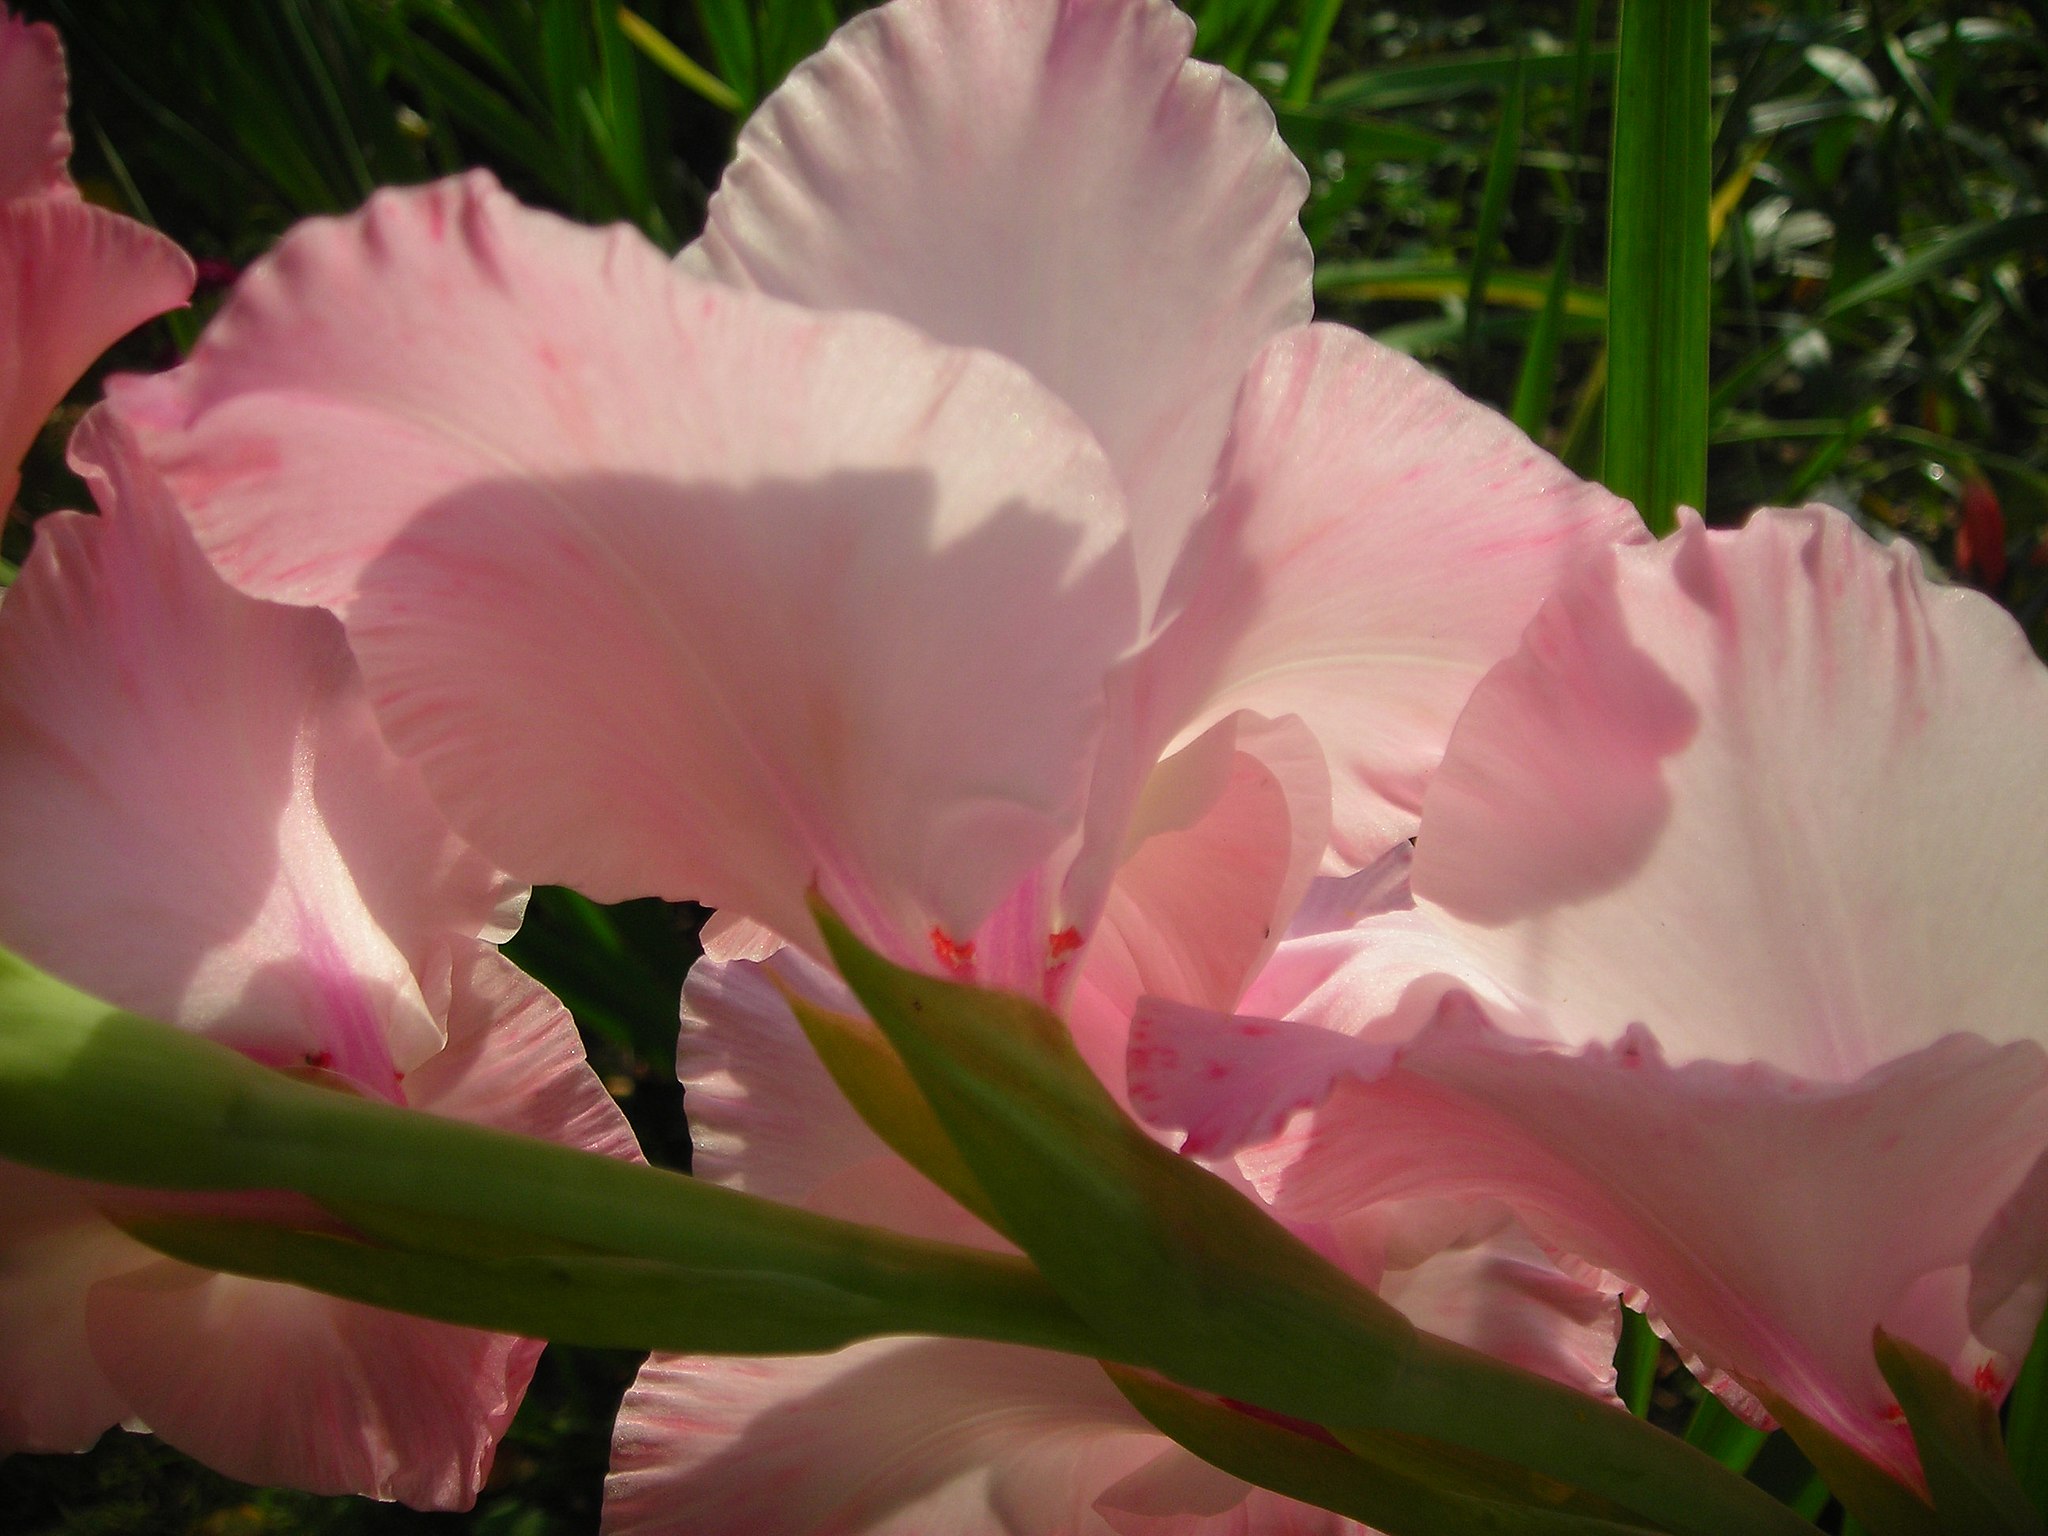
Here in New Jersey, bulbs like dahlias and gladioli need to be dug up and stored through the winter, then re-planted in the spring. Gladiolus are a little more hardy, and the corms can be set out before the last frost date with no ill effects. Plant them to a depth of twice their diameter, with the remainder of last year’s stem facing up. Unless you plant to stake them, place the bulbs about 6 inches apart, so that their lanky stems can support each other.
Dahlias should be set out only after the soil temperature has reached 60 degrees, but you can also pre-sprout your dahlias indoors. To do this, choose a container that will hold 6 inches of soil. Cover the bottom with 2 inches of moist — but not wet — potting soil. Place the dahlia tubers horizontally on the bed, making sure to label them if they are different. Then fill in the container so that the tubers have about 2 inches cover.
Your dahlias should sprout eyes, and start their growth for the new season. Sometime in May, when the soil temperature is above 60 degrees, plant out your sprouted tubers, and you will have blooms almost a month earlier than if you had planted them out directly.