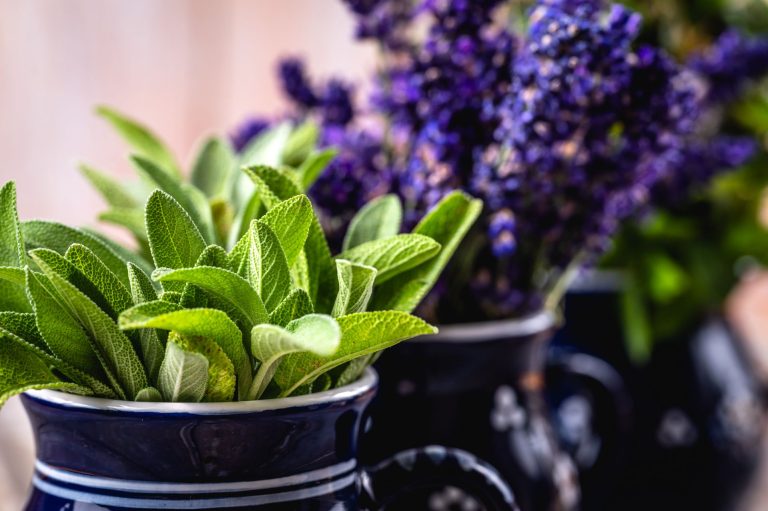
With food prices plus a host of world crises on the rise, many are exploring a more self-sufficient and sustainable way of life, and considering starting a garden for the first time ever. While it would be remiss of me to promote the illusion that gardening is a romantic and easy solution, I would be loath to shatter the dream. Starting a garden is a labor of love—and by labor I mean actual physical work—but it is also one of the most rewarding activities imaginable.
Starting a garden also takes planning, time, and determination; but it is definitely doable, and you can start right now. Here, we will walk through the important steps to starting a garden, covering options and variables that you will want to consider.
Step 1 – Find the right spot
As a general rule, your garden will do best in a sunny spot. This means somewhere that will get 6-8 hours of direct sun (not shaded by trees, fences, or your house). Although some produce crops will tolerate less sun, others will really struggle, only to disappoint.
Read also:
- Gallon Jug Greenhouses for Winter Sowing
- Indoor Gardening Through the Winter
- Traditional Chinese Gardens
- Spiritual Benefits of Physical Labor
For convenience, select someplace close to home. You don’t need a big plot to begin with, and I would recommend starting small, perhaps a 4 foot by 8 foot plot; but do choose an area where you will be able to expand in the future.
Convenient access to water is important. If you’re lucky, much of your watering will be done by naturally occurring showers, but steady moisture is essential for germination and initial growth. After the plants have established deep and extensive roots, they will be able to search out water sources in the ground. Any extended duration without rain is a call for supplemental watering, however, as are periods of fruit development.
Success
You are now signed up for our newsletter
Success
Check your email to complete sign up
If you do not have property to work with, friendly neighbors are often only too happy to have someone tending a garden that they can watch grow and partake in; perhaps they will even share the cost of installation and upkeep. There are also many opportunities for inexpensive plots at community gardens. These are generally maintained by the municipality, making it that much easier to get started.
Step 2 – Protect your garden
Before you even have one seed planted, you must take measures to protect your garden. For most of us in the U.S., deer are a formidable foe when it comes to vegetable gardening. While some people have a certain degree of success with various deterrents; such as Irish spring soap, human hair, and a variety of commercially available sprays; the only fool-proof way to keep deer from decimating your garden is a good solid fence.
Groundhogs, likewise, are impossible to keep at bay without the proper barriers, and these voracious vegetarians can whittle your work down to nothing within a week of discovering it. A combination of fencing is what I recommend for these key pests. Deer fencing should be 7-8 feet high. It can be anything from a permanent heavy-gauge wire fence on wooden posts (a professional job), to heavy plastic netting on metal fence posts (an easy DIY job).

While deer won’t chew through the plastic to get a meal, groundhogs are not above this mean trick. Most deer fencing will not keep groundhogs out, either because the spacing between wires allows them to slip through, or because the plastic mesh is easily chewed through; but more often than not they will slip underneath, because, as you might imagine, they dig like nobody’s business.
An additional four-foot width of chicken wire (poly-coated for durability) is the answer to keeping these hungry beasts out. Once your deer fencing is installed, measure two feet up from the ground, and place the chicken wire in a folded L shape (facing out), so that you have two feet laying on the ground, and two feet climbing up the outside of your fence. Use landscape staples to secure the horizontal section, and zip ties or twisted wire to secure the top of the vertical.
Ideally, fence in the whole of your backyard, or a large section of it, so that you have room to expand, and are not confined physically or visually by the fencing. Unless you intend to enter only from the house, you will need a gate. As the saying goes, a chain is only as strong as its weakest link. Place bricks or bluestone under the width of your gate to prevent digging in this area.
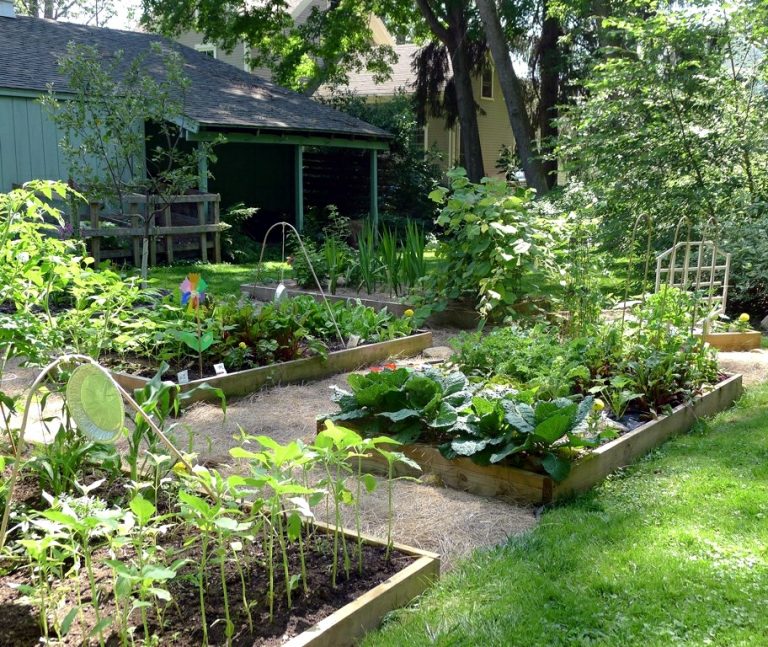
Step 3 – Prepare your soil
If you’re looking at a patch of lawn that you want to transform into a garden, there are a couple different ways to approach it: you can remove the sod, or you can build over it.
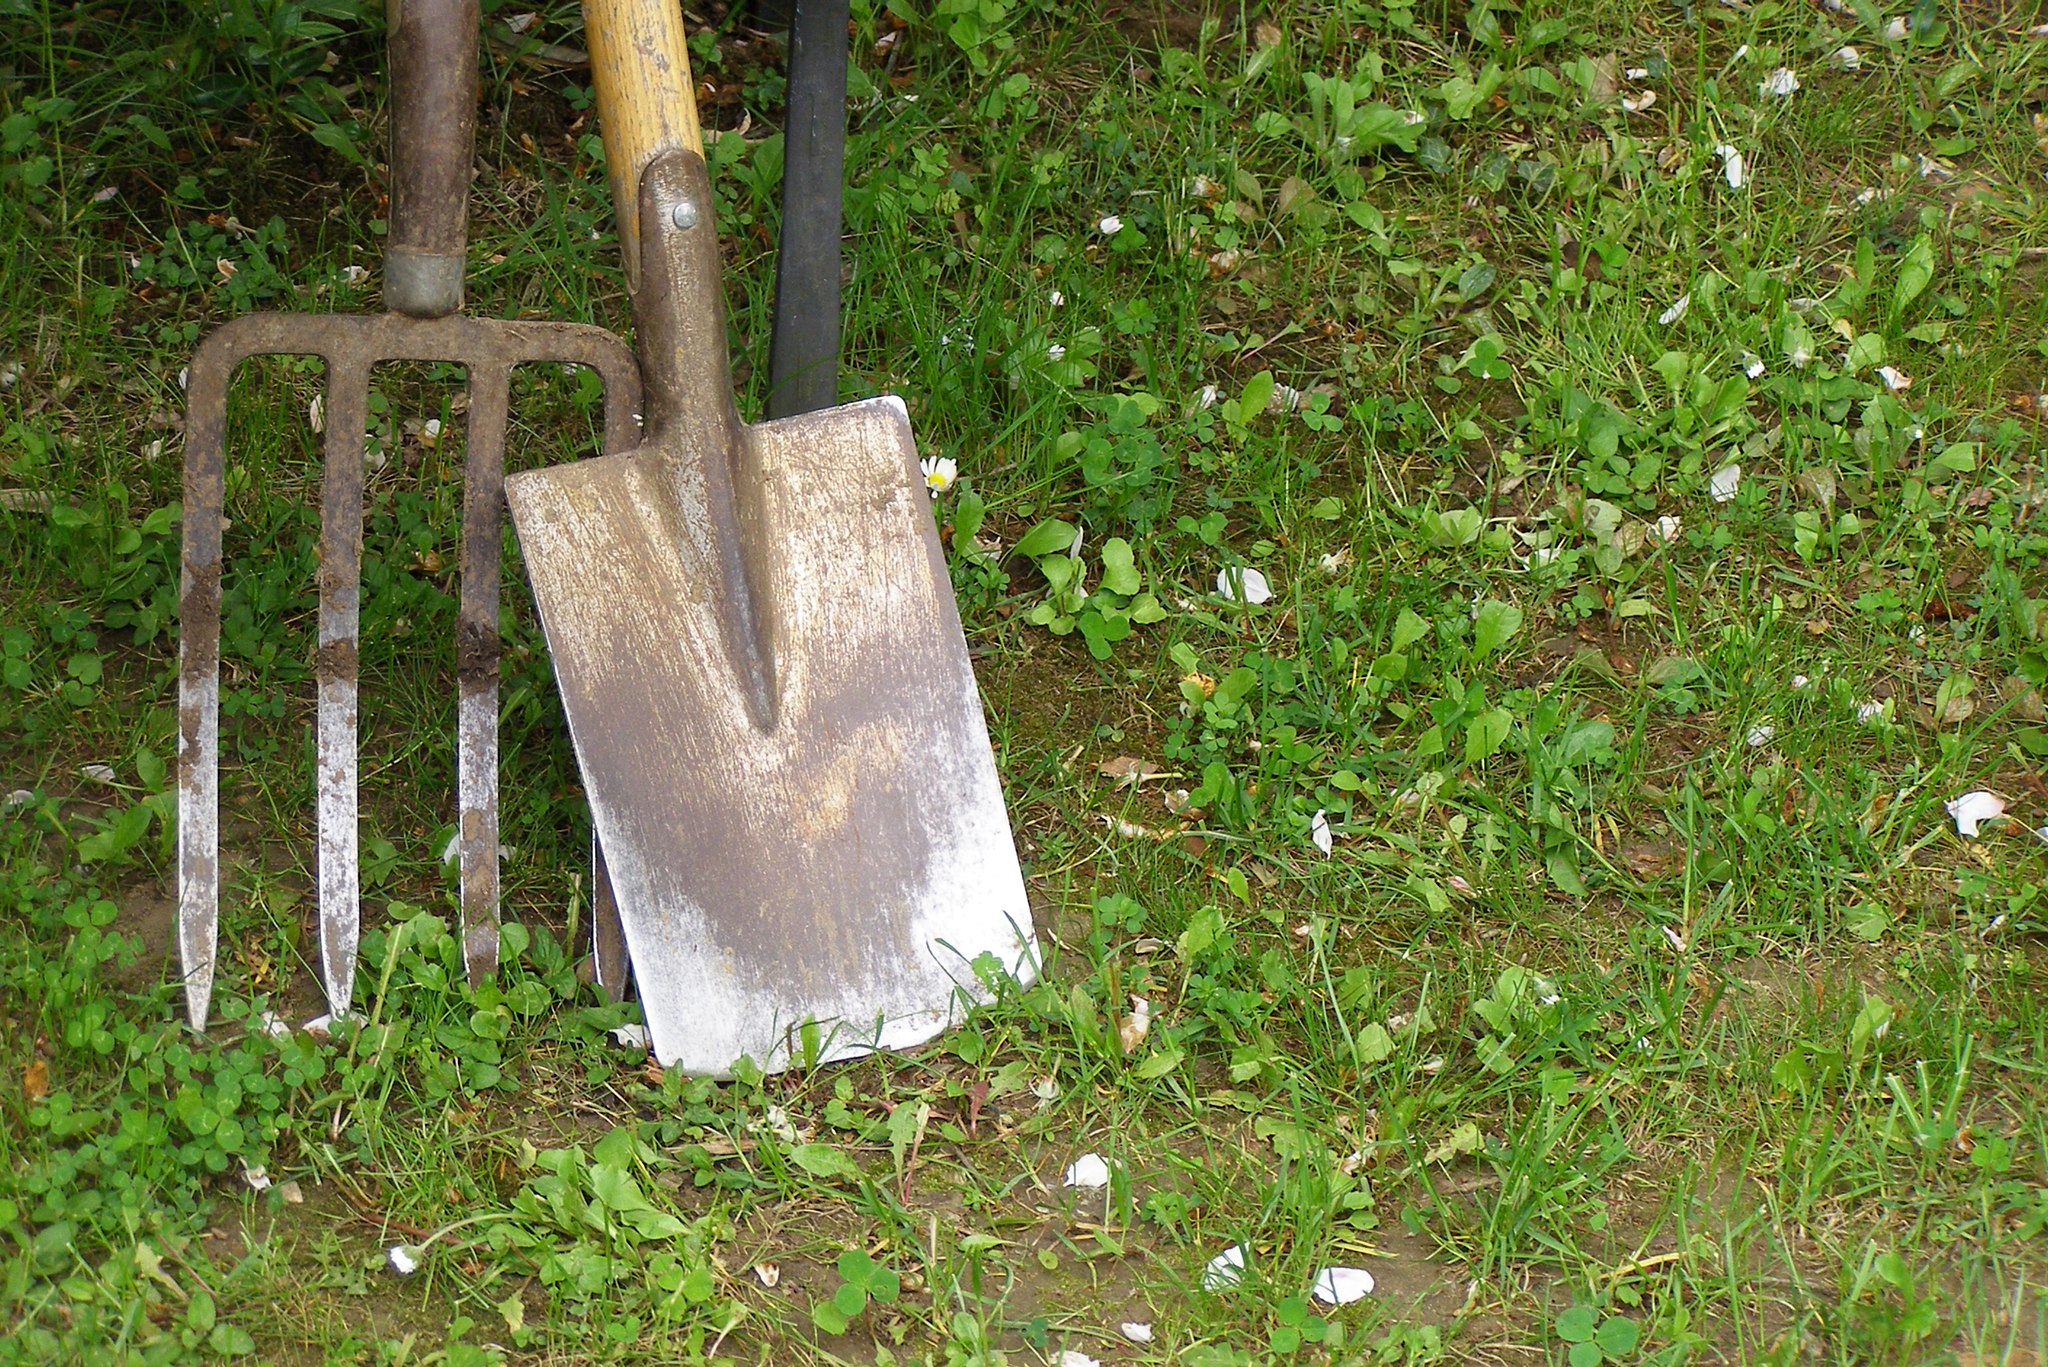
Removing sod by hand takes a bit of muscle and energy, and a couple of hand-tools. A spading fork is ideal for loosening the grass roots, and an asparagus knife (aka weeding tool) will assist with the fine work of getting the loosened grass out, while leaving as much of the soil as possible. For a small garden plot, this can easily be completed in one weekend.
Rototilling may seem like a quick and easy solution, but there are risks with this power tool. It incorporates all the grass roots and weed seeds present into the soil, and at the same time, it interferes with the natural and beneficial soil structure created by subterranean microorganisms.
Another good option is to build up your bed on top of the grass. Raised beds are useful for many reasons. They are easier to maintain and protect, they are easier on the back and knees, they look tidy and allow for easy access, and they have better drainage. Raised beds can also be small and portable, i.e. container gardening, in which case there is no risk of contamination from impurities in the ground. If you are building a large raised bed over grass, line the bed with several layers of newspaper before filling with soil.
In either case, you will want to make sure your soil is rich and fertile. Unless you are putting your garden in an abandoned livestock pen, you will want to amend the soil with organic matter in the form of compost. Compost can be obtained from decomposed leaves, well rotted animal droppings, or even mushroom growers. The more compost you can get for your garden, the happier your plants will be.
Depending on your soil type, you may want to add other amenities, such as peat, sand, lime, sulfur, gypsum or vermiculite. If you are unsure of your soil properties, you can have it tested by sending a sample to your state’s cooperative extension. They will analyze your soil and give you recommendations for amendments.
Step 4 – Select and start your plants
Now that you have a properly prepared garden, you can begin to populate it. Choose plants that will both give you joy, and do well in your circumstances.

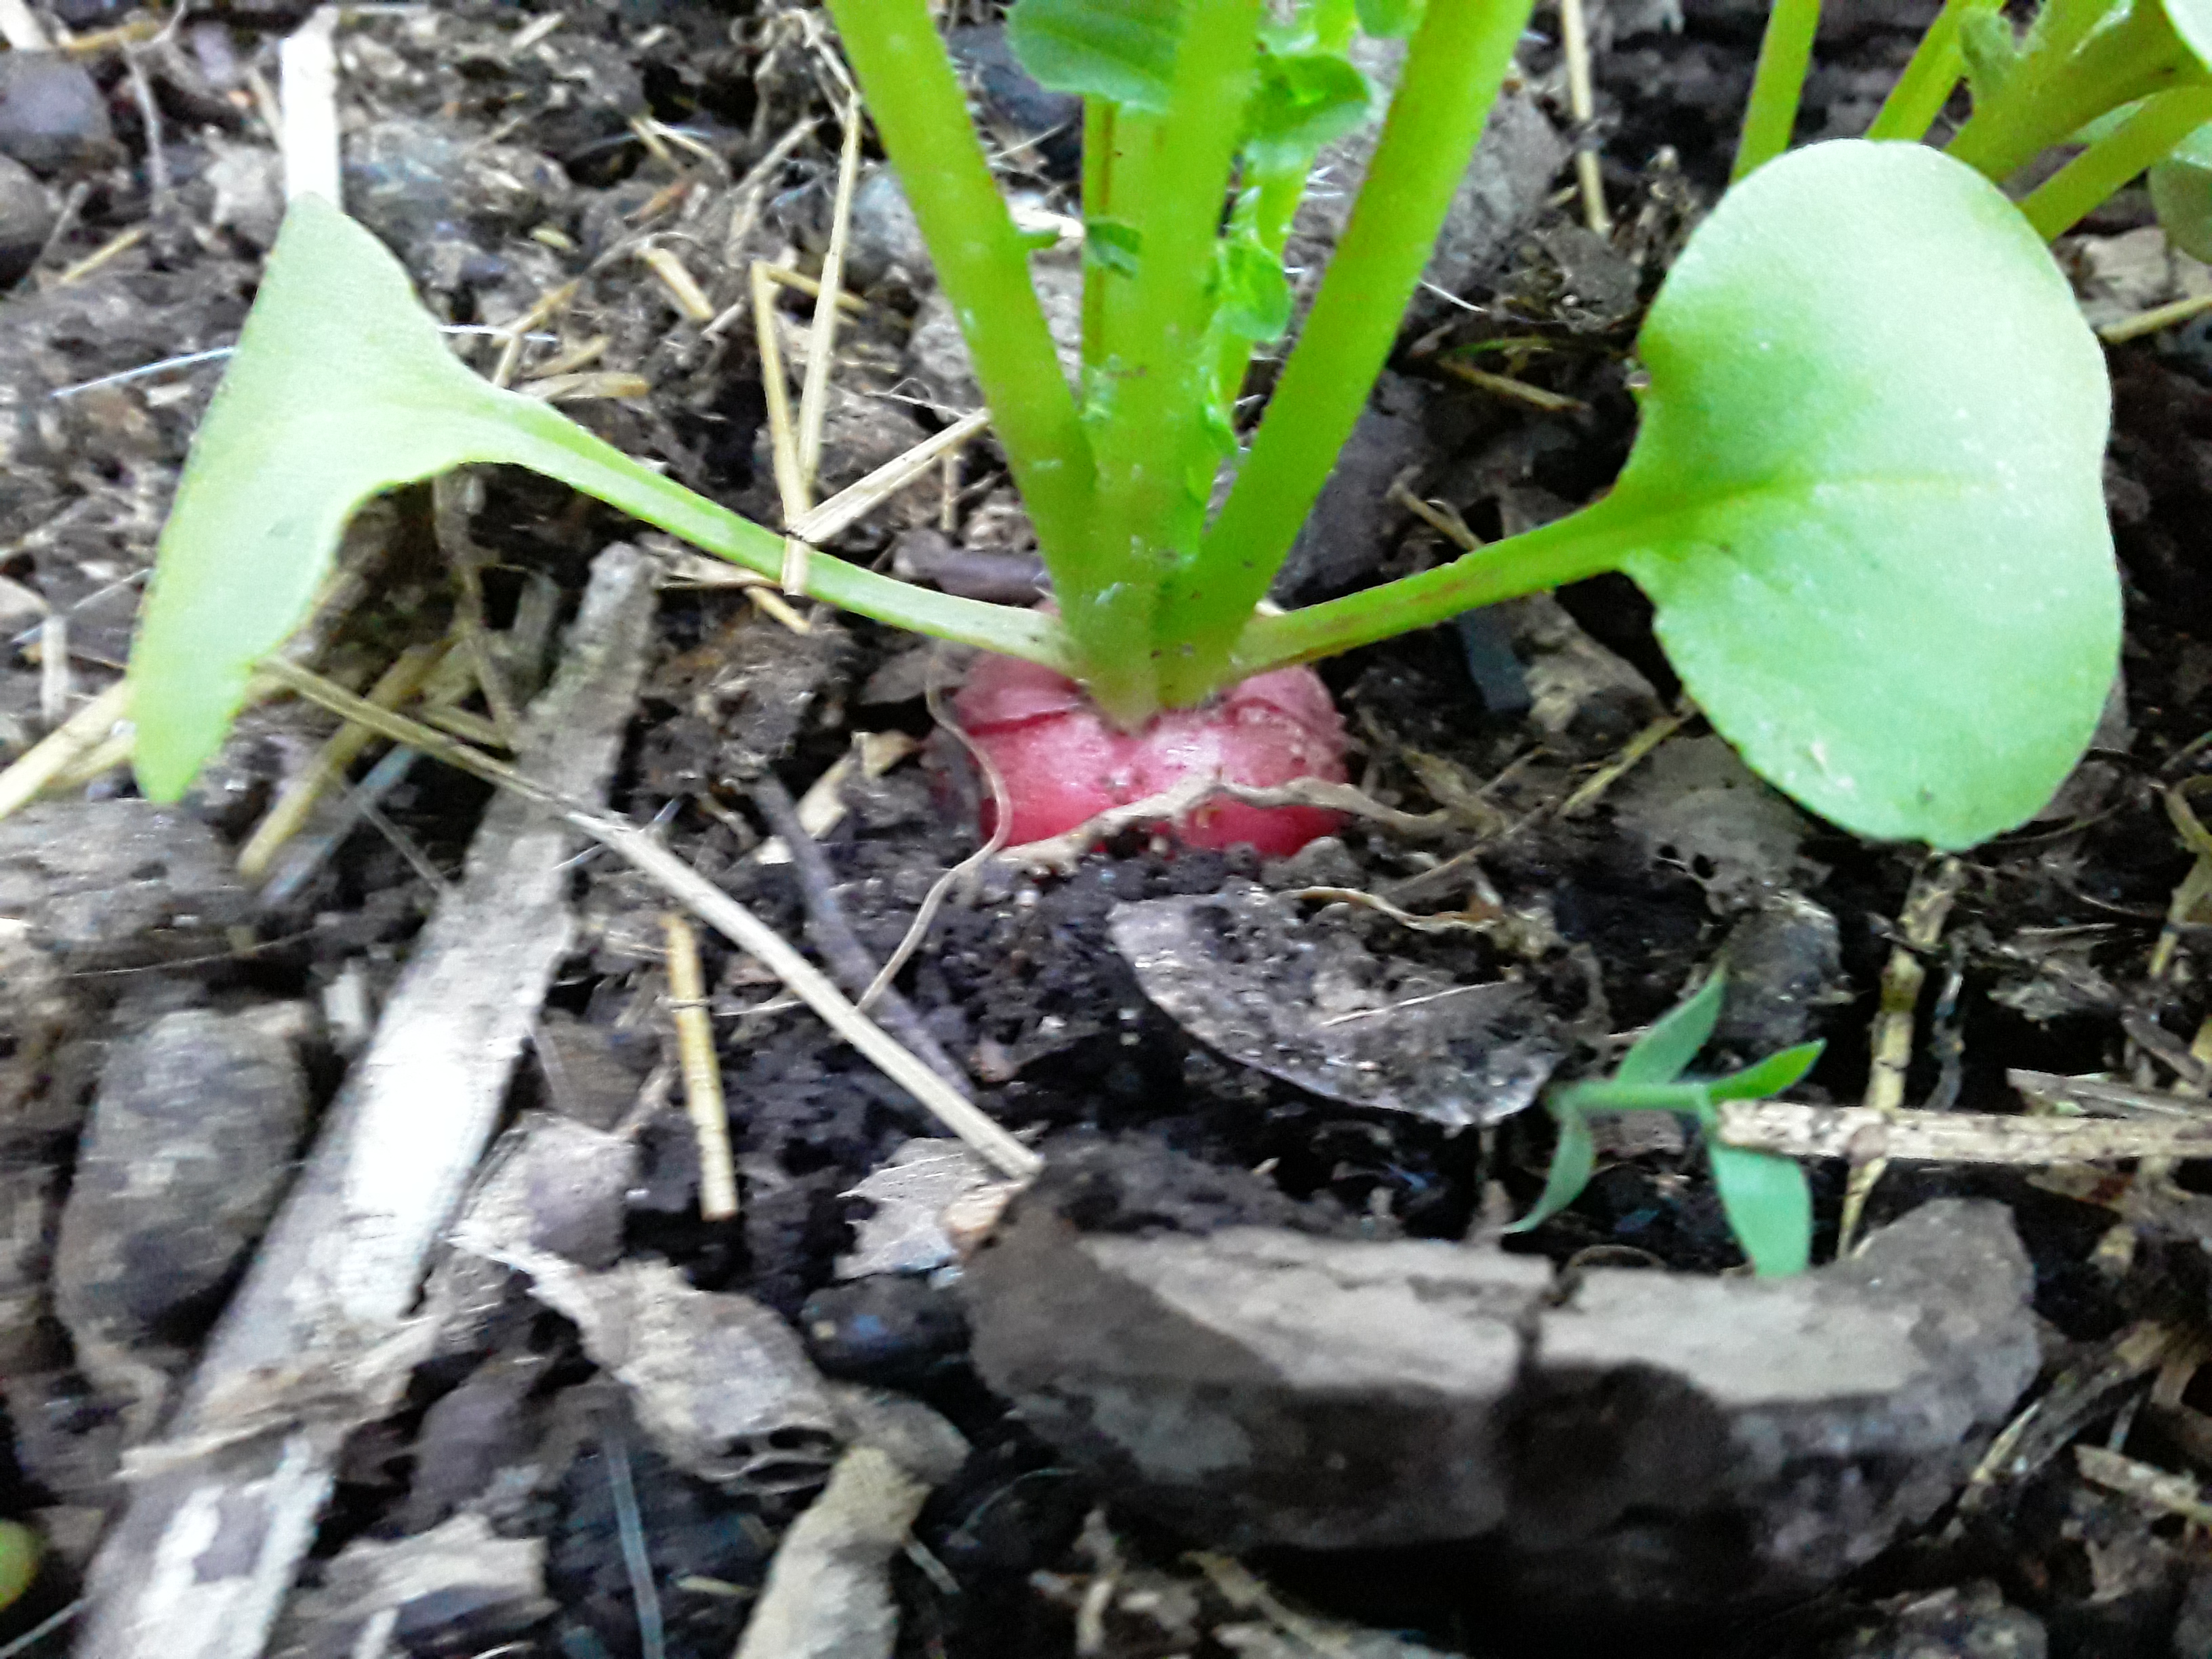
To get the most of your season, plan to do successive planting. Different plants thrive in different seasons, so start off the spring with cool season crops, like peas, lettuces, spinach, and radishes. Once the weather turns warm, it will be time to replace them with summer crops, like beans, tomatoes, peppers, cucumbers, squash, and potatoes. When these begin to decline, you can start another round of cool-season crops like various greens, turnips and carrots to finish up the growing season. Crops like kale, carrots, and garlic can even be overwintered with some protection.
To make the most of your space, grow climbing crops, like cucumbers, pole beans and peas. Be sure to place them on the north side of your bed so they do not shade out your other plants.
To save time and energy, seedlings can be easily purchased at any garden center; but you will have the best control over variety plus an added dose of pride in your work if you start your own seeds. Take the time to pore over a seed catalog and choose intriguing heirloom varieties that you won’t find at your grocery store.
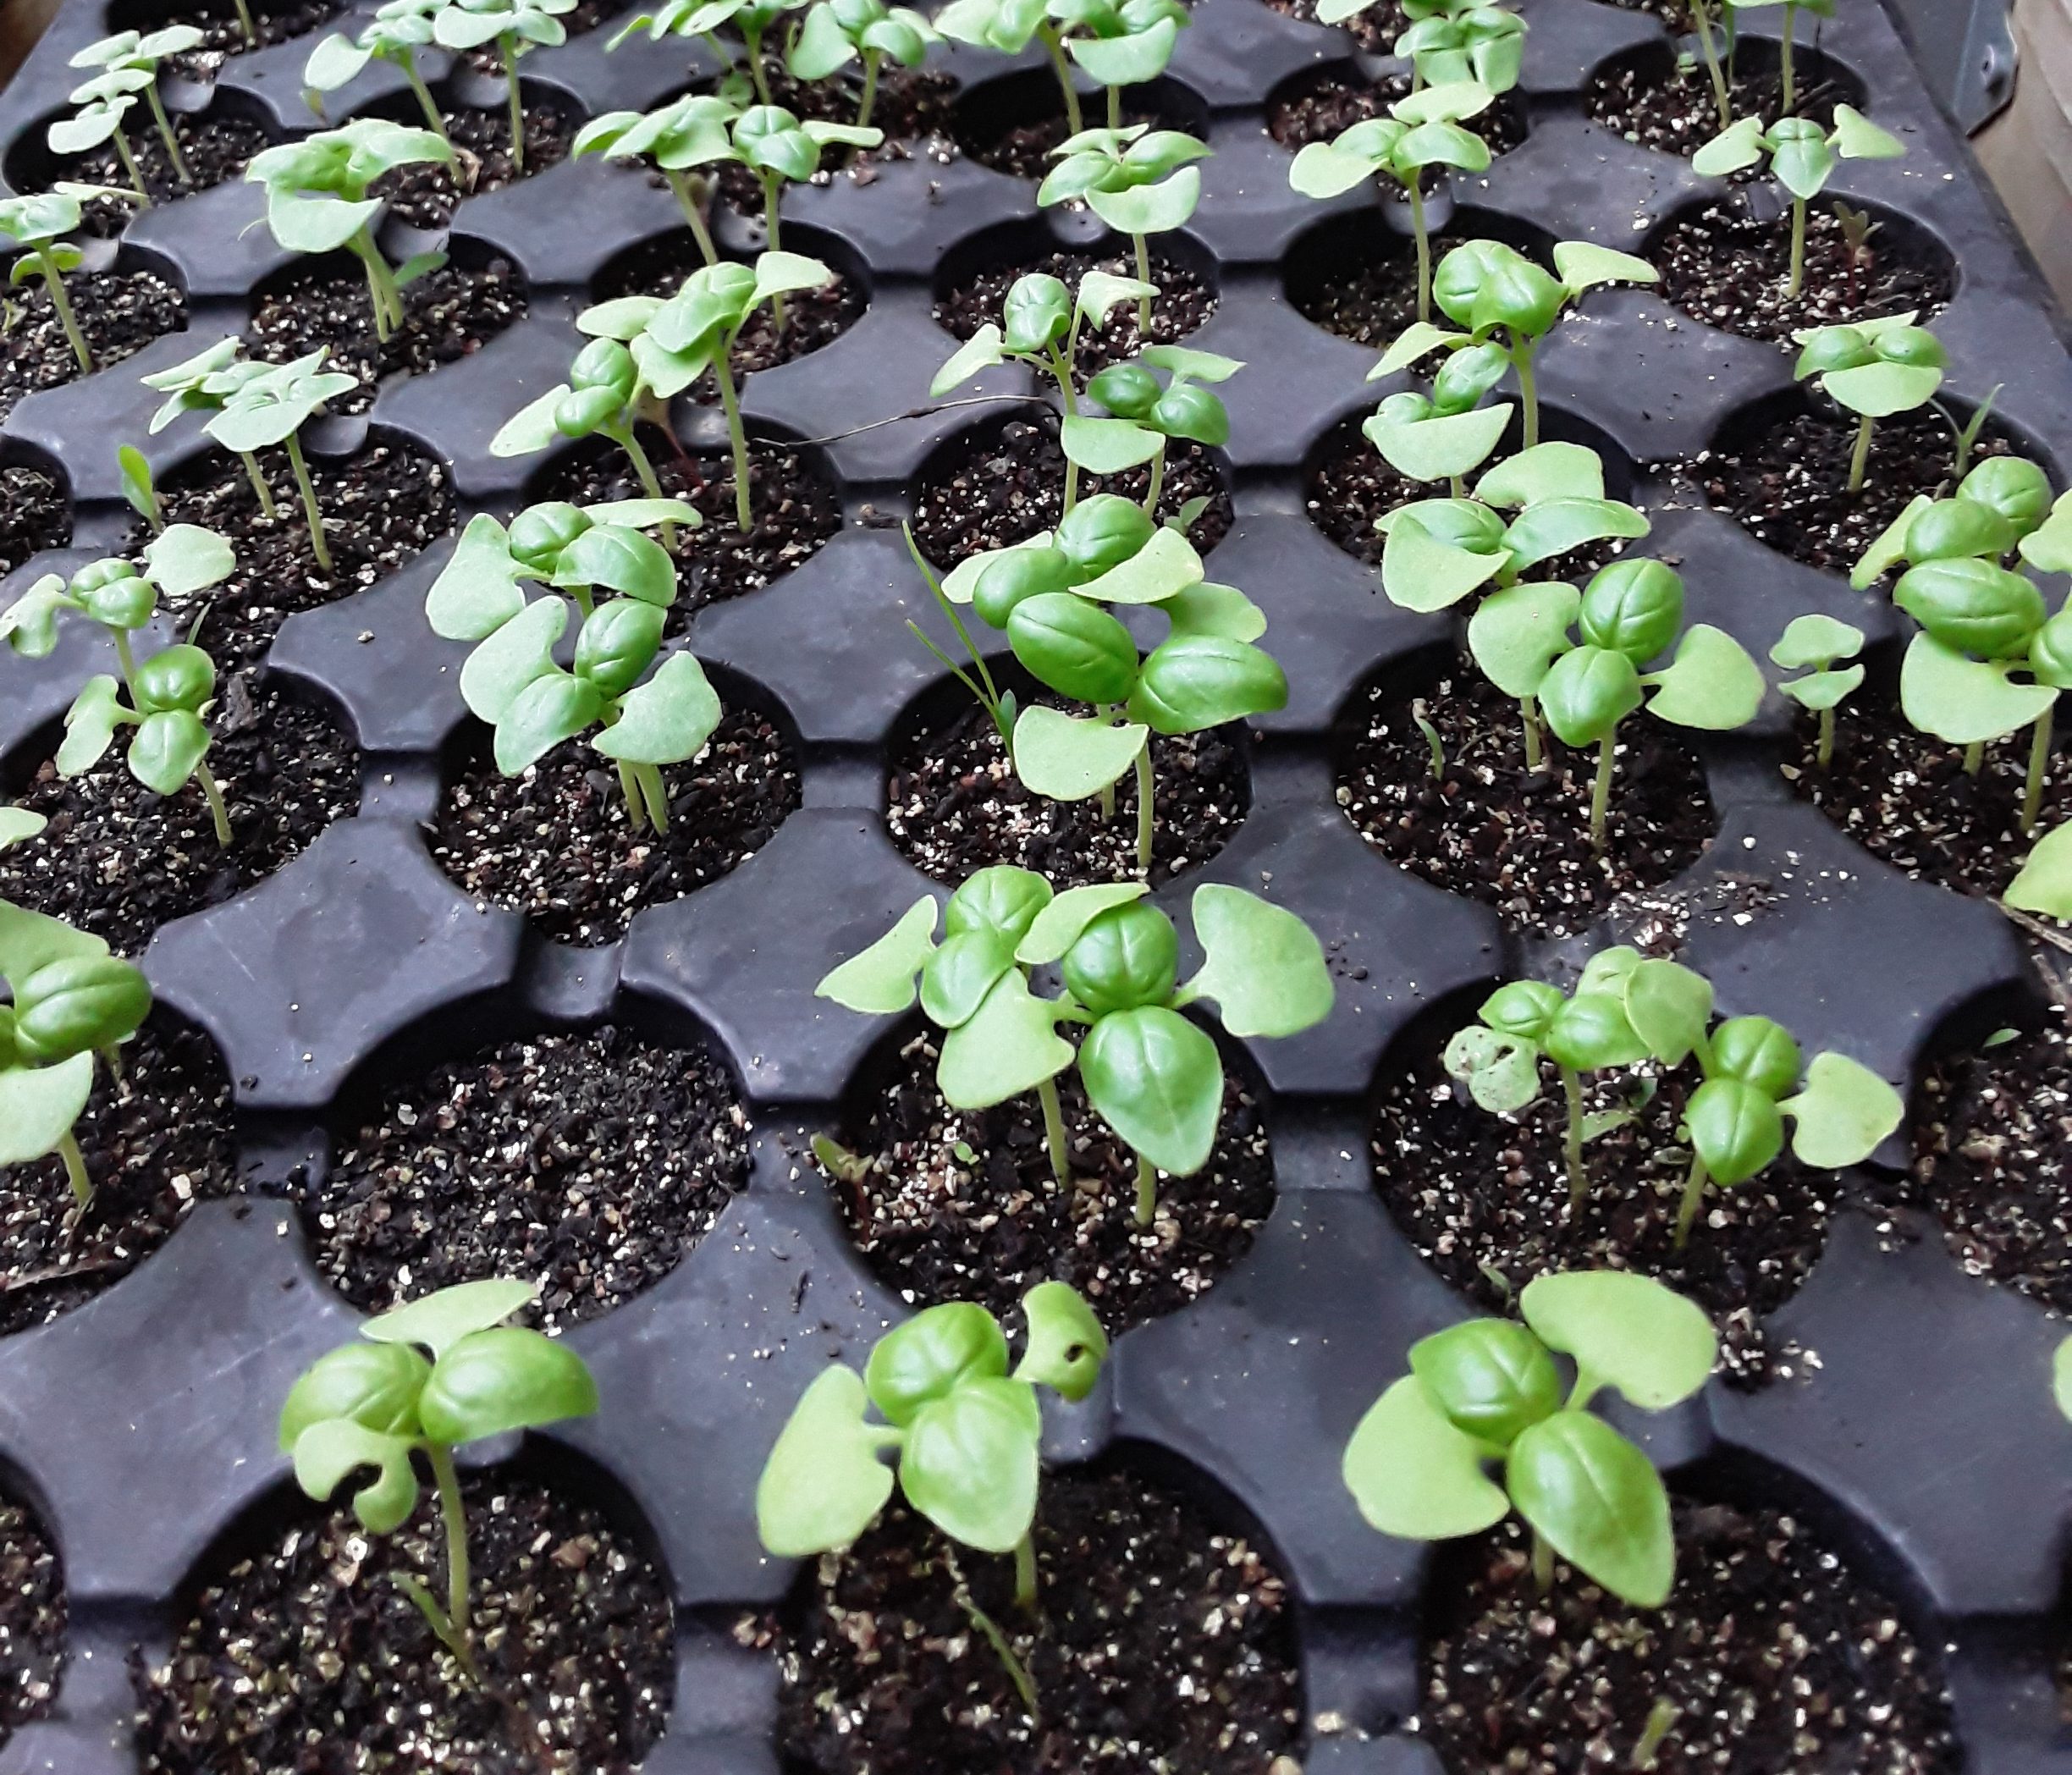
Seed packs will recommend either direct sowing or starting indoors. To start indoors, you will need a sunny window space, large enough for a tray of seedlings. Cell packs come in a range of sizes and counts. A large tray of 72 cells can serve to start a number of different greens and herbs, while small six-packs are good for more substantial plants like tomatoes, squash, or cucumbers.
Purchased seedlings always come in cell packs, so if you’re getting a late start this year, buy your seedlings and save the plastic containers for starting your own seeds next year.
Typical “direct-sow” crops include carrots, beets, peas, cilantro, peas, and beans, as their roots do not like to be disturbed with such trivialities as transplanting! These are best sown outdoors during the recommended planting time.
Step 5 – Planting
Plant out seedlings when they have several leaves and are at least a couple inches tall. Warm season crops should not be planted out until after the last expected frost date. Most transplants should be positioned so that the soil surface remains at the same level on the plants. Tomatoes, however, benefit from being planted “deep,” as they will develop additional roots on any stem that is below the surface.
Space plants according to the recommendations on the seed packs. The most common mistake for beginner gardeners is to over-plant. Seedlings need enough room to grow and thrive. Thin your cell packs to one plant per cell, and don’t be afraid to thin aggressively in your rows of direct-sown seedlings. If you neglect to give them the space they need, you will end up with straggly, scraggly-looking plants that will just go straight to flower, (called bolting), without giving you any root or leaf or fruit to speak of.
Stay tuned for more gardening advice on specific crops and general maintenance, coming up soon!