As spring approaches, it’s only natural to feel an irresistible impulse to clear away the final vestiges of winter, and welcome in a new season. Spring cleaning indoors might involve washing windows and drapery, sorting out unused items for donation, and cleaning out all the nooks and crannies for a fresh look and feel. Your garden will benefit from a similar undertaking.
Spring cleaning your garden not only gives you a great excuse to get outdoors, it also helps make maintenance easier later on when things really get growing. Although every garden is different, many of the measures taken to prepare a garden for the upcoming season are universal.
Garden walkabout
Assess your garden situation with an early walkabout. You might find some structures that need repair, spot a new population of weeds, or have an “Aha!” moment when you discover where you misplaced your favorite gardening tool last summer (it will be in desperate need of attention). Make note of any issues that need to be addressed, prioritize, then set to work.
Clean your tools/pots
Maintaining your tools with annual cleaning and sharpening serves three purposes. Regular maintenance will extend the life of your tools, help prevent the spread of disease, and ultimately make your work easier for the rest of the season. While this is a job ideally done during the winter, it’s not too late. Any of the remaining cold days can be used to catch you up on this important task.
Step one: Dirt removal
To remove dried-on soil from tools like shovels, forks, trowels and hoes, soak the metal end in a bucket of water long enough to soften the soil. Scrub with a soft brush and rinse; and they are ready for the next step.

Step two: Rust removal
Success
You are now signed up for our newsletter
Success
Check your email to complete sign up
Rusty tools neither perform well, nor last long; so it is a good idea to remove rust and protect your tools from further rust. While there are plenty of powerful products out there, I always like to use natural ingredients when possible to keep harmful chemicals out of the environment.
Although it takes a bit of time, vinegar will help you get your tools back into good working order. In a 50/50 solution of white vinegar and water, soak the metal ends of your tools for at least four hours. This mild acid solution will loosen any rust without damaging your tools.
Especially rusty tools may need to soak longer, or in a stronger solution; and tools with moveable parts — like pruners, loppers, snippers and shearers — can be disassembled for best results. Unless you enjoy solving puzzles, be sure to soak these separately so as not to mix up their respective parts.
Rust particles will be loosened and fall off during the process, and once the soaking is complete, it should be easy to remove any remaining rust. Rather than abrasives — which actually create countless tiny openings for rust to take hold in the future — rub the rust off with a clean cloth, an old toothbrush, or a nylon brush, and then wipe dry.

Step three: Sharpen
Digging tools like shovels and spades, as well as cutting tools — like edgers and those mentioned above — all benefit from a sharp edge. For large tools, your standard single- or double-cut flat file will do the job. One with a handle is easier to grip.
It helps to have a vice to secure your tool as you sharpen, but you can also set it on a bench outdoors and hold it in place with a firm foot. Match the existing bevel angle as well as you can (an angle between 25 and 40 degrees is typical for most garden tools) and move the file across and up the cutting edge. Use both hands to provide even pressure and consistent angle. File in the one direction only, and repeat until you achieve a sharp edge — as indicated by burrs that will form on the opposite side. Remove burrs with one flat swipe on the reverse side.
A small carbide tool sharpener will do a similar job for hand-held tools like pruners. You can basically use the same procedure, ideally before you reassemble the tool.
Step three: Lubricate and protect
Vegetable oil is safe, inexpensive and perfectly effective for the finishing touch on your tools. You can either dab it on delicately with a Q-tip, or use a rag to apply a thin coat of oil to all your metal surfaces. Wooden handled tools can get dry and cracked over time. If your handles are rough, give them a light sanding before applying a protective coat of linseed oil. Now — without any chemical solvents or synthetic oils — your tools are ready for another active season.
Pots and cell trays
A more diluted vinegar bath is suitable for cleaning your potting materials. One cup of vinegar in a bucket — or two cups in a larger tub — of mildly soapy water, plus some scrubbing, will remove any potential problems for this year’s inhabitants. Allow everything to dry in the sun before storing or using.
Prune fruit trees and brambles
Fruit trees are pruned for a number of reasons: to control height, remove dead and diseased branches, improve exposure to sun, or simply to shape the tree. If you are fortunate to have fruit trees, late winter pruning will encourage new growth, while later spring pruning allows you to see which branches have died over the winter. Apples should be pruned before blossoms appear, however, to reduce the risk of fireblight.
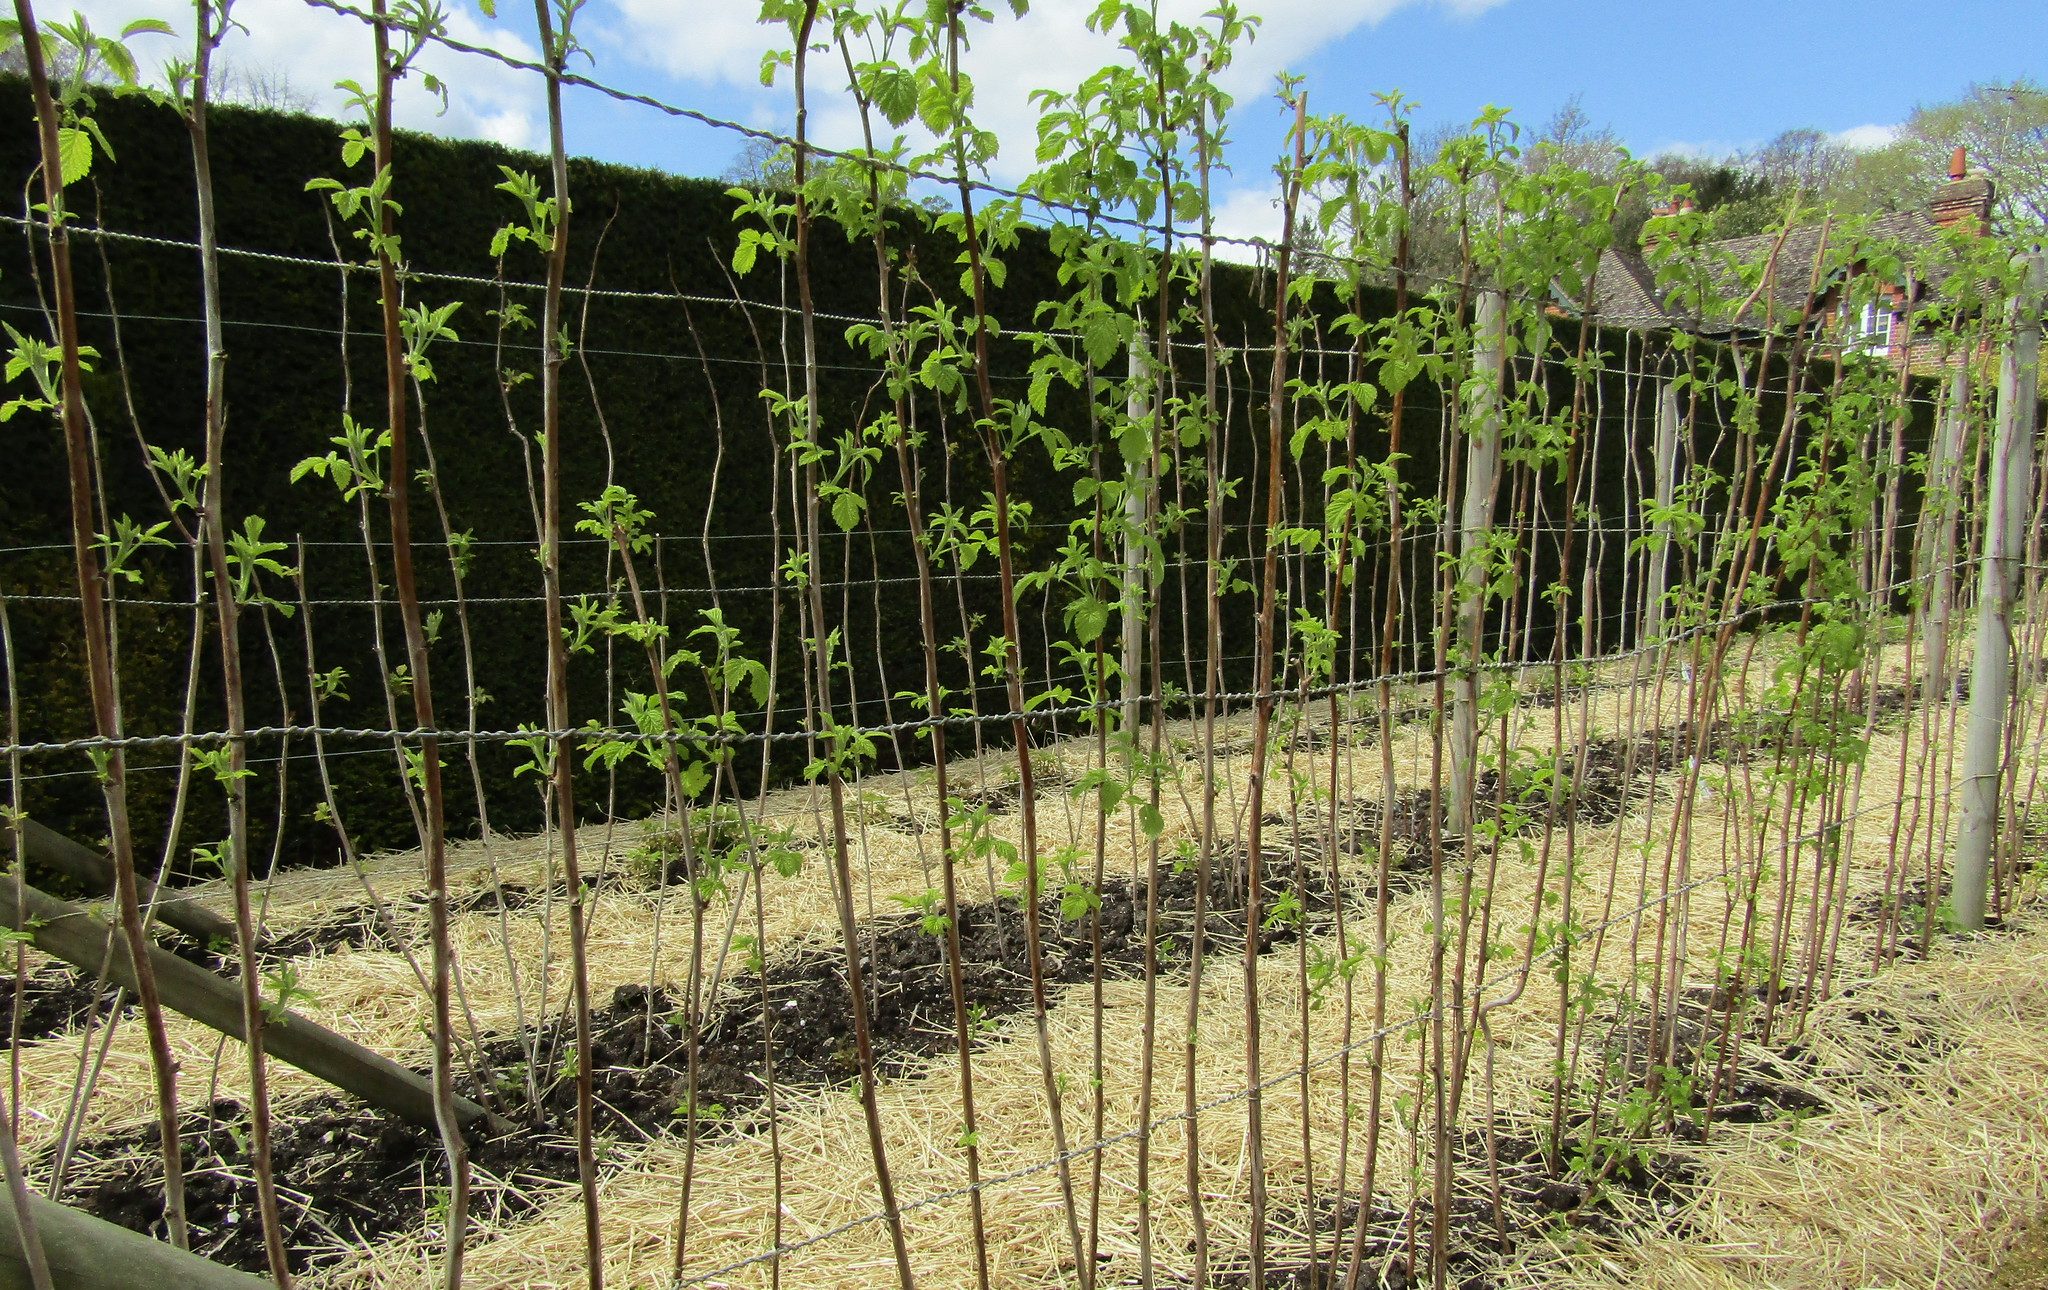
BramblesBrambles (blackberries and raspberries) should be pruned each year to prevent crowding and allow plenty of light and air for healthy growth. Pruning can vary with variety, but in general, brambles produce on second year canes. This means that old canes (the largest ones, which will look dead and have visible signs of last year’s crop) should be cut back. Selectively remove any unhealthy or damaged second-year canes (these are the ones that will bear fruit this season). New canes — which sprout up readily — should be thinned to a final spacing of no more than two canes per square foot. Trim back long, trailing ends to keep your berry patch in check.
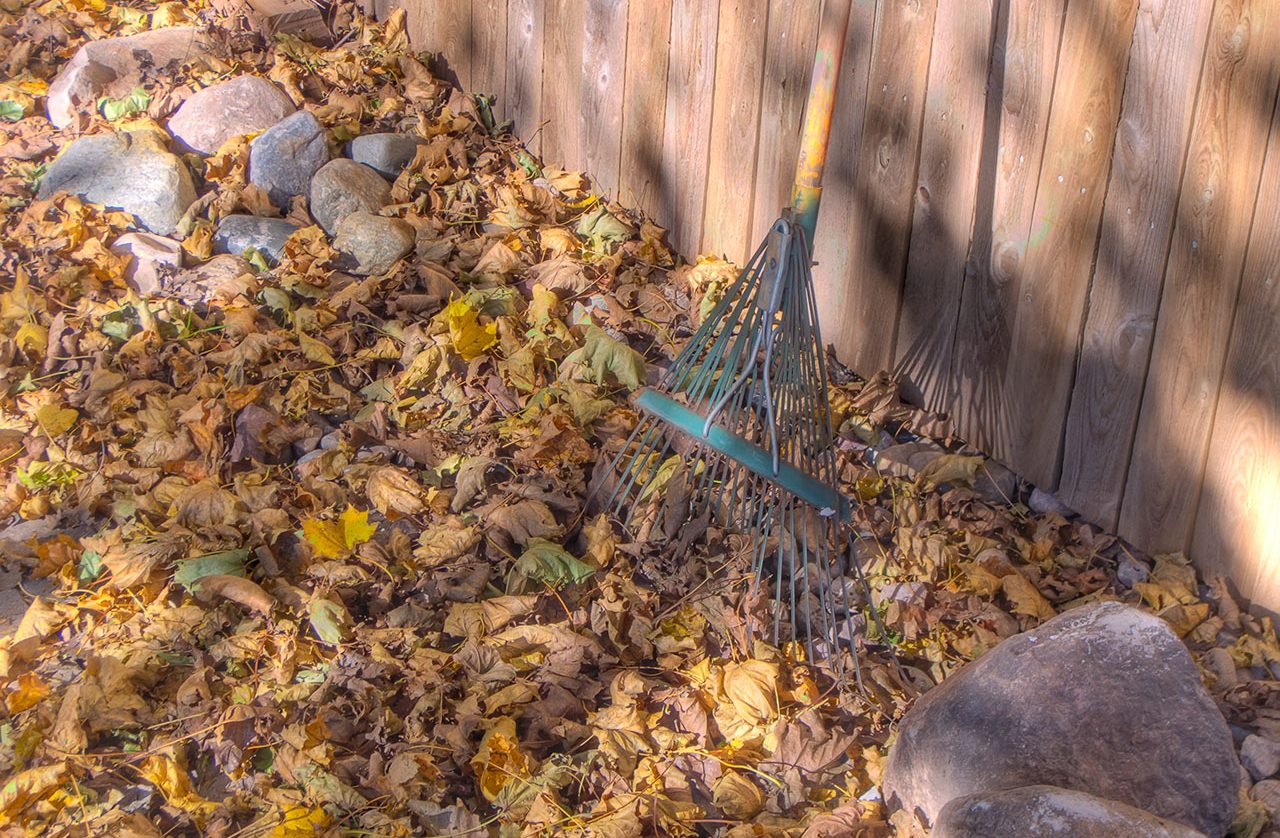
Rake your leaves
While there are many benefits to leaving your leaves through the winter — like providing habitat for beneficial insects, protecting the roots from damaging freeze-thaw cycles, and adding organic matter to the soil — come springtime, they should be removed and composted.
With warmer weather, this damp layer of leaves is likely to mold, it also acts as an insulator and prevents the soil from warming up with the sun, and by now the insects are ready to come out of hibernation.
I like to toss the leaves in with my chickens. They seem about as happy to get them as a child jumping in a pile, and their constant scratching and pecking helps break them down into compost in no time.
You can also compost your leaves with other yard waste and kitchen scraps.
Cut back perennials
Like brambles, many perennials will have dead stalks that can be cut back now — if they weren’t already. Some will want to be cut back to the ground, while others will send out new growth from the old stems.
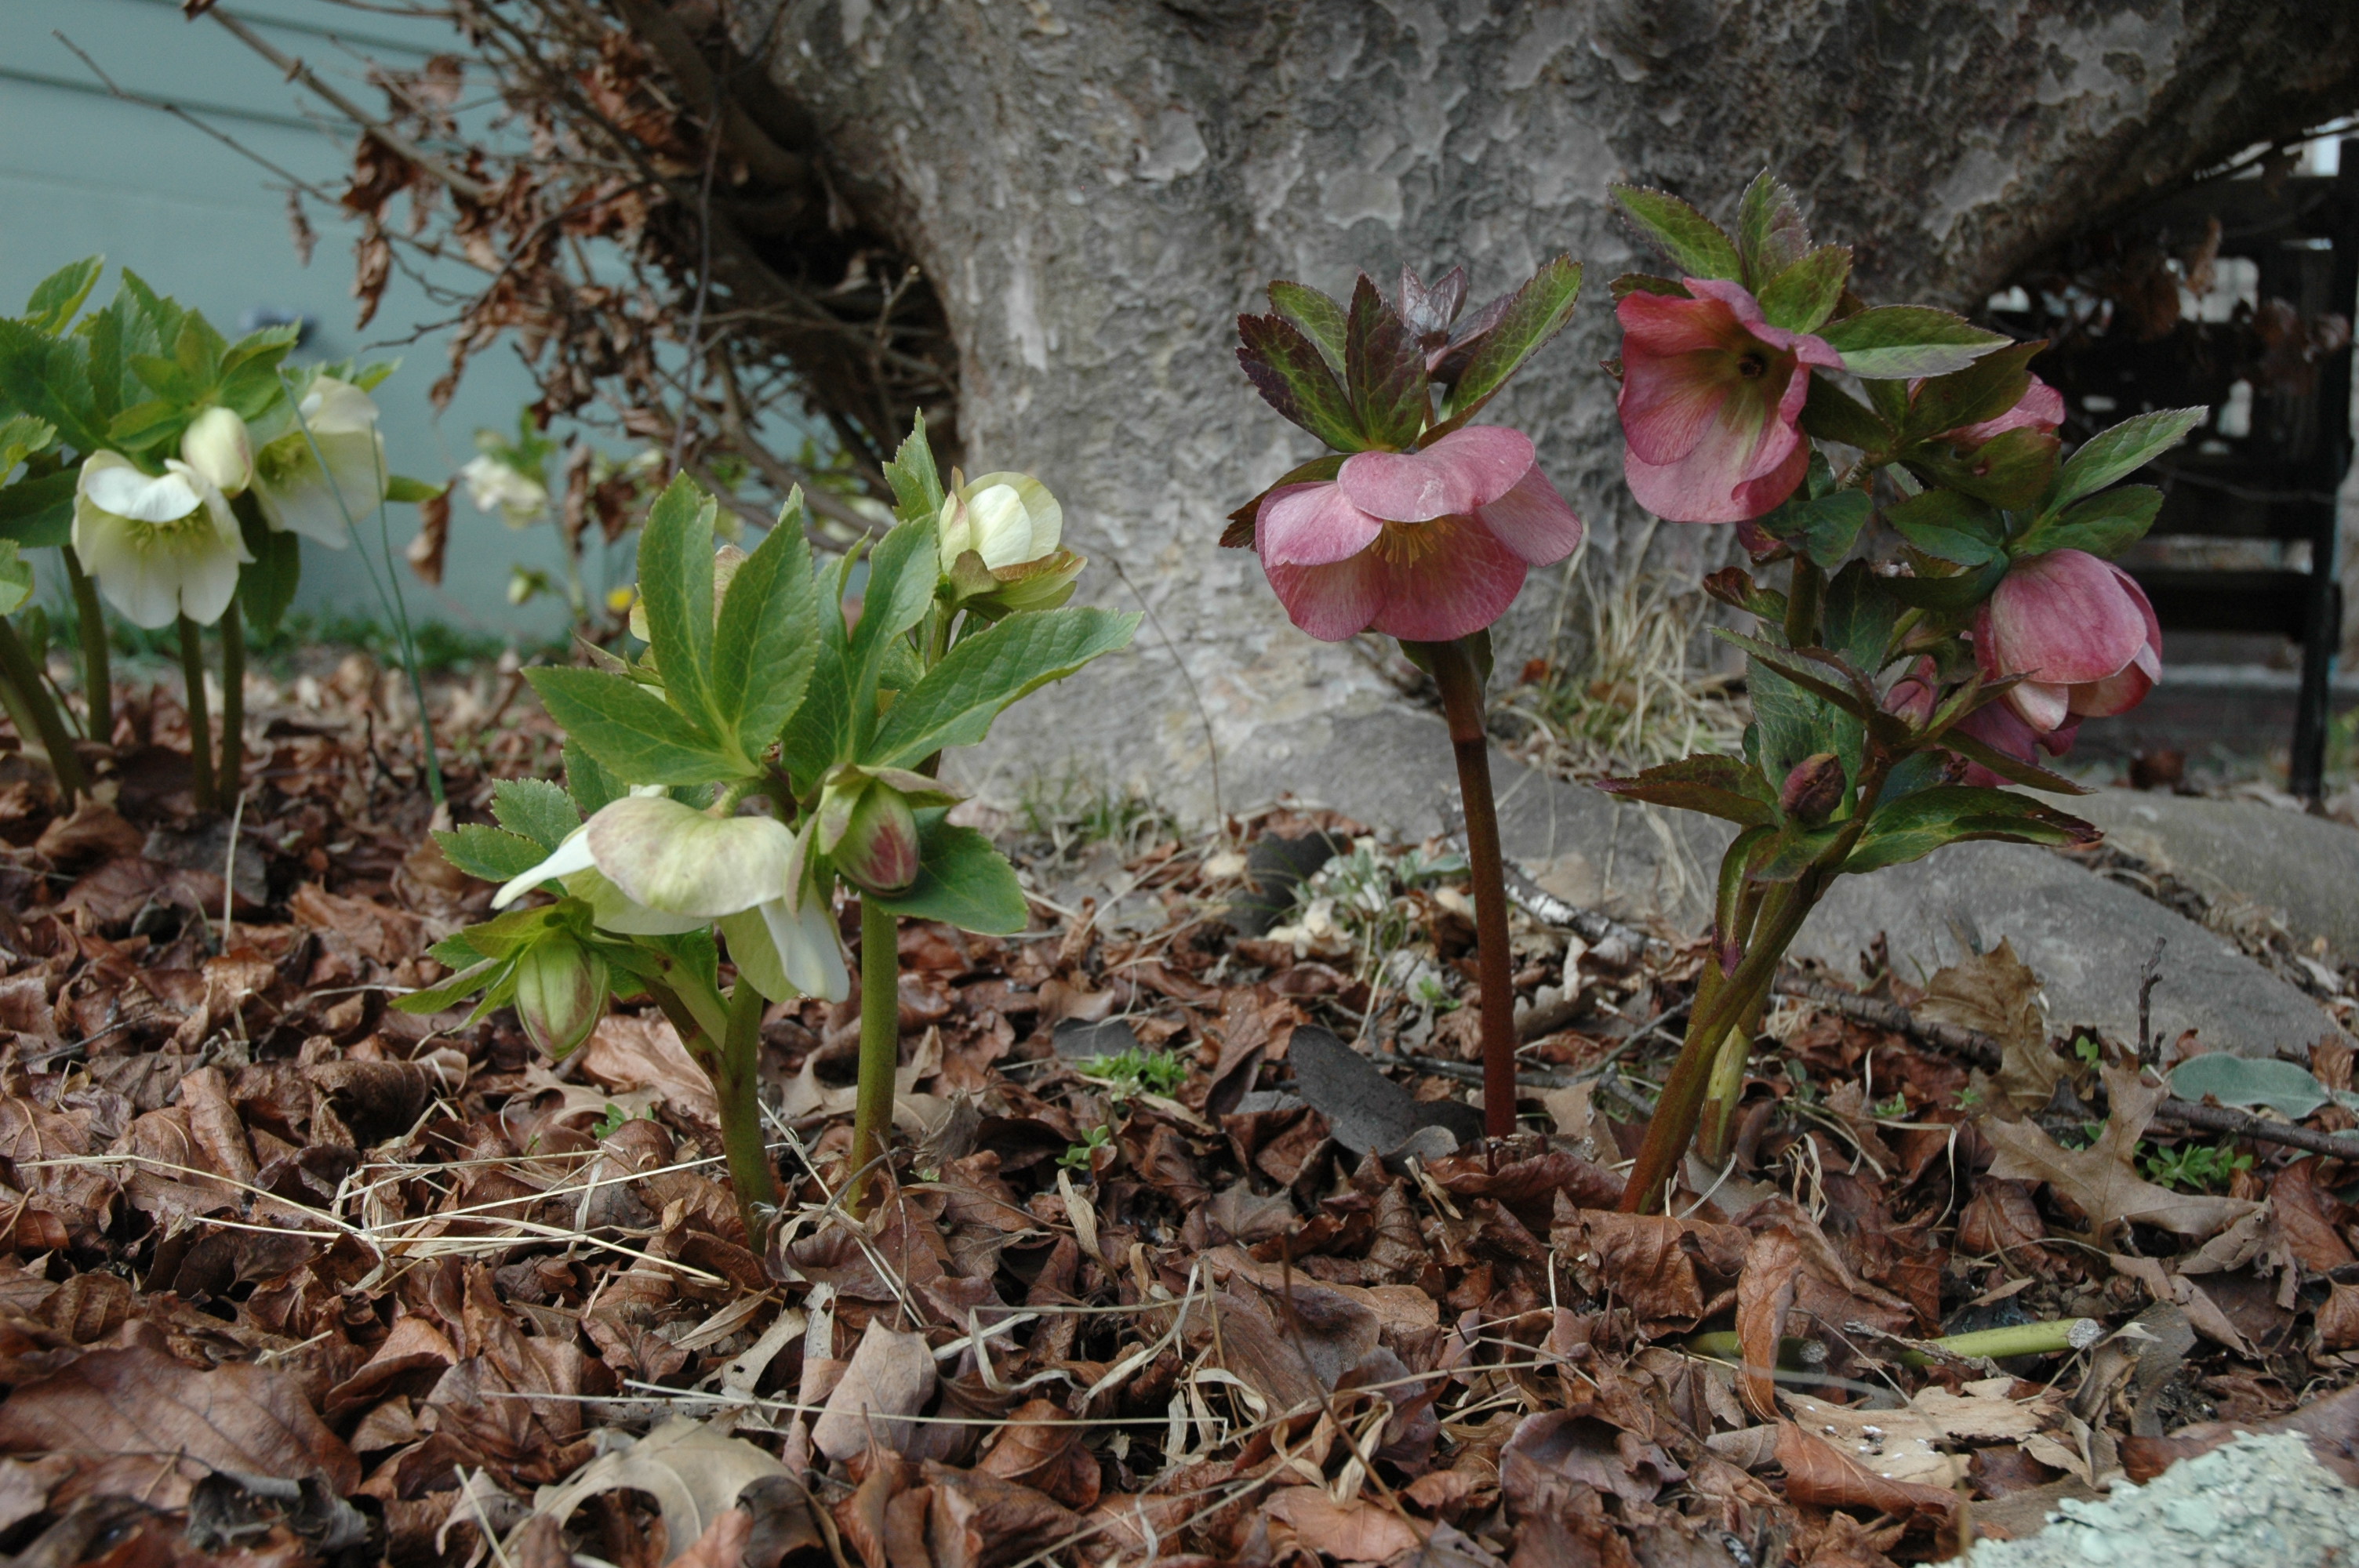
Ornamental grasses and grass-like plants such as liriope or chives should be cut back promptly before new growth starts emerging. Hellebores (Lenten rose) will have beautiful blossoms now, but they will be hard to see unless you cut back last year’s old, browning leaves.
There are far too many perennials to discuss them all, so please look up pruning recommendations for your specific plant if you are unsure how to approach it. Cuttings can be composted, unless the plant suffered from disease or an infestation; in which case they should be burned, or sent to a long-term compost where the cycle of disease can be waited out.
Recycle your soil
Potted annuals can take a lot out of their limited soil. To provide the best for your new potted plants, give them a fresh and fertile soil mix, and drop the old soil — roots and all — into your compost. This will add texture and minerals to your compost, while decomposing any root matter left in the soil.
However, there is an advantage to holding off on this task. Oftentimes, annuals will self-sow in their pots. If you wait until later in the spring, you may see some good germination; in which case you can transfer individual seedlings into a cell tray before you replace the soil for its new inhabitant (washing the pot in between, of course).
Covered plants
Perhaps you’ve covered some areas of your garden to overwinter produce like kale, spinach or peas; you may have wrapped a fig tree or rosemary bush, or you might have a small greenhouse. While it is tempting to strip off all the covers so you can see your plants and they can see the sun, it is wise to bide your time.
If these plants have made it through the winter, they can clearly handle some degree of cold. Wait until temperatures aren’t dropping much below freezing, and remove the covers when you will have a stretch of cloudy days. This will help the plants acclimate to the increased sun exposure, and the changing temperatures. Open your greenhouse door on sunny days to release extra heat.
Remove any dead plant material from these covered areas, as they are likely to harbor small pests seeking protection over the winter.
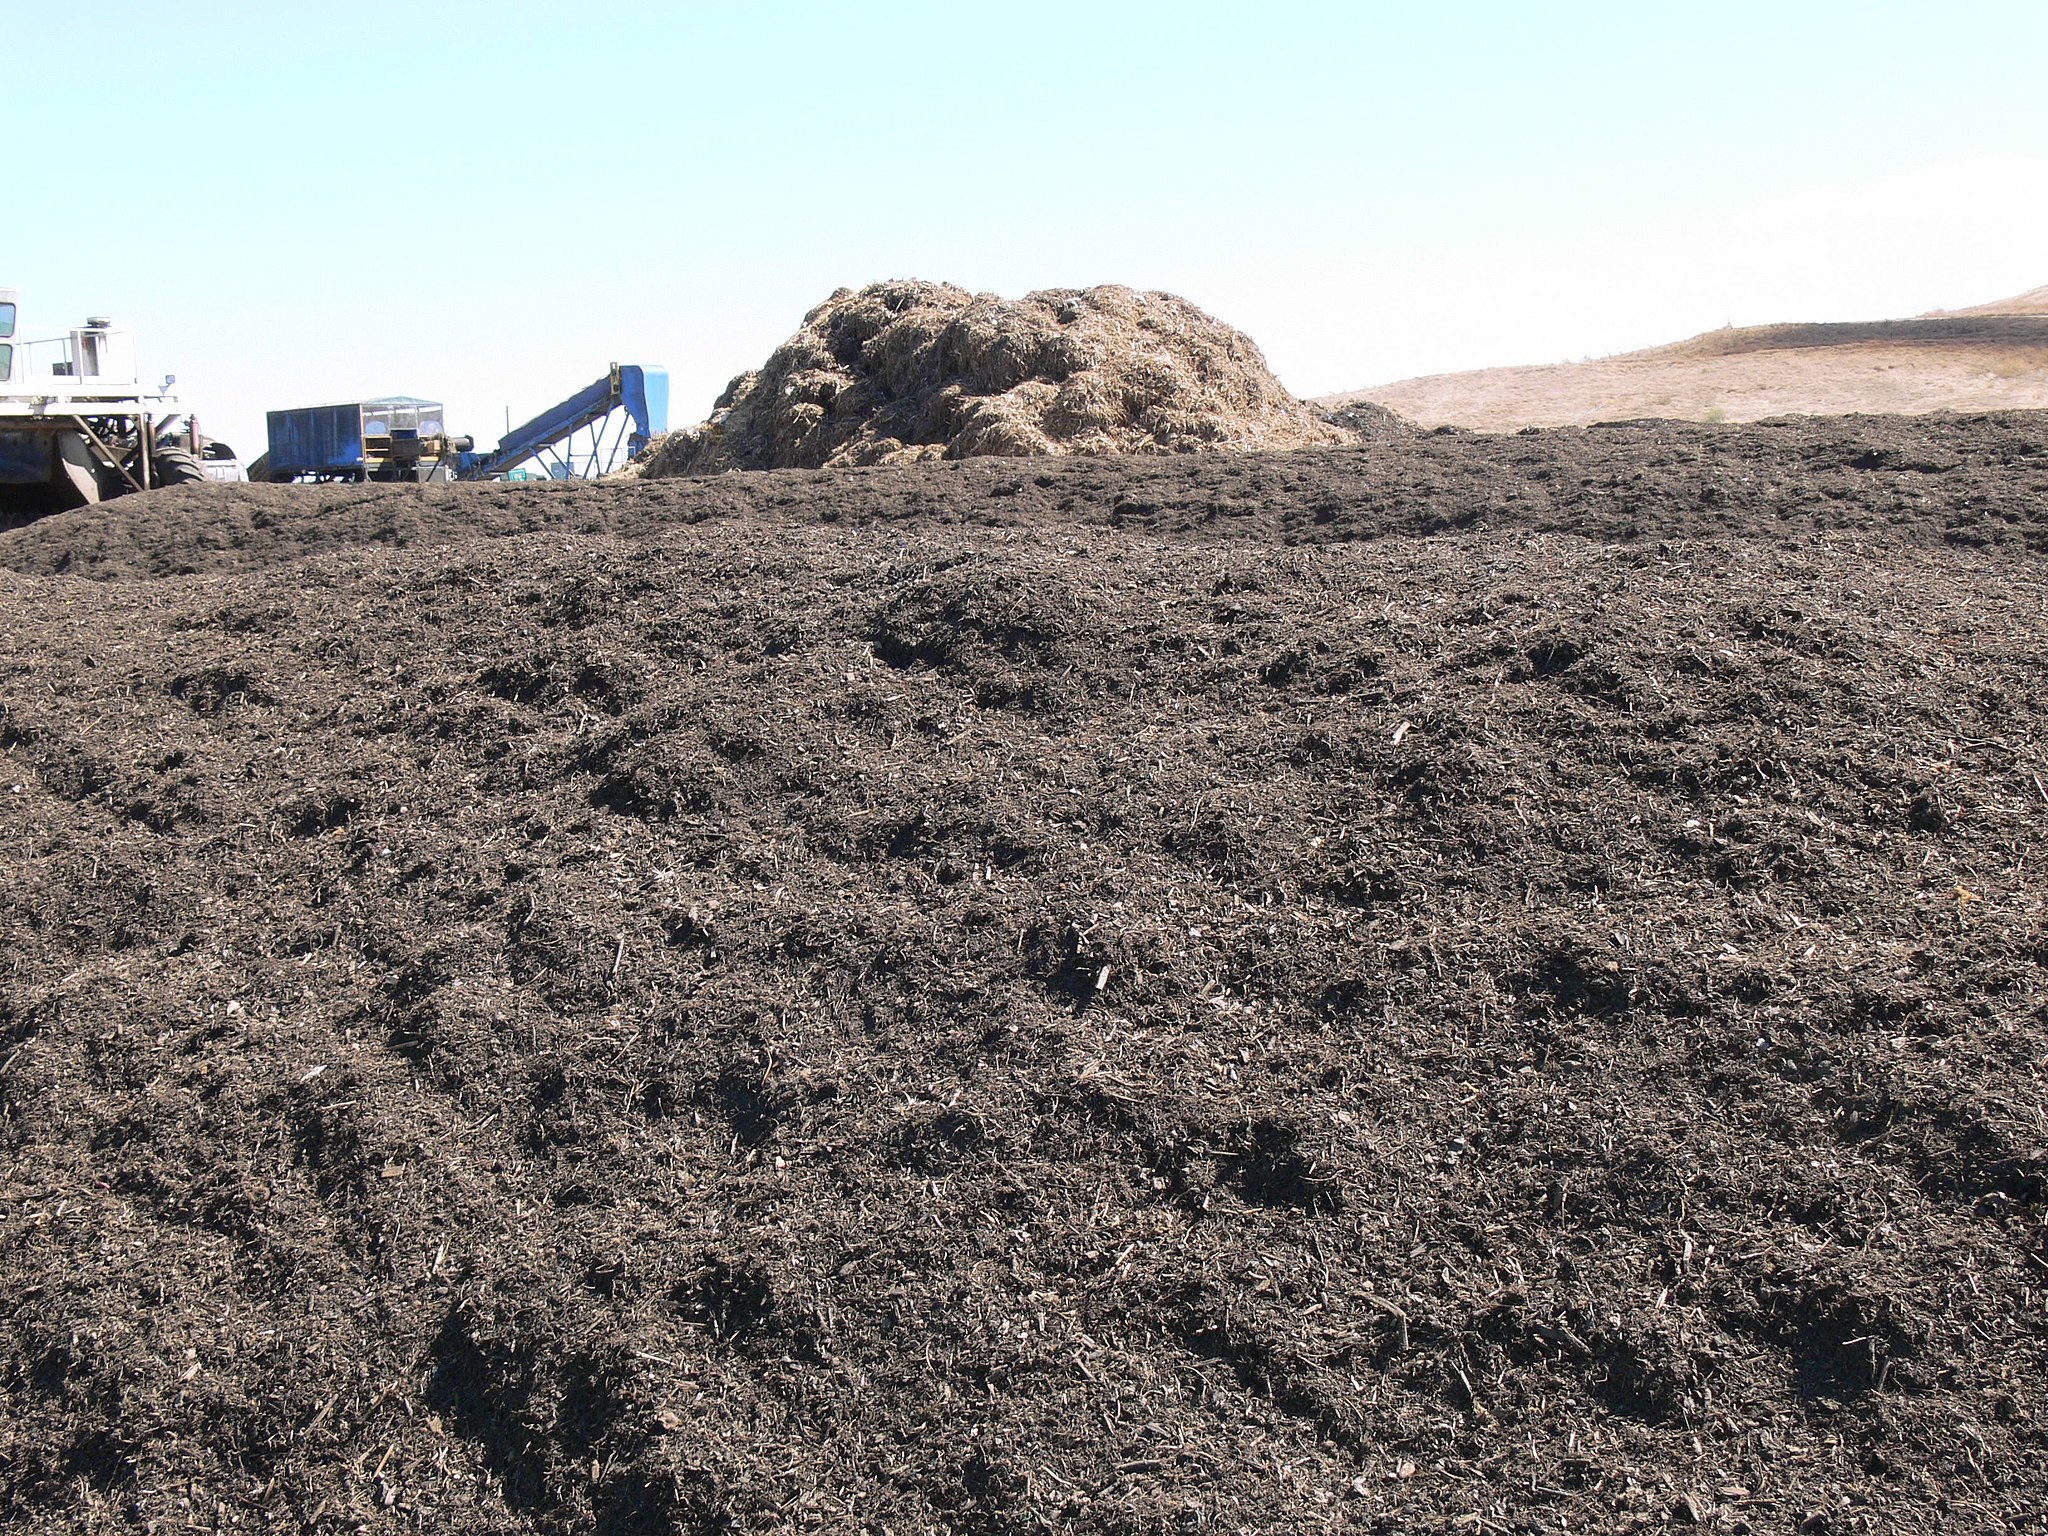
Spread your finished compost and start a new one
After you have raked, trimmed and tidied, you can clean up your compost pile by applying the finished product to your beds, potting mix, and individual plants. Sift out pieces that didn’t break down, use them as the base layer on a new pile.
With leaves and other dead matter, you will easily achieve the recommended 2 parts carbon (brown) layer, and fresh weeds will provide the recommended one part nitrogen (green) layer. Save some bags of leaves for alternating layers to continue composting in the proper ratio throughout the summer.
Take some time to address any other issues — like broken structures, damaged fencing, or potential pests — and you’ll be well on your way to an amazing, productive season!


