January places us square in the season of winter, where our instinct to conserve energy and keep warm has us craving hot soups, dense roots and, of course, calorie-rich carbs. While the foods discussed in the last two parts of this series continue to provide excellent nutrition through the winter, there’s no better time for baking.
According to the traditional Chinese calendar, this month includes the solar terms Xiao Han (小寒) and Da Han (大寒), or “Slight Frostiness” and “Great Frostiness,” attesting to the increasingly bitter temperatures ahead. Besides warm winter stews, chock full of meat and vegetables, it is customary to consume plenty of rice in China — the number one rice producer in the world.

Here in the US, we produce much more wheat, corn and sorghum; and, like other European derived cultures, our year-round staple is bread. Unfortunately, the vast majority of bread consumed today is maximally processed and minimally nutritious.
Today we will explore the secrets to making delicious, nutritious, whole grain breads — serving the dual purpose of keeping a cozy kitchen and a satisfied stomach.
Whole grain goodness
Whole grains are considered to be a balanced food — neither too yin nor too yang. They are, in essence, plant embryos — complete with protein, fat, fiber, vitamins and minerals. Unfortunately, most of these are lost in the processing of refined flours. Baking with whole grains augments not only the nutrition, but also the flavor, appearance and texture of breads and other baked goods.
Success
You are now signed up for our newsletter
Success
Check your email to complete sign up
While we are accustomed to light, fluffy, and mild, our not-so-ancient ancestors used to enjoy dense, dark, chewy loaves, bursting with robust flavor and aroma. A thick, nourishing slab was practically a meal in itself. Some issues arise, however, when working with whole grains.
The first is that, with all their vital nutrition, whole grains are inclined to spoil more quickly than their dead and desiccated counterparts. In a traditional home, bread was baked regularly and consumed promptly; but for most of us today, baking — or even shopping — daily is hardly feasible. Enter refrigeration — problem solved.
Another concern is that many whole grains contain phytic acid, which binds important minerals like calcium, phosphorus, iron and zinc. Zinc is especially valuable in the winter months, for its immune-boosting properties. In order to make these minerals available, the phytic acid needs to be reduced. This can be done in a number of ways, long known by our ancestors — whether they understood the science behind them or not.
Soaking
Many traditional cultures were in the habit of soaking their grains before cooking. Soaking activates phytase, an enzyme which breaks down the phytic acid to ensure that the grain’s minerals are available for uptake.
Soaking has an additional benefit. Whole grains contain complex carbohydrates that can be difficult to digest, and lead to bloating and discomfort in some individuals. When soaked, the compounds are partially broken down, facilitating digestion.
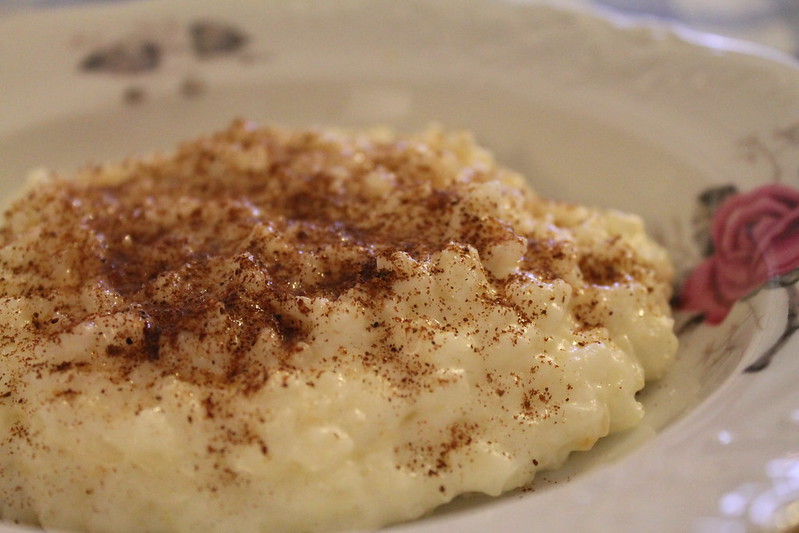
Soaked grains can be used in baking, but this method is more commonly applied to cooked porridge, gruel, grits and rice. This simple preparatory step significantly reduces cooking time.
Sprouting
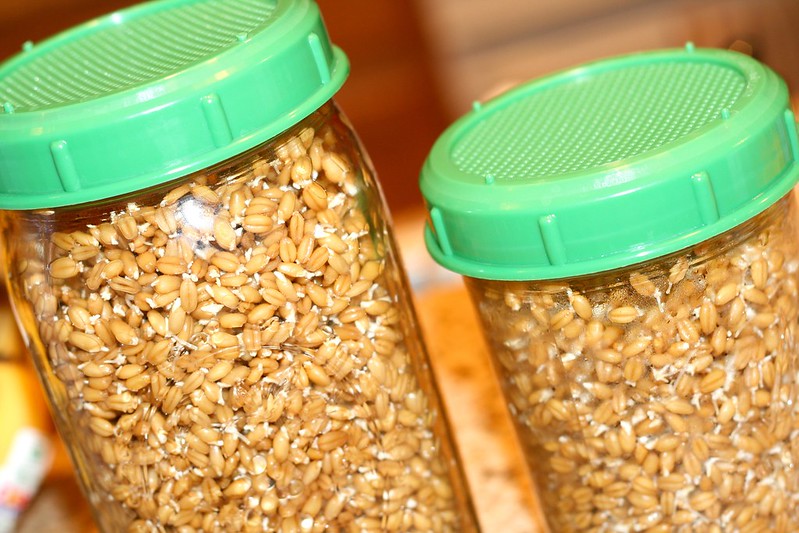
Taking it one step further, sprouted grains have undergone germination — a process that breaks down both phytic acid and complex carbohydrates. Sprouting can be done at home, by keeping soaked grains in a ventilated jar and rinsing regularly. This moist environment is liable to host bacteria, however, so eating raw sprouts is often discouraged.
Sprouted grains can be pulverized and used in baking; but it is also possible to purchase sprouted grain flour or sprouted-grain breads. These should be stored in the refrigerator to preserve the nutritional content and prevent spoilage.
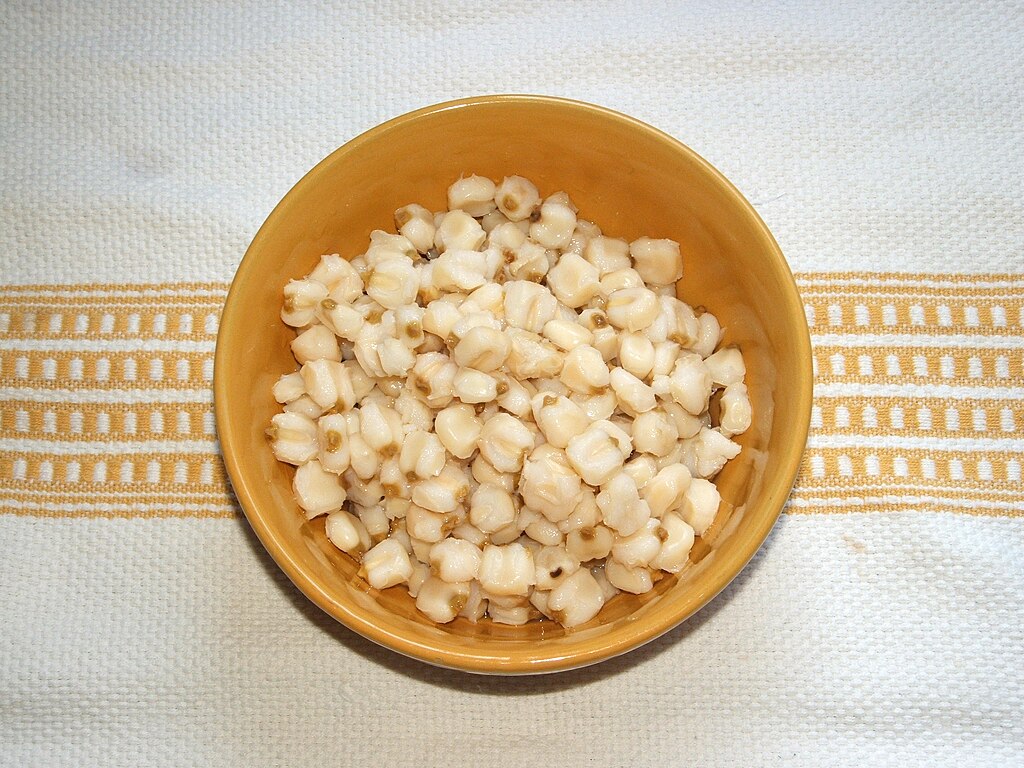
Nixtamalization
A unique method for preparing dried corn (maíz) emerged in ancient Mesoamerica. Beyond soaking but not quite fermentation, nixtamalization unlocks this grain’s incredible potential for nutrition, flavor and texture.
Water mixed with wood ash (a source of calcium hydroxide) is used to cook and then soak the hard kernels, after which their indigestible outer layer (pericarp) can be removed. The tender masa that remains is used in hundreds of Latin American dishes — often ground into a nutritious flour for breads and tortillas.
Fermentation
Fermentation has been used in food preservation since prehistoric times. It can be applied to fruits, vegetables, dairy, flesh foods, and of course, grains.
A variety of grain fermentation methods have evolved from different cultures, including Japanese miso — made with soybeans and rice or other grain fermented with a koji mold; Indian idli and dosa — both made with soaked rice and lentils which are allowed to ferment for several hours; and sourdough — a bacterial ferment as old as ancient Egypt, that is still used for leavening bread.
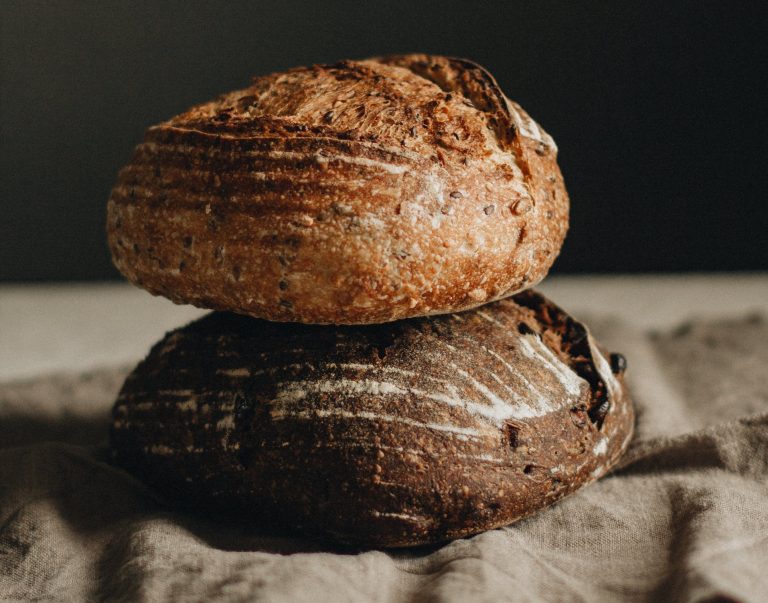
Sourdough
Unlike conventional yeast, which is one strain bred for speed and reliability, sourdough is derived from any number of naturally-occuring wild yeasts. The process takes longer, but the result is a truly fermented food — complete with probiotics, improved digestibility, and maximum nutrition.
The composition of sourdough bread can range from entirely white flour to entirely whole grains, and everything in between — including sprouted or soaked grains. Sourdough is a huge topic worth exploring in depth, but here we will just touch on the basics — to get you ‘started,’ so to speak.
Sourdough starter
All sourdough begins with a starter, which can be borrowed or bought; but let’s look at making our own — since it’s always helpful to understand the process.
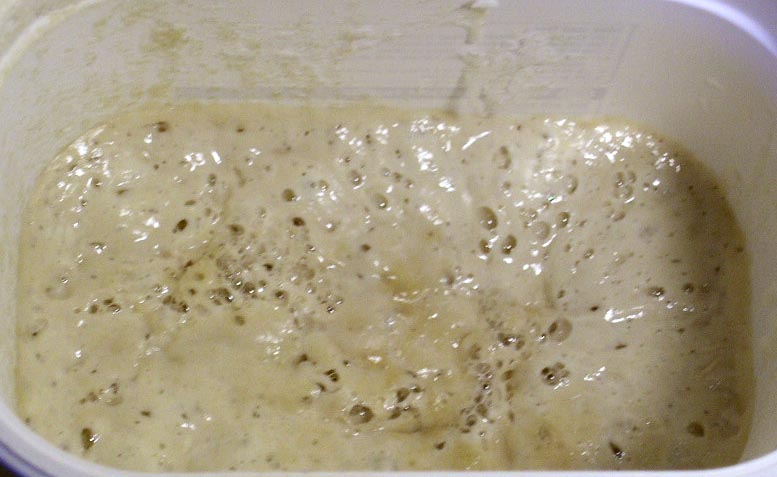
Sourdough starter is a symbiotic culture of bacteria and yeast (SCOBY). It requires only three things: flour, water, and patience. Most recipes are exacting with measurements and timing, but there will invariably be many variables and this scoby can be forgiving and adaptive.
After all, our ancestors managed to keep sourdough going without the help of digital scales or calculators; so once you get to know your starter and its preferences you can probably rely on eyeballing and intuition.
Basically, start by mixing small equal amounts (by weight) of flour and non-chlorinated water in a clean pint or quart jar. Any unbleached, not-self-rising flour will work, but whole grain flour and rye are especially good for boosting the good bacteria content.
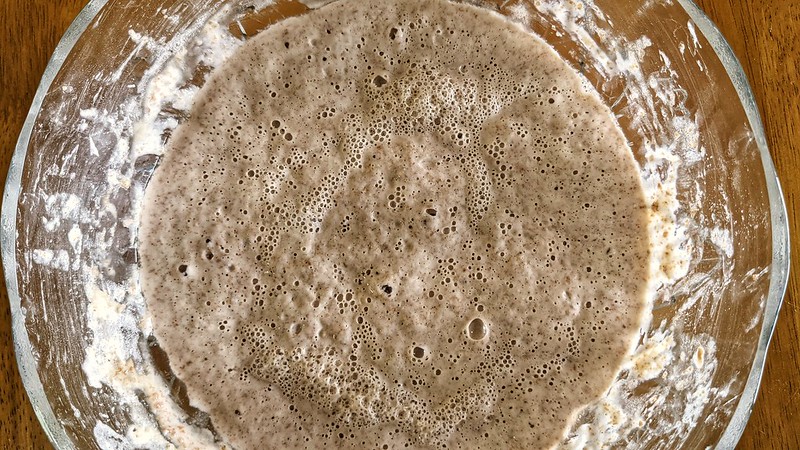
The jar should be loosely covered and left at room temperature for 24 hours, after which the same amount of flour and water should be added and mixed in.
This process continues for seven days under the following guidelines:
- The feedings should be twice the weight of the starter (1:1:1 ratio of starter:flour:water). This will give you a 100 percent hydration starter, which facilitates fermentation.
- As the starter becomes active, it should be fed more frequently. After the first two days, feed twice daily.
- As it starts to grow in the later feedings, a portion is removed to a clean jar and fed accordingly, while the rest is discarded. This prevents you from using up all your flour making a huge batch of starter.
- The discard is not usable until the ferment has fully developed, so just compost it. After seven to 10 days it should be reliably active and the discard from feedings can be used for everything from pancakes to pizza..
Sourdough bread recipes
More importantly, your sourdough starter can now be used to leaven bread. Here, we will look at a few that include some of the whole grains mentioned above, but the possibilities are endless.
Basic sourdough
Making sourdough bread is not particularly difficult or complicated, but it does require some persistence and time. Much of the process is waiting — while your starter does the bulk of the work — and then catching the right moment to move to the next step.
I had already adopted the use of whole grain flour in the popular no-knead bread recipe when I entered the sourdough arena. Combining the two seemed natural and logical, so I continued measuring by clumsy cups rather than exacting grams — and I have yet to turn out a loaf that wasn’t devoured with gusto.
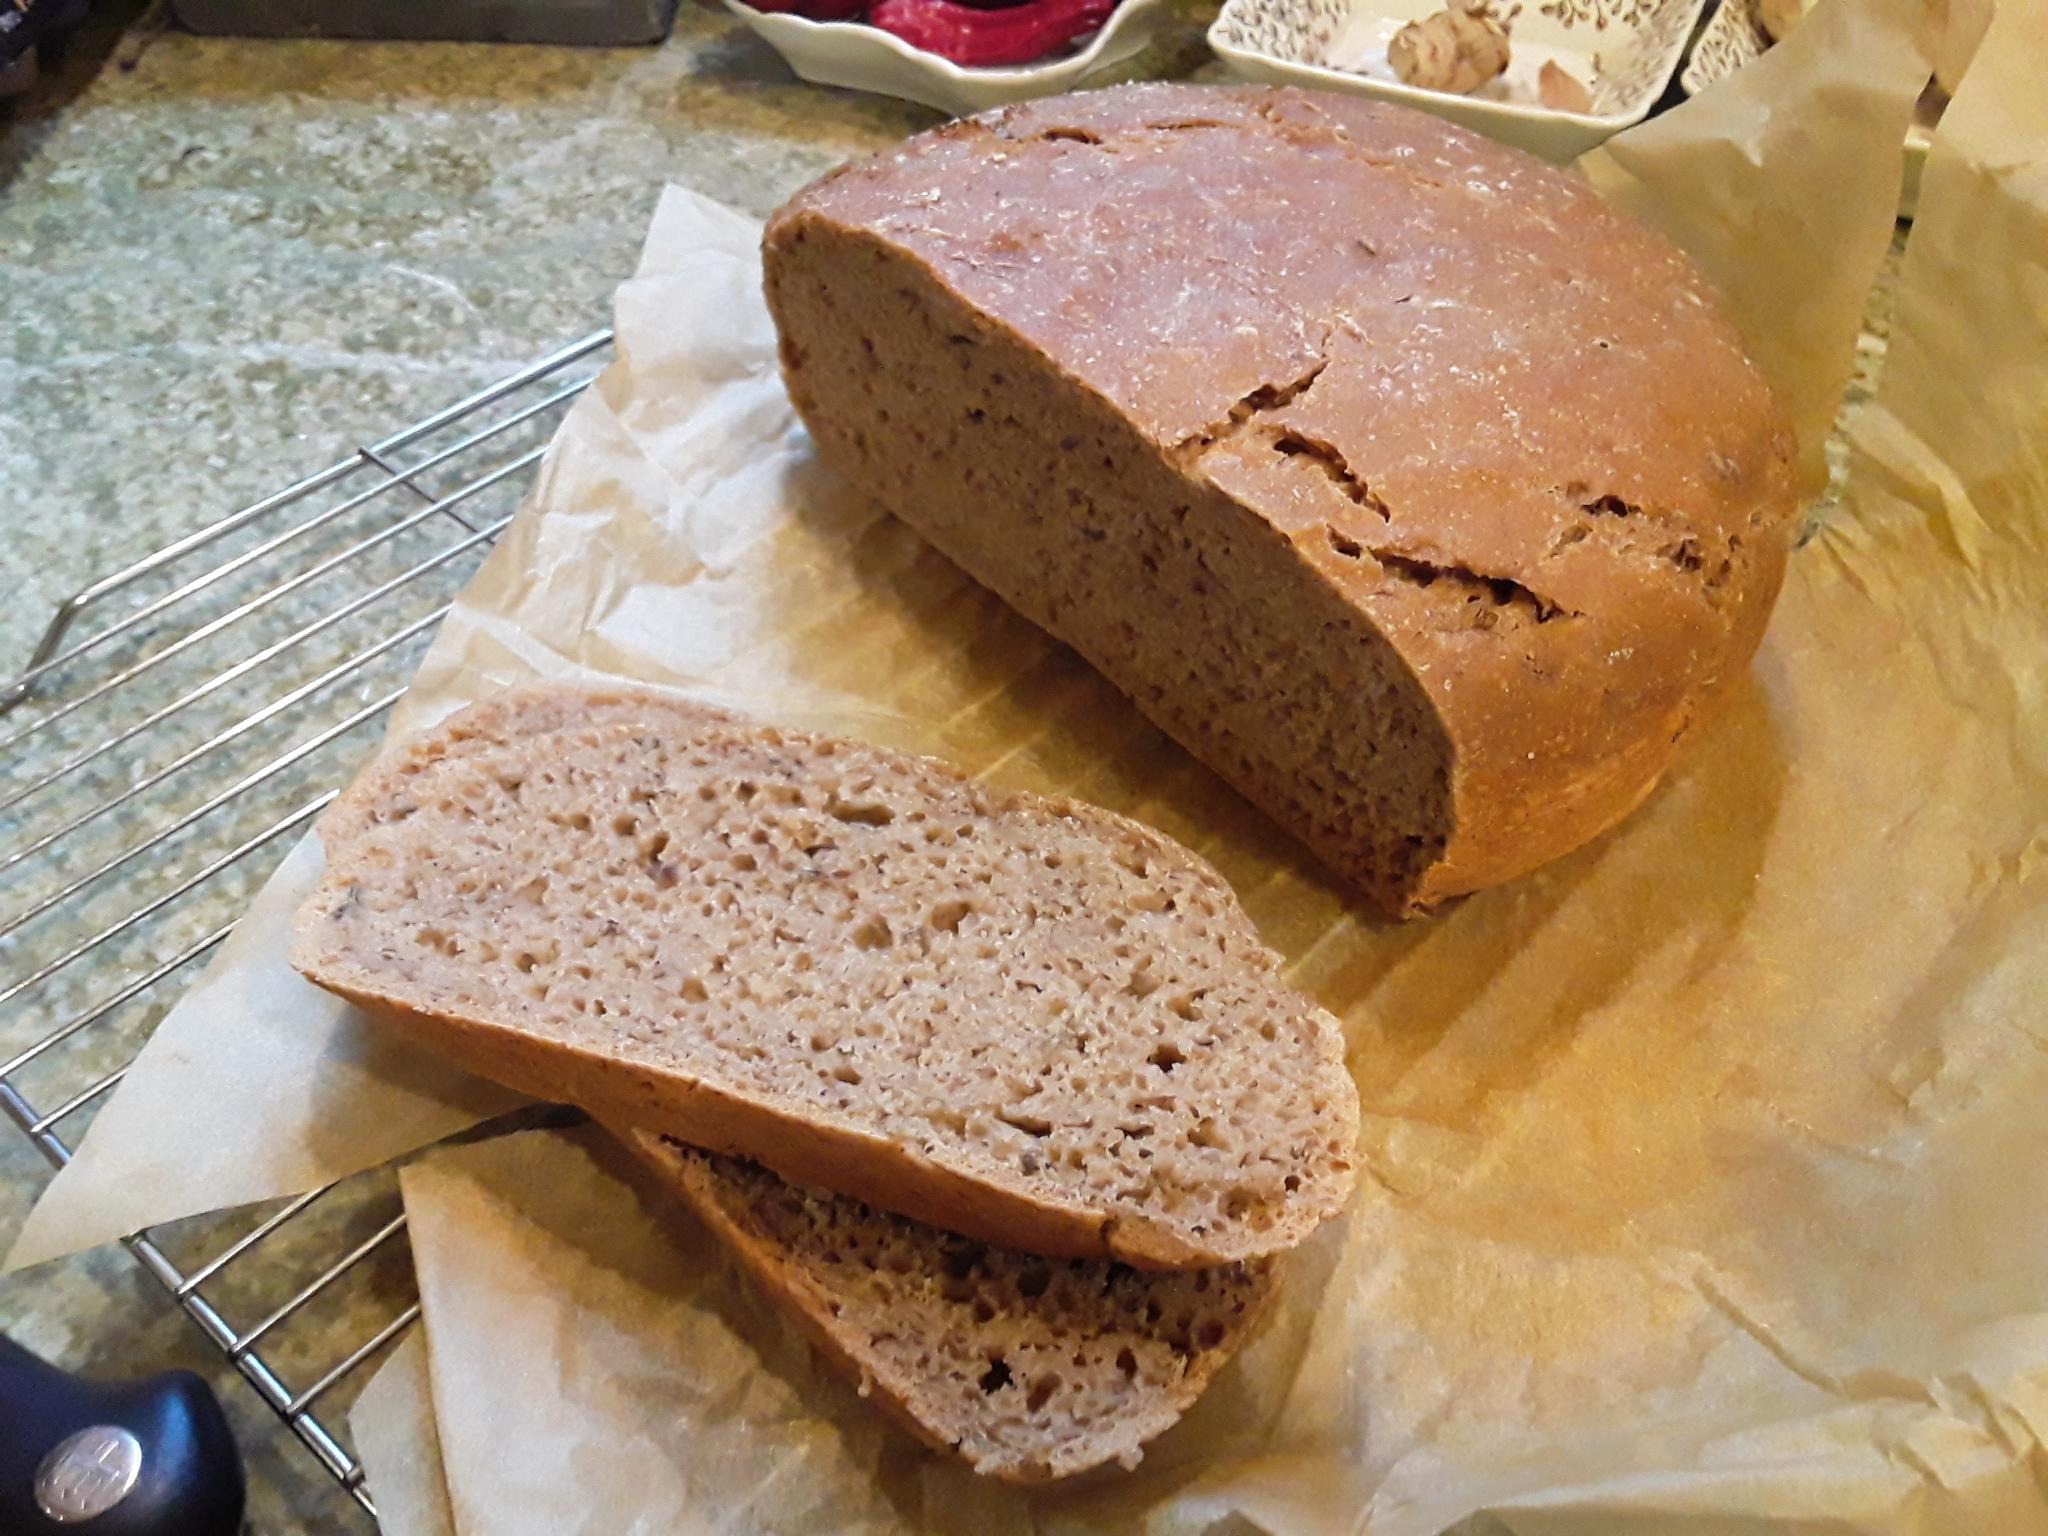
If you like precision, this recipe covers everything in detail. For my basic sourdough rye, however, I keep it simple:
Ingredients:
- Starter: I mostly keep it in the fridge, but take it out for feedings as baking day approaches. I take just a little to grow for next week’s bread, pouring the rest (from a pint jar) into a mixing bowl.
- Flour: depending on the size of the loaf I want, I’ll use 1 cup or 1 ½ cups each of rye, whole wheat, and unbleached white flour, all organic.
- Salt: between 1 and 2 tsp.
- Caraway seed: 1 tsp.
- Onion powder: 2 tsp.
- Water: half the amount of the flour — this makes a low-hydration loaf which is easier to work with. Adding more water will speed up fermentation, but the dough can become floppy and sloppy to work with.
Process:
- Mix the ingredients thoroughly, cover, and let sit overnight or longer — until the dough has about doubled in size. If your home is on the warm side, this happens more quickly. Cooler temperatures take longer, but this also adds to the sour flavor.
- After the dough has increased, drizzle the top with olive to help prevent sticking, and work it lightly. Then let it rest for 10 minutes to a half hour.
- Shape your dough by folding several times over a floured board. Then place it in a parchment-lined bowl, big enough to accommodate growth. You can also place it on a cloth dusted with flour and cornmeal, then flip it into the baking vessel for beautiful, crusty surface; but it’s a little tricky and can be messy.
- When your dough has nearly doubled in size, preheat your oven and a large, heavy pot with a lid (a Dutch oven) to 425°F.
- When the dutch oven is piping hot, carefully remove it from the oven and transfer your rising loaf to the pot (parchment and all). A slice or two on the surface helps steam escape and can look pretty, but I usually just let it crack naturally. Cover the pot and place it back in the oven
- Bake for a half hour and then reduce the temperature to 375°F and remove the lid.
- 15 to 20 minutes later, your bread should be deliciously done. Remove your bread from the pot and place on a cooling rack for at least 15 minutes before digging in.
If you’re new to bread baking, you may want more detailed instruction, but the basics are quite simple. Once you get the hang of it, you’ll be ready to experiment with other grains, seeds, and higher hydration.
Masa sourdough cornbread
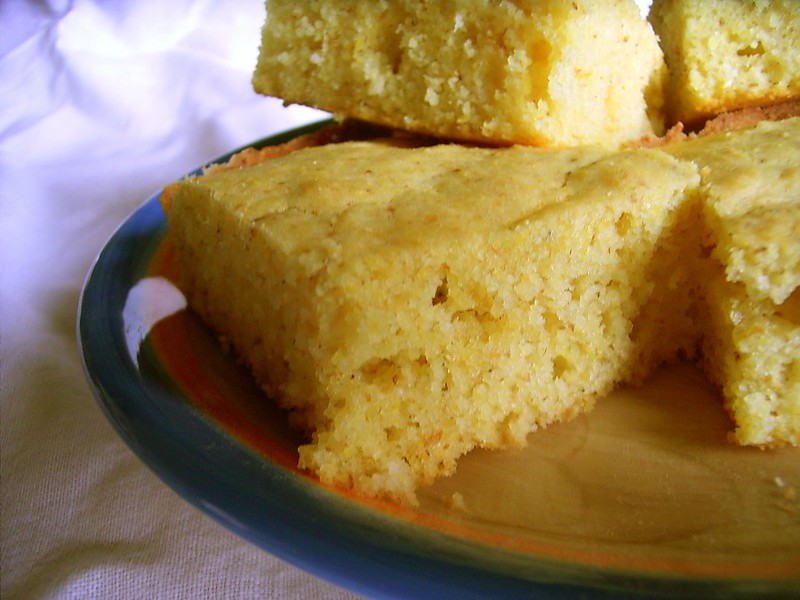
Sourdough starter can also be used to leaven other baked goods, including cornbread. If the nixtamalized masa piqued your interest, try a whole grain sourdough cornbread! Using your favorite cornbread recipe, make the following adaptations:
- Replace half the milk, yogurt or buttermilk with sourdough starter.
- Replace regular cornmeal with masa flour.
- Replace all-purpose flour with whole-grain flour or sprouted grains.
- Mix the milk and sourdough with the flours and sweetener, then let it ferment for up to 20 hours at room temperature.
- Then mix in the remaining ingredients and bake as usual.
Gluten free sourdough
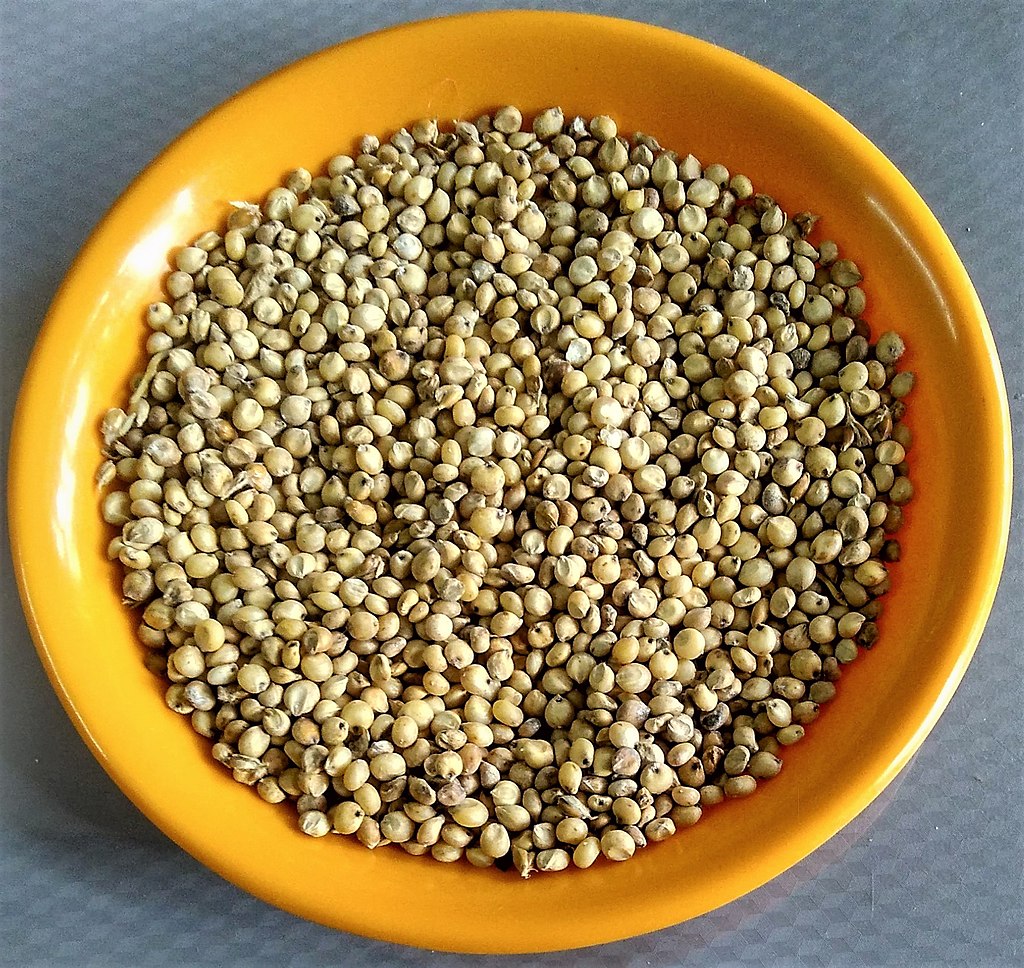
With a growing number of individuals experiencing wheat sensitivities, we would be remiss to not include a gluten-free option. Yes, sourdough can be made without wheat, rye, or any glutinous grains. Sorghum, in particular, is a great substitute in baking.
Of course, if you are avoiding gluten completely, you will need to make a sourdough starter that is gluten-free. You can use the same technique as mentioned above, substituting a gluten-free, or even grain-free flour. If the fermentation is very slow, you can speed it up by introducing beneficial bacteria from other sources — such as kefir, yogurt, kombucha, or even a splash of organic fruit juice.
Most gluten-free flours are a combination of different grains and non-grains, blended to achieve a balance in texture, moisture, flavor and density. You can use a ready-made mix, or experiment with different ratios of a variety of flours — including, but not limited to sorghum, potato starch, chickpea flour, tapioca flour, teff and rice flour.
Once you have a reliable flour and starter, creating your sourdough bread is simple.