Although winter is still a ways off, now is the time to start preparing your plants for either transition, or surviving whatever nature has to offer. Many tender perennials can be brought in as houseplants during the colder months, but there is a process for success. The following six steps will serve as a good guideline to minimize shock and damage to your favorite plants.
Taking stock
Conduct a walkabout. Check the condition of your plants, and decide which will be the lucky winners this winter. There may be some plants that you always move in and out, but perhaps this year you had some extra nice herbs or other tender perennials that you would like to save as well.
Depending on how harsh your winters are, some herbs — like thyme, sage and oregano — will be fine outdoors with a little added protection; but they can also come in if you have lots of sunny space. Rosemary is fairly picky, and prefers an unheated, but protected, sunny spot — like a closed-in porch, a well-lit garage, or a greenhouse. Basil and marjoram are very tender but they can do well as potted indoor plants.
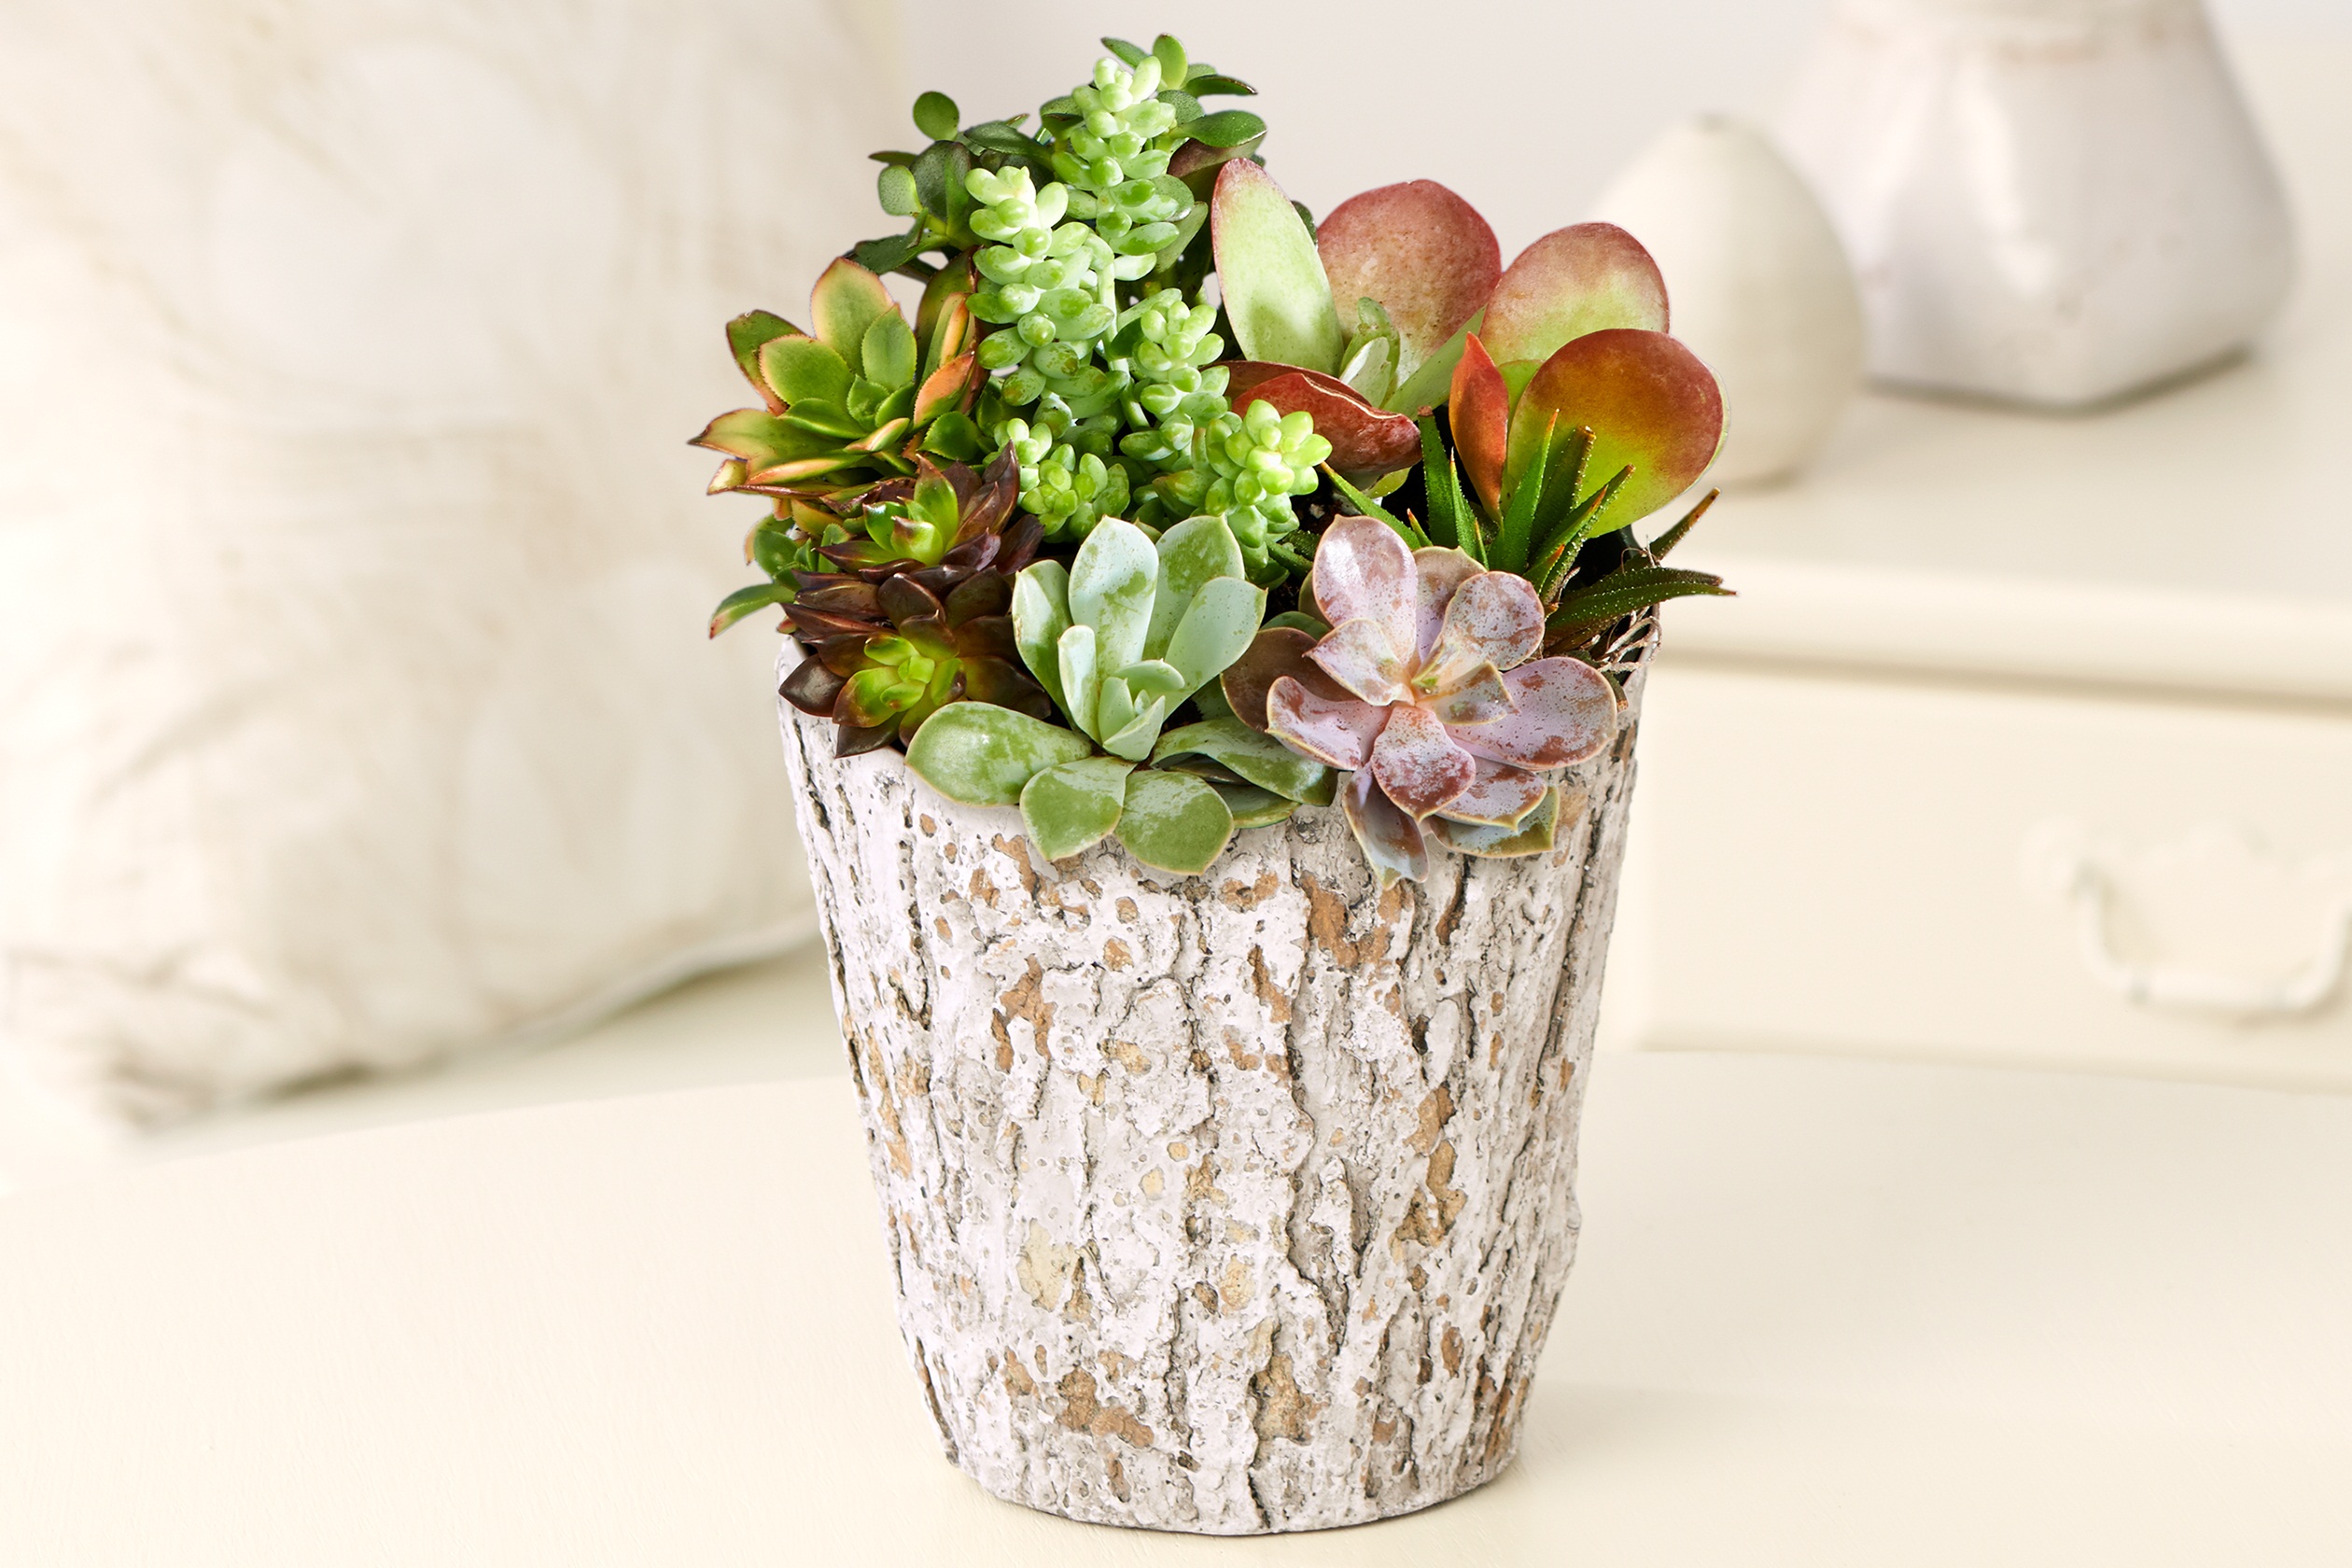
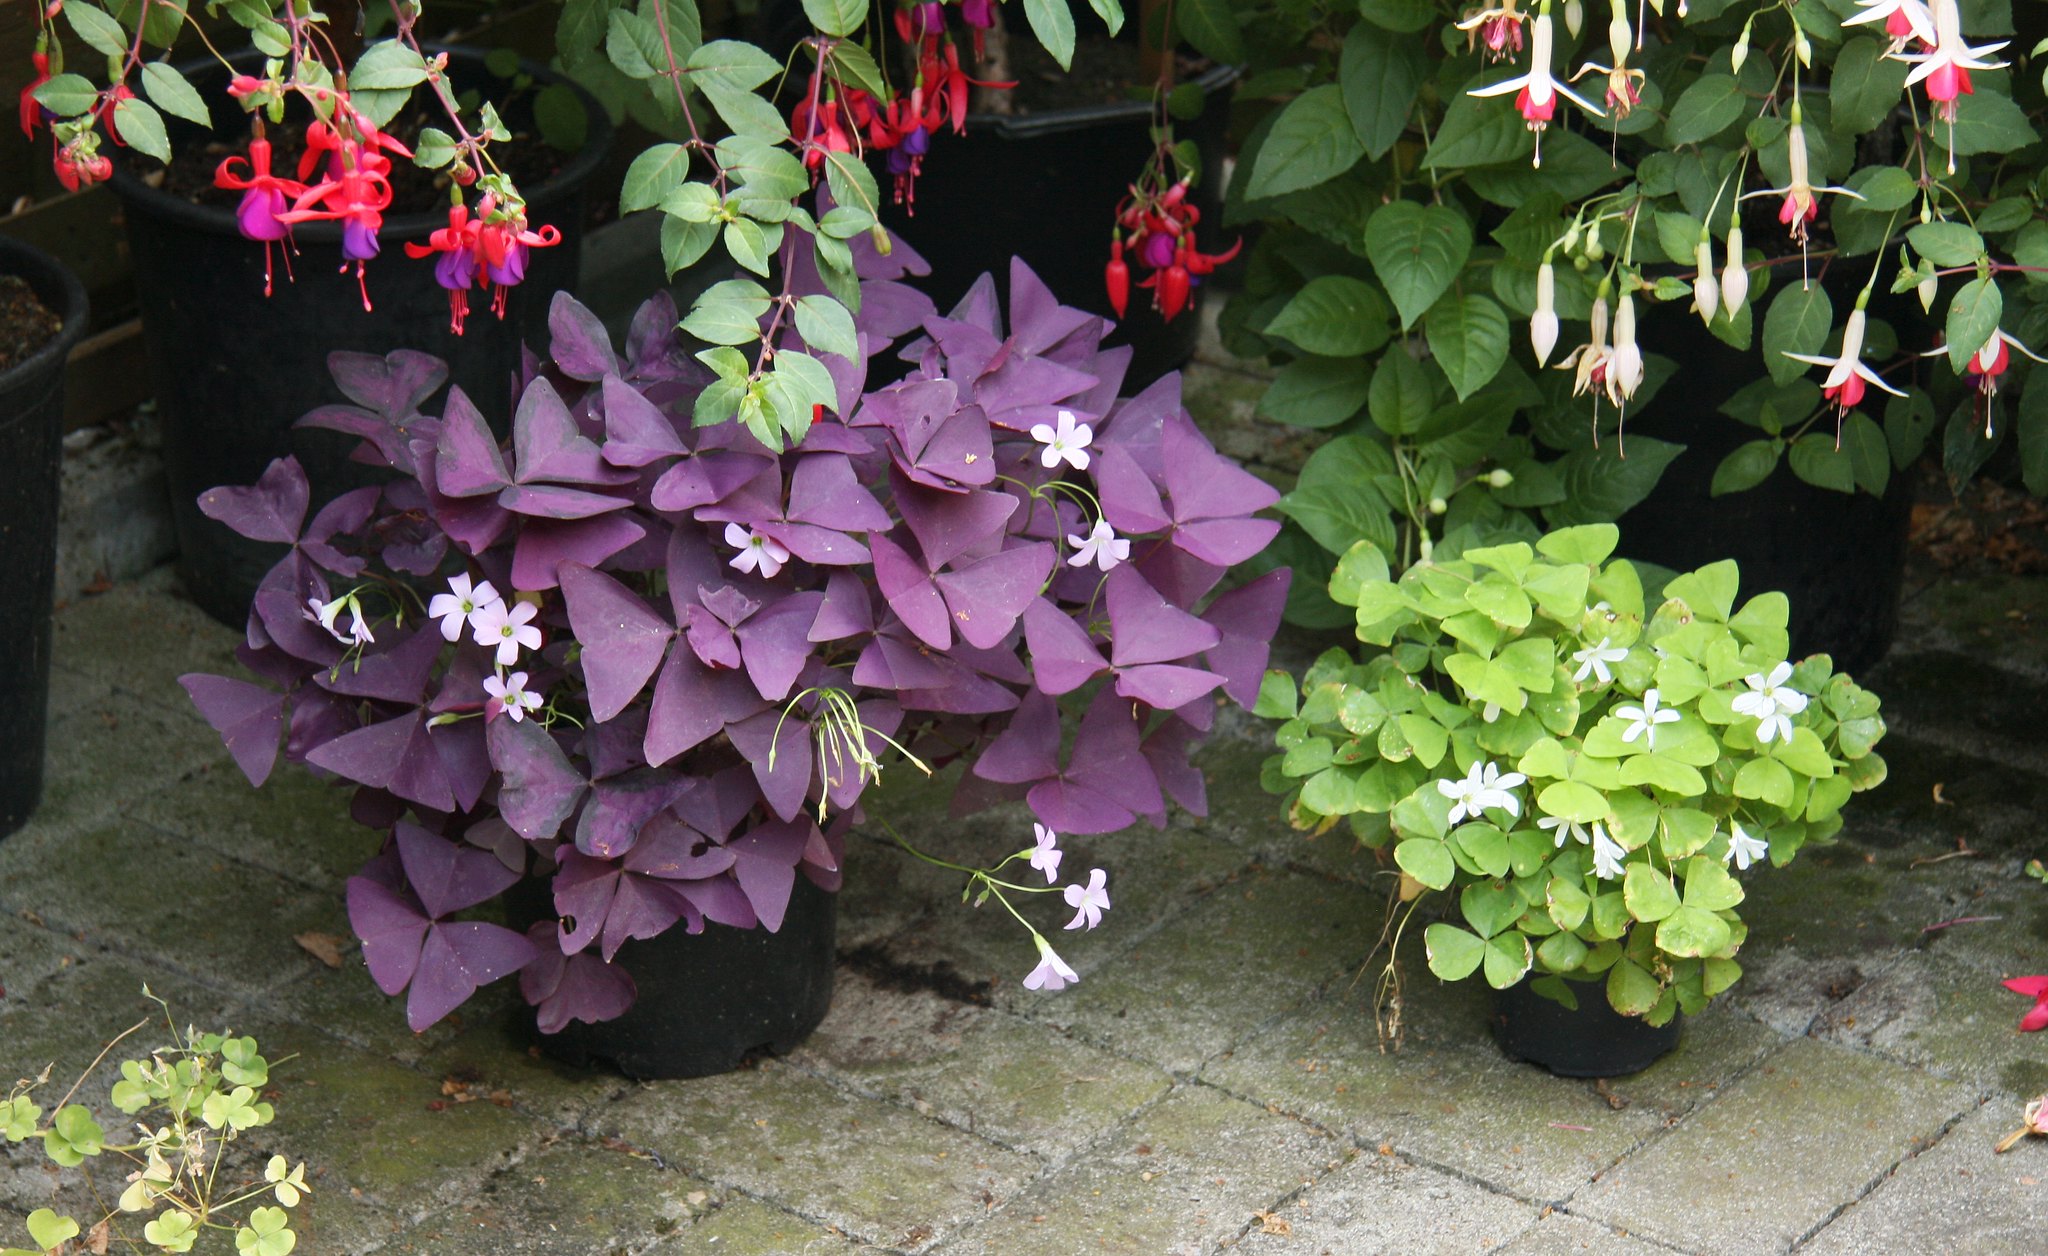
Other likely candidates include citrus, succulents, geraniums, ferns, begonias, oxalis, ornamental peppers, and many more.
Plants that have tender roots in the form of rhizomes, bulbs, or tubers — like canna lilies, dahlias and gladiolus — will also need to come in, even though you won’t enjoy their beauty over the winter. The roots will be stored in a cool, dry place and re-planted in the spring.
Planning
Success
You are now signed up for our newsletter
Success
Check your email to complete sign up
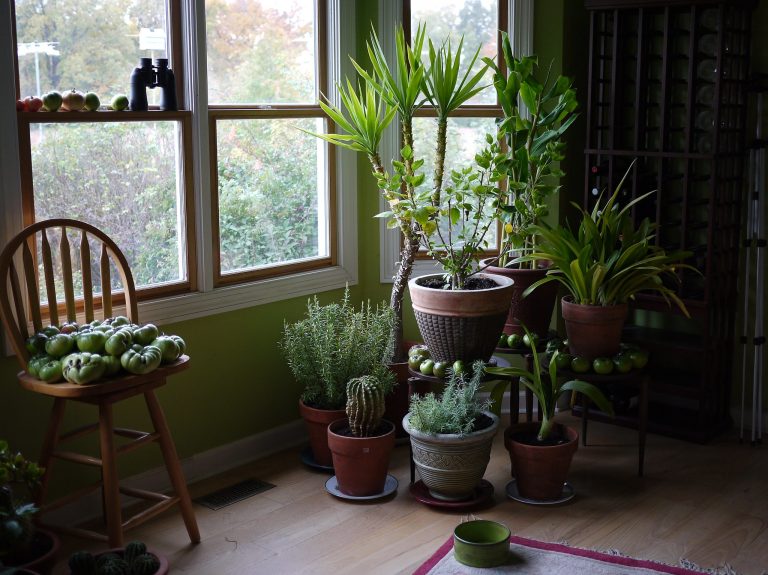
Before you begin, make sure you have a suitable place for each of the plants you intend to take in. Most plants coming in from outdoors will want at least four to six hours of sunlight. While your more typical houseplants can do fine with indirect light, these will require window space.
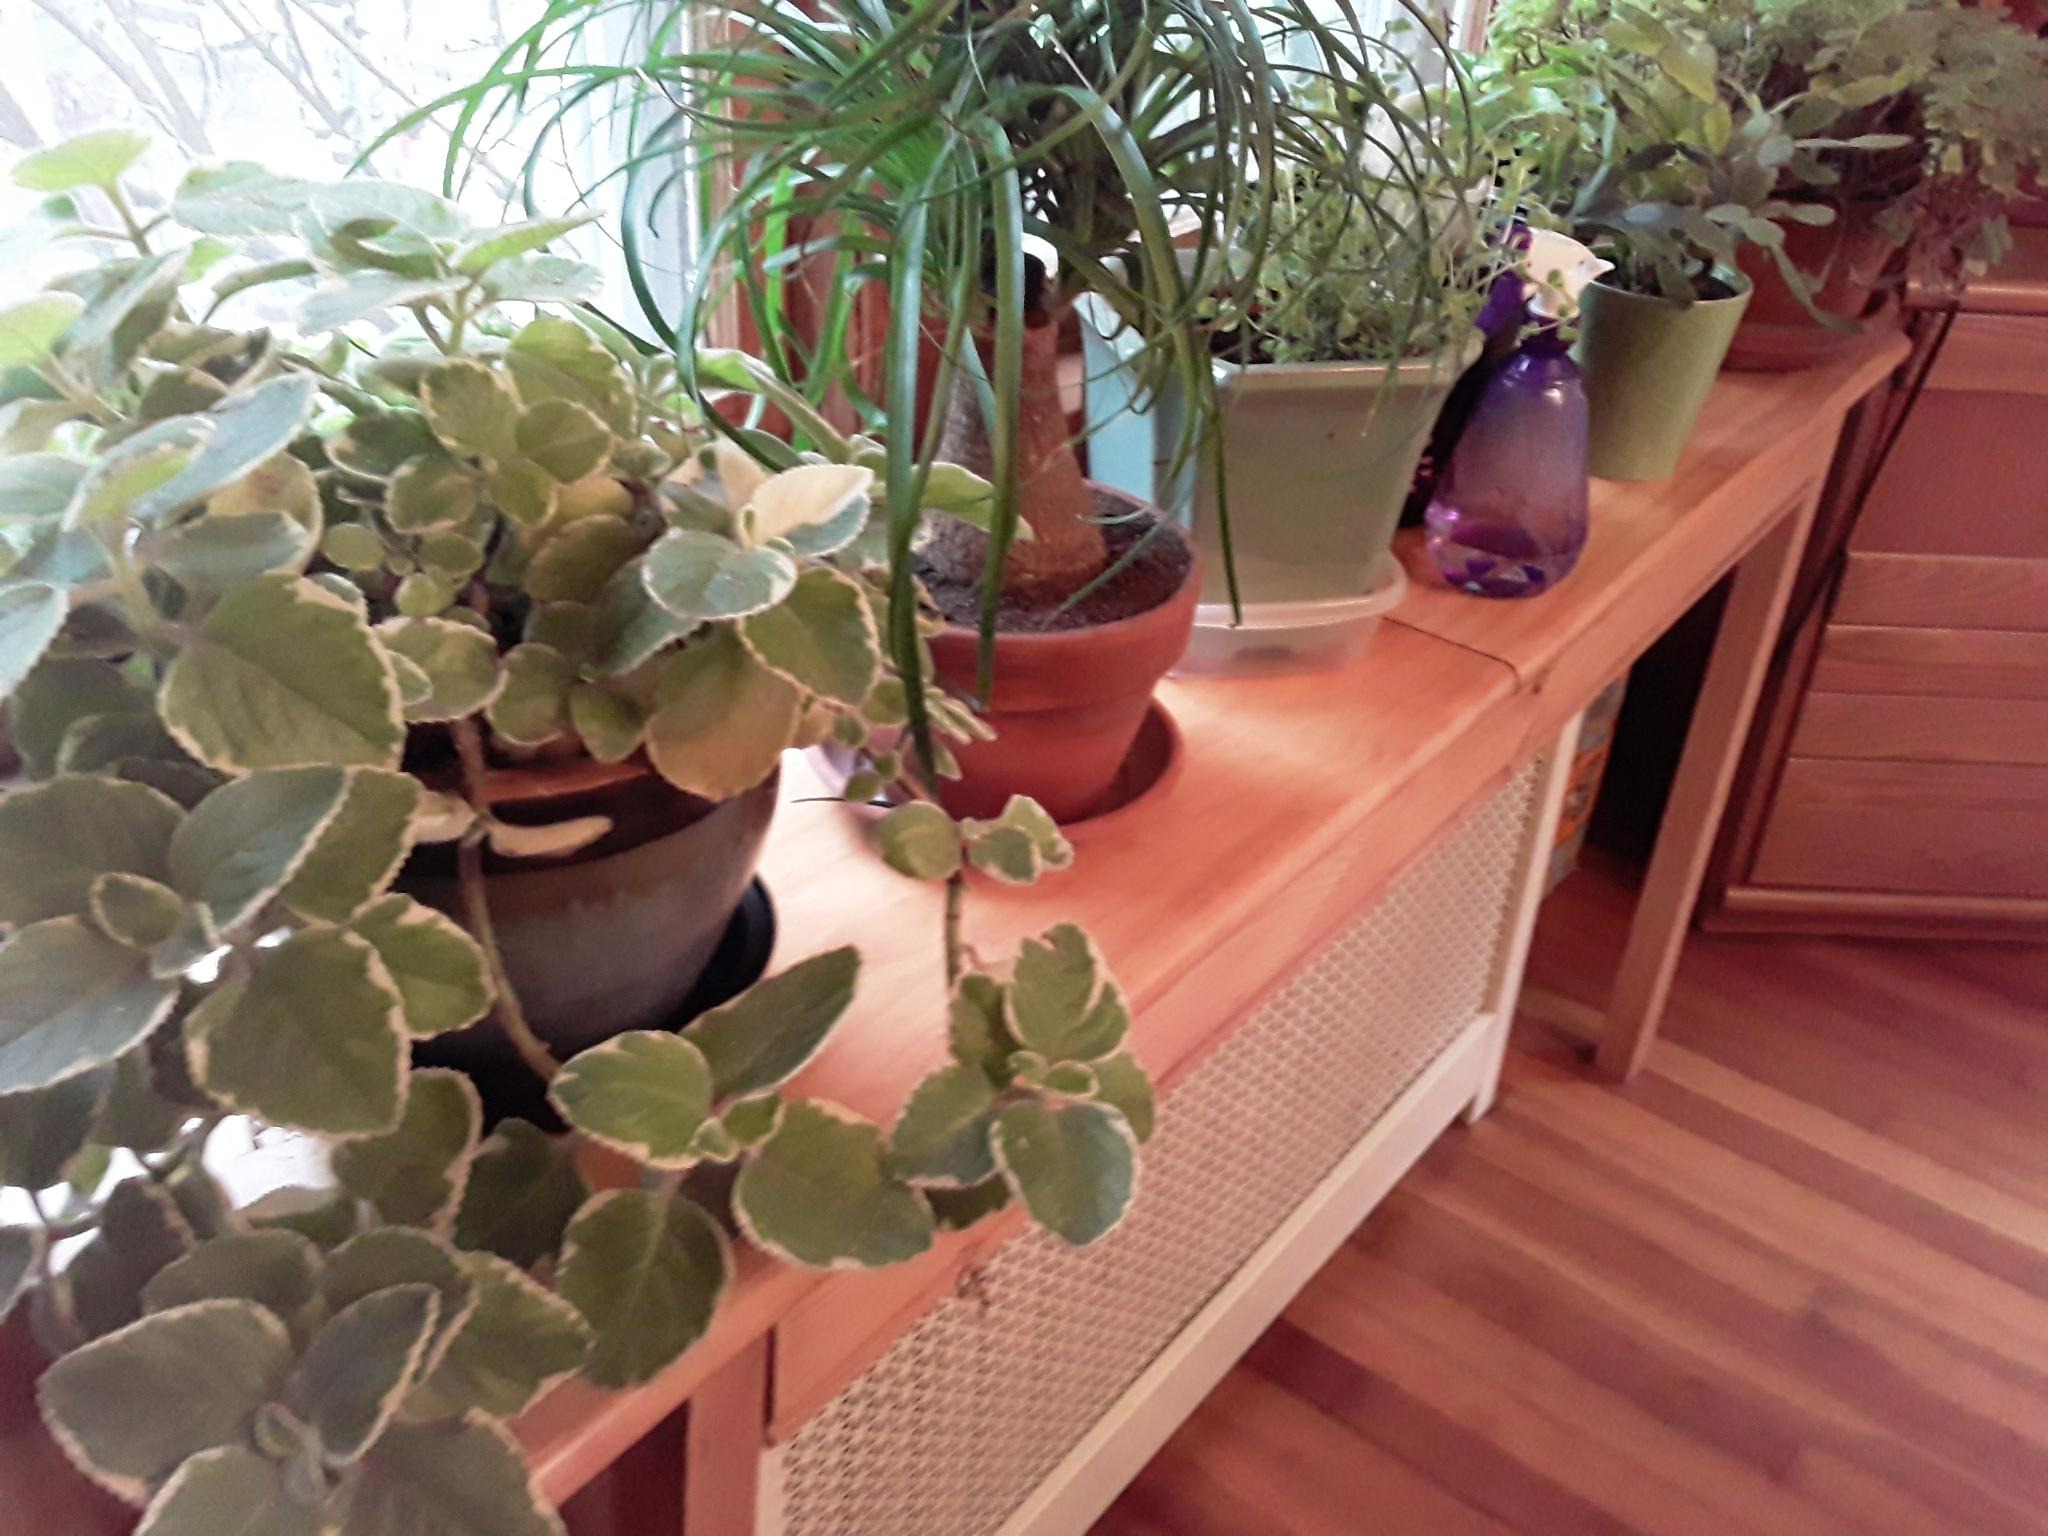
Since many old homes have radiators below the windows, one way to make room is to put small wooden tables over these sources of heat. The wood will insulate and protect the plants from burning, while the heat is directed safely out toward the room. Hanging baskets and wall sconces are another option.
If you simply don’t have sufficient natural light, you can supplement with artificial light, or grow lights. Set up a plant table or plant rack to make the most of your investment.
Any of your selected plants that are planted in the ground should be dug and potted up sooner rather than later, to avoid too much trauma all at once. Use the appropriate, unfertilized potting soil for each plant.
Transitioning
Rather than waiting until the day before your first frost to haul everything indoors, give your plants a chance to acclimate to their new surroundings.
It’s important to understand that, even though the plants are coming in where it’s warm, due to the reduced indoor lighting they will still be in a semi-dormant state; so don’t expect them to put on much growth or produce. This being the case, it is not wise to be bumping up to bigger pots or fertilizing at this time. Doing so would encourage new growth and ultimately stress the plant because the new environment cannot sustain it.
Ideally, we would allow our plants to gradually adapt to indoor living by moving them in for increasing increments of time each day (two hours, four hours, six hours) until you reach 12 or 14 hours, when they can stay in for good.
Since many of us have busy schedules and lots of plants, however, there is a more convenient option — move all the plants you plan to bring in to a shaded area of your garden. This will help them adjust to lower light levels, if not the steadier temperatures. To prevent temperature shock, try to get them indoors before the nights get very cold.
It is also good to reduce watering for various reasons. With cooler temperatures and less daylight, the plants won’t be using so much water, for one thing. Also, transitioning them a little on the dry side will help them be more receptive to their new conditions. Plus — it makes the big ones a lot easier to carry!
Clean up
Before bringing your plants in — even for just two hours — tidy them up a bit. Remove dead leaves and stems, especially those resting on the soil, where they might be harboring small pests. Removing the very top layer of soil and replacing it with fresh, clean potting soil can also minimize pest problems.
You may notice a ring of white powder around the rim of your pots. Common with potted plants, this salt deposit is a residue from unused fertilizers, and it can damage your plants if not removed.
Carefully scraping off the salts and a thin layer of soil can help, but to remove all excess salts and fertilizers from your plants, leaching is recommended. This simple process involves slowly watering the plant with twice the amount of water the pot holds in volume (i.e. a one gallon container should be flushed with two gallons of tepid water). Do this outdoors and let all the water drain out before replacing it in its saucer.
Pest control
Depending on how tolerant you are of bugs, there are a number of ways to treat your plants. Personally, I like to keep living soil for my green friends, and opt to deal with pests case by case as they appear.
To prevent any pests from entering your home, you can give the whole plant a bath with mild insecticidal soap. Take a large tub and fill it deep enough to immerse your plants. Keep track of how many gallons of water you use (in order to get the ratio right), and follow the manufacturer’s instructions for a weak solution.
After testing a small part of the plant for negative reactions to the solution, slowly submerge the whole pot and upper plant and leave it for about 20 minutes. This will kill all soft-bodied pests like aphids, spider mites, mealybugs and whitefly, as well as arthropods like ants, earwigs, flies, millipedes, mites and spiders. Be sure to give the plant a good rinse after the bath to remove any soapy residues.
Spraying the top and immersing the pot will have a similar effect. Just be sure to rinse off the soap after it has done its job (this should not be long since it kills on contact). Consider the fact that using any insecticide will also destroy many beneficial insects, which may themselves be able to take care of the bad guys if you let them.
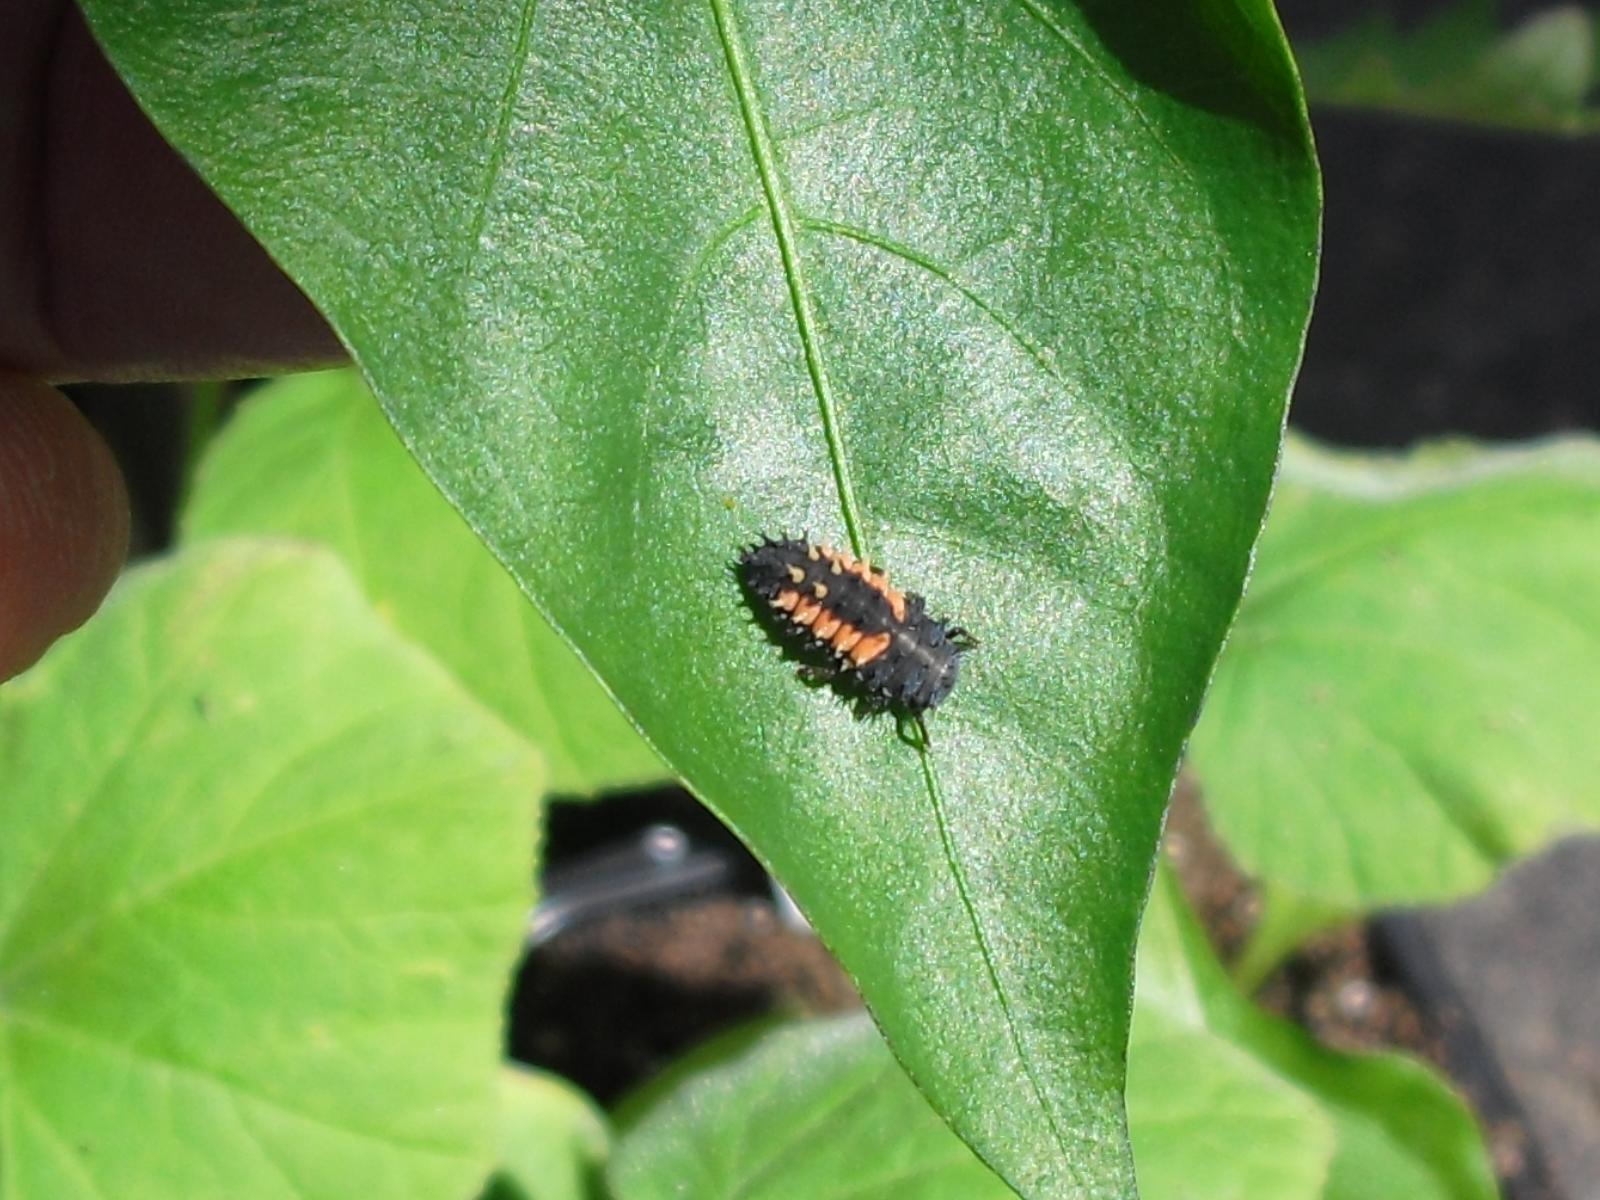
Alternatively, insect pests can be controlled by disrupting their life cycle. Because they lay their eggs in the soil, by spreading a quarter to a half inch layer of sand around the base of each plant, you can prevent them from reaching the soil, and thus minimize any insect infestation within a week or so. Again, it depends on how tolerant you are of bugs. A few ladybugs and spiders can save you a lot of work and worry, in my opinion.
Ants can be difficult to get rid of, but if they are coming from your plants, you can prevent them from taking over your house with this simple trick: In the watering saucer below the infested plant, place a solution of borax and water. Elevate the pot with stones or blocks so that the plant is not in contact with the solution. When the ants crawl out of the pot in search of food, they will meet their end instead.
Maintenance
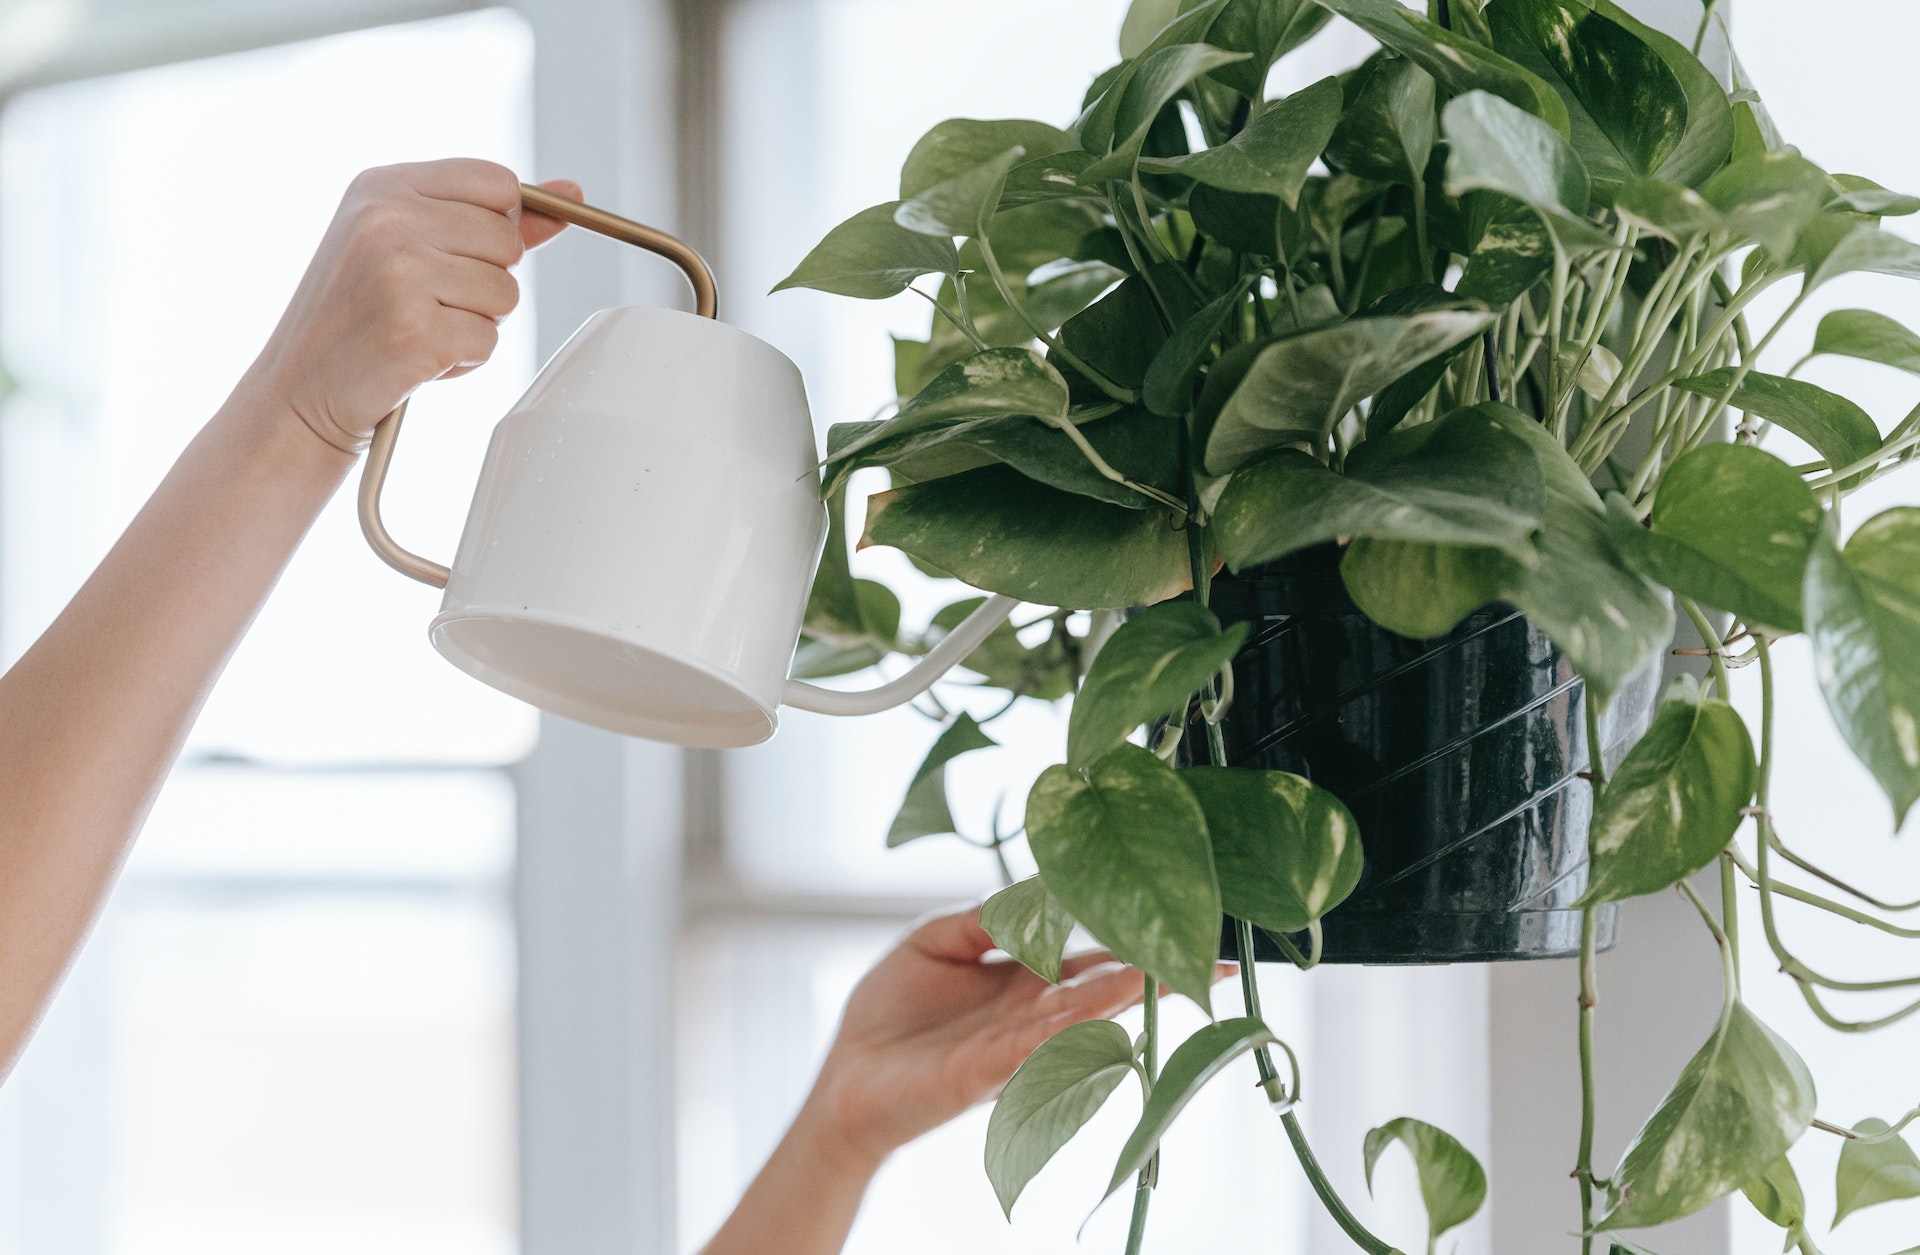
Once your plants are comfy and cozy for the winter, they are completely dependent on you for water; that is, unless you have a VERY leaky roof! When the heat is on, they tend to dry out more quickly, so be diligent in checking their soil regularly. While it varies depending on the type of plant, as a general rule, you should give them some water when they are dry.
To improve humidity, you can place your plants on a pebble dish, which provides the moisture of evaporating water, while the plants are lifted away from the actual liquid.
Since their main source of light is going to be coming from only one side, rotate your plants a quarter turn each week to keep them balanced and beautiful. Plants like to look their best, so keep them clean and tidy — dusting, showering, and removing dead leaves and flowers as necessary.
Most importantly, talk to your plants! Let them know how much you appreciate them and encourage them to look forward to another bright summer that’s just around the corner. These quiet companions love to be loved, and will respond with their best efforts to brighten the dreary winter months.