As an unexpected silver lining to the COVID pandemic restrictions and fears, many people were drawn to outdoor activities, self-sufficiency and sustainability. Mushroom foraging quickly became a popular pastime among individuals of all ages and backgrounds.
In recent years, mushroom hunting has become so popular that, for the sake of public safety and the ecosystem, state and federal agencies have imposed restrictions on foraging in parks. So what’s a mycophile to do? If you love the thrill of finding edible fungi in nature, improve your odds with mushroom cultivation in logs.
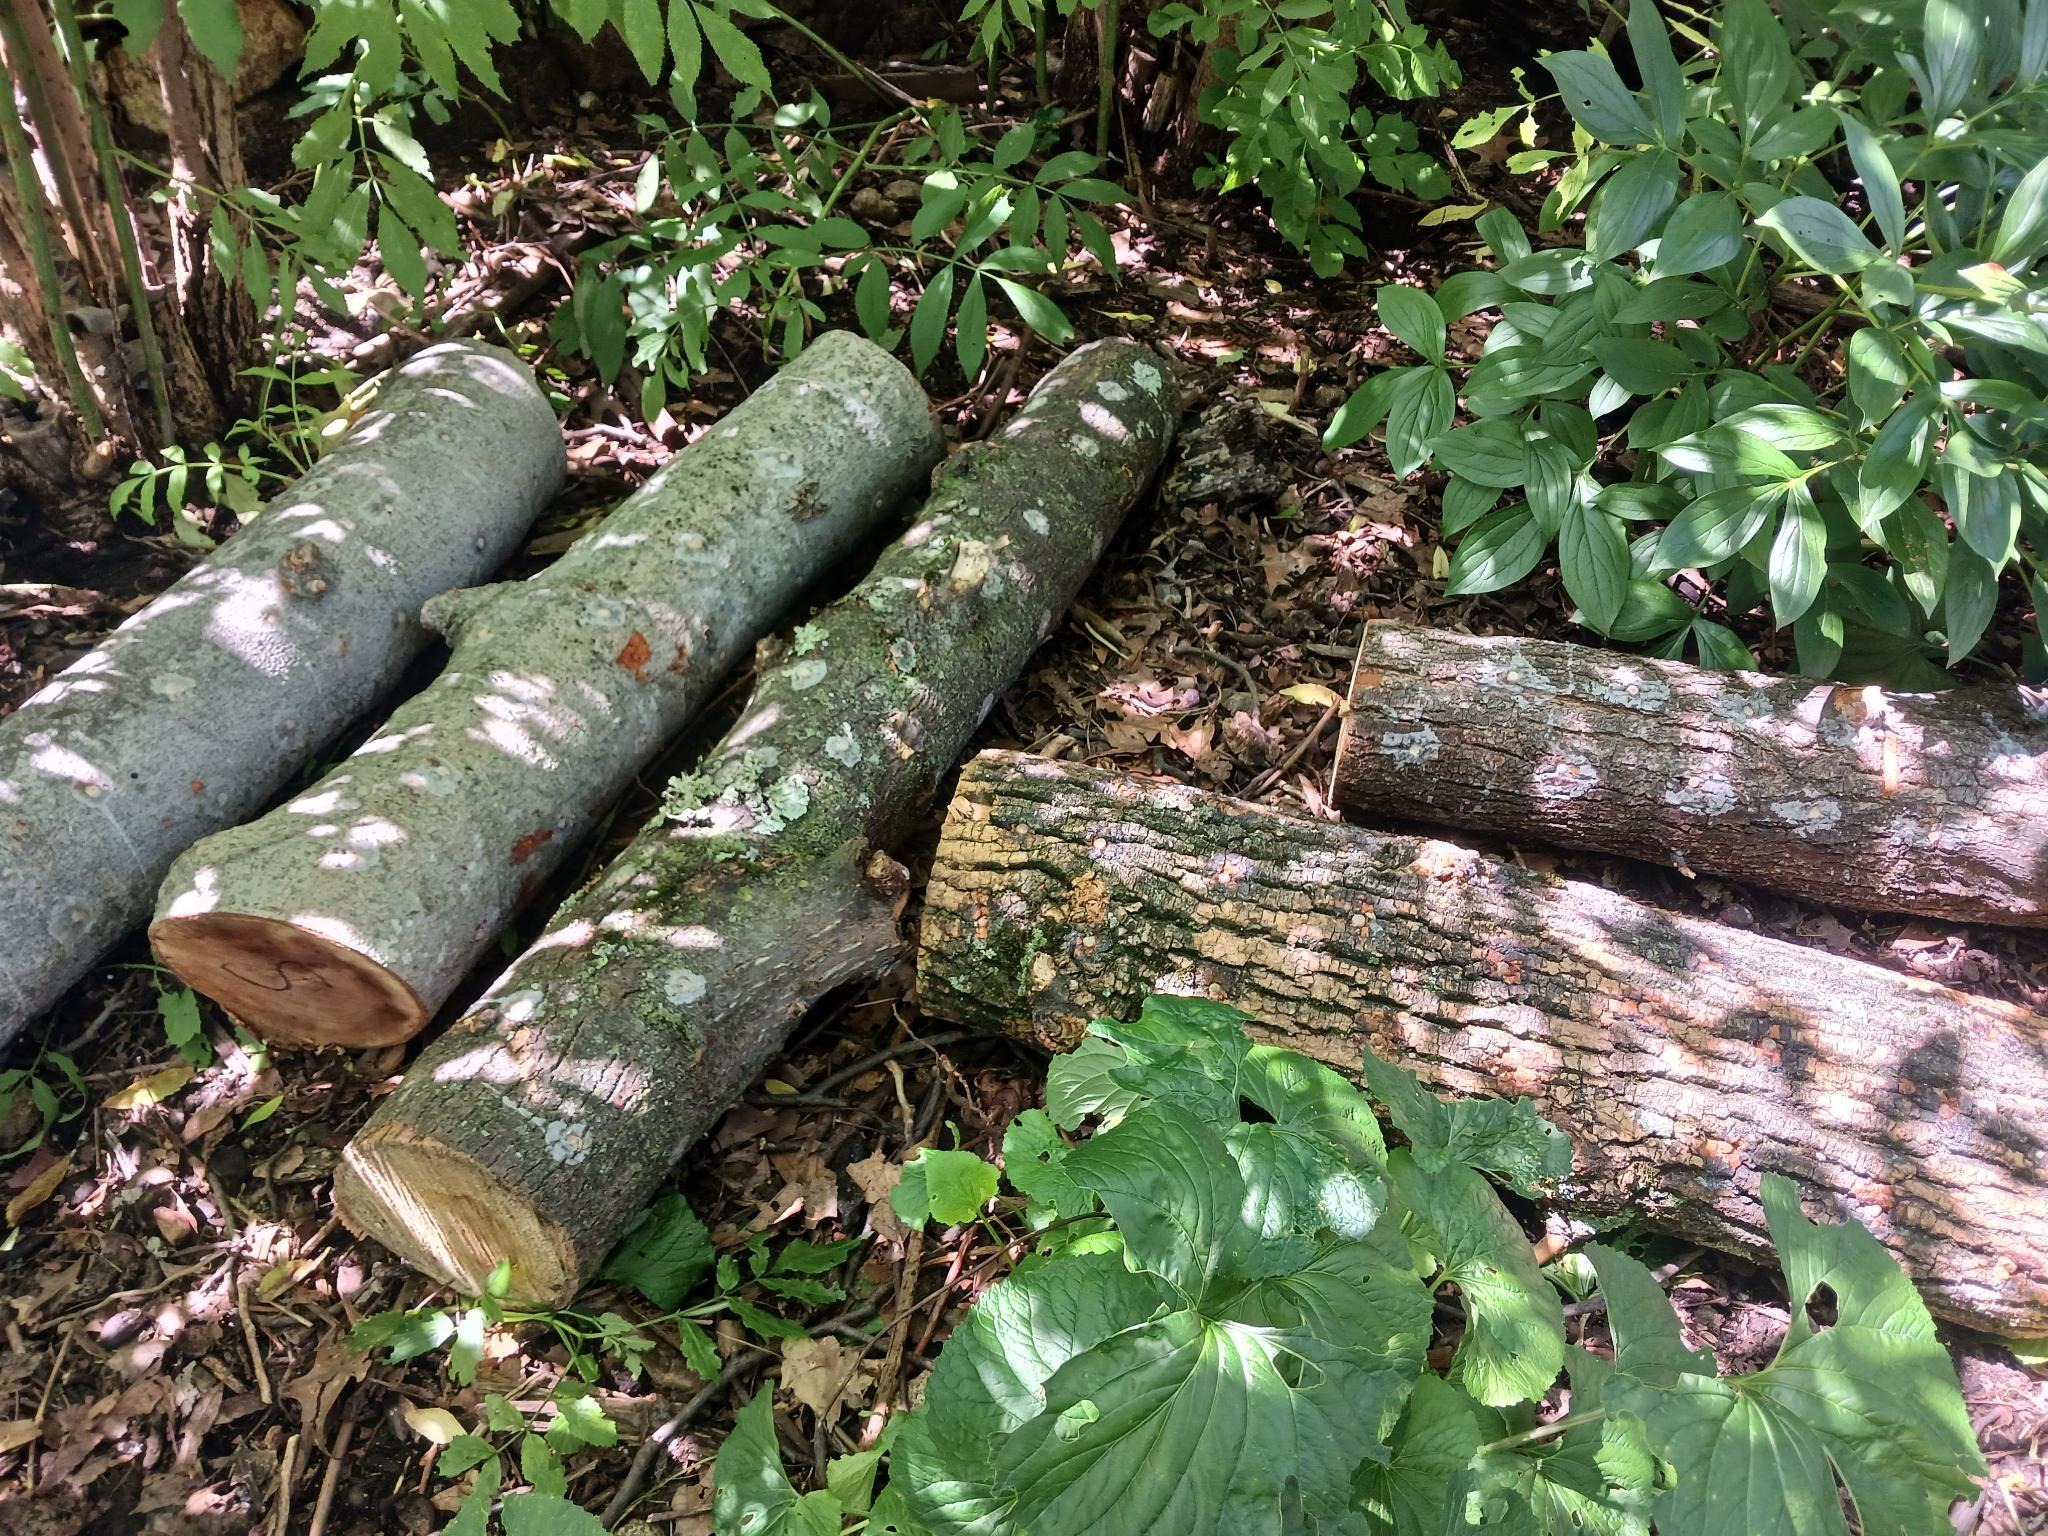
What is mushroom cultivation in logs?
Mushroom cultivation in logs is a super-sustainable and safe way to enjoy a wide range of mushrooms. It mimics the way many edible mushrooms grow in nature — on fallen trees. With recent microbursts and other severe weather across the tri-state area, there is no scarcity of this renewable resource.
Although fungi hail from a completely different kingdom, mushroom cultivation is similar to gardening in many ways. Just as plant roots find nutrients in the soil, fungal mycelia obtain nutrients from organic matter — notably including hardwood trees. This facilitates the decomposition of dead wood, while providing us with often-delicious-and-nutritious fruiting bodies — AKA mushrooms.
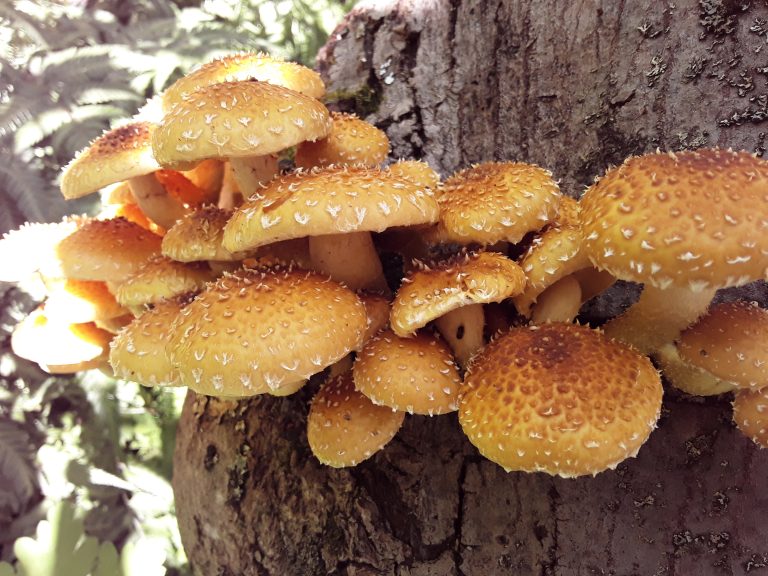
Fungi that feed on dead wood are categorized as saprotrophic. Some well-known, edible examples include shiitake, oyster, and chicken-of-the-woods. These, along with some other interesting species, can be cultivated on logs.
How does it work?
Success
You are now signed up for our newsletter
Success
Check your email to complete sign up
To propagate saprotrophic mushrooms on logs, the wood must be inoculated with spawn. While spores could be considered the equivalent to seeds, mushroom spawn is an active mushroom culture growing on a starter substrate — more like seedlings or cuttings from a live plant.
Mushroom spawn is commonly available in sawdust, grains, and hard-wood dowels. Sawdust and dowels are both ideal for mushroom cultivation in logs. The idea is to get the active mycelium in contact with suitable wood for cultivation. This can be achieved by either sandwiching a thin layer of spawn between large-diameter sections stacked in a totem, or stuffing it into numerous holes drilled into the barked surface of medium-diameter logs.
The process is pretty straight-forward; and with minimal equipment, one can get good results — but success is dependent on many variables, some of which are within your control. After several years of trial and error, I have learned some valuable lessons that I would like to share:
Ila’s tips for mushroom cultivation in logs
Know your mushroom
Each species of mushroom has its own ideal growing conditions. Just like plants are suited to specific climates and thrive in different temperatures, there are mushrooms that love cool weather, and those that can’t survive a frost.
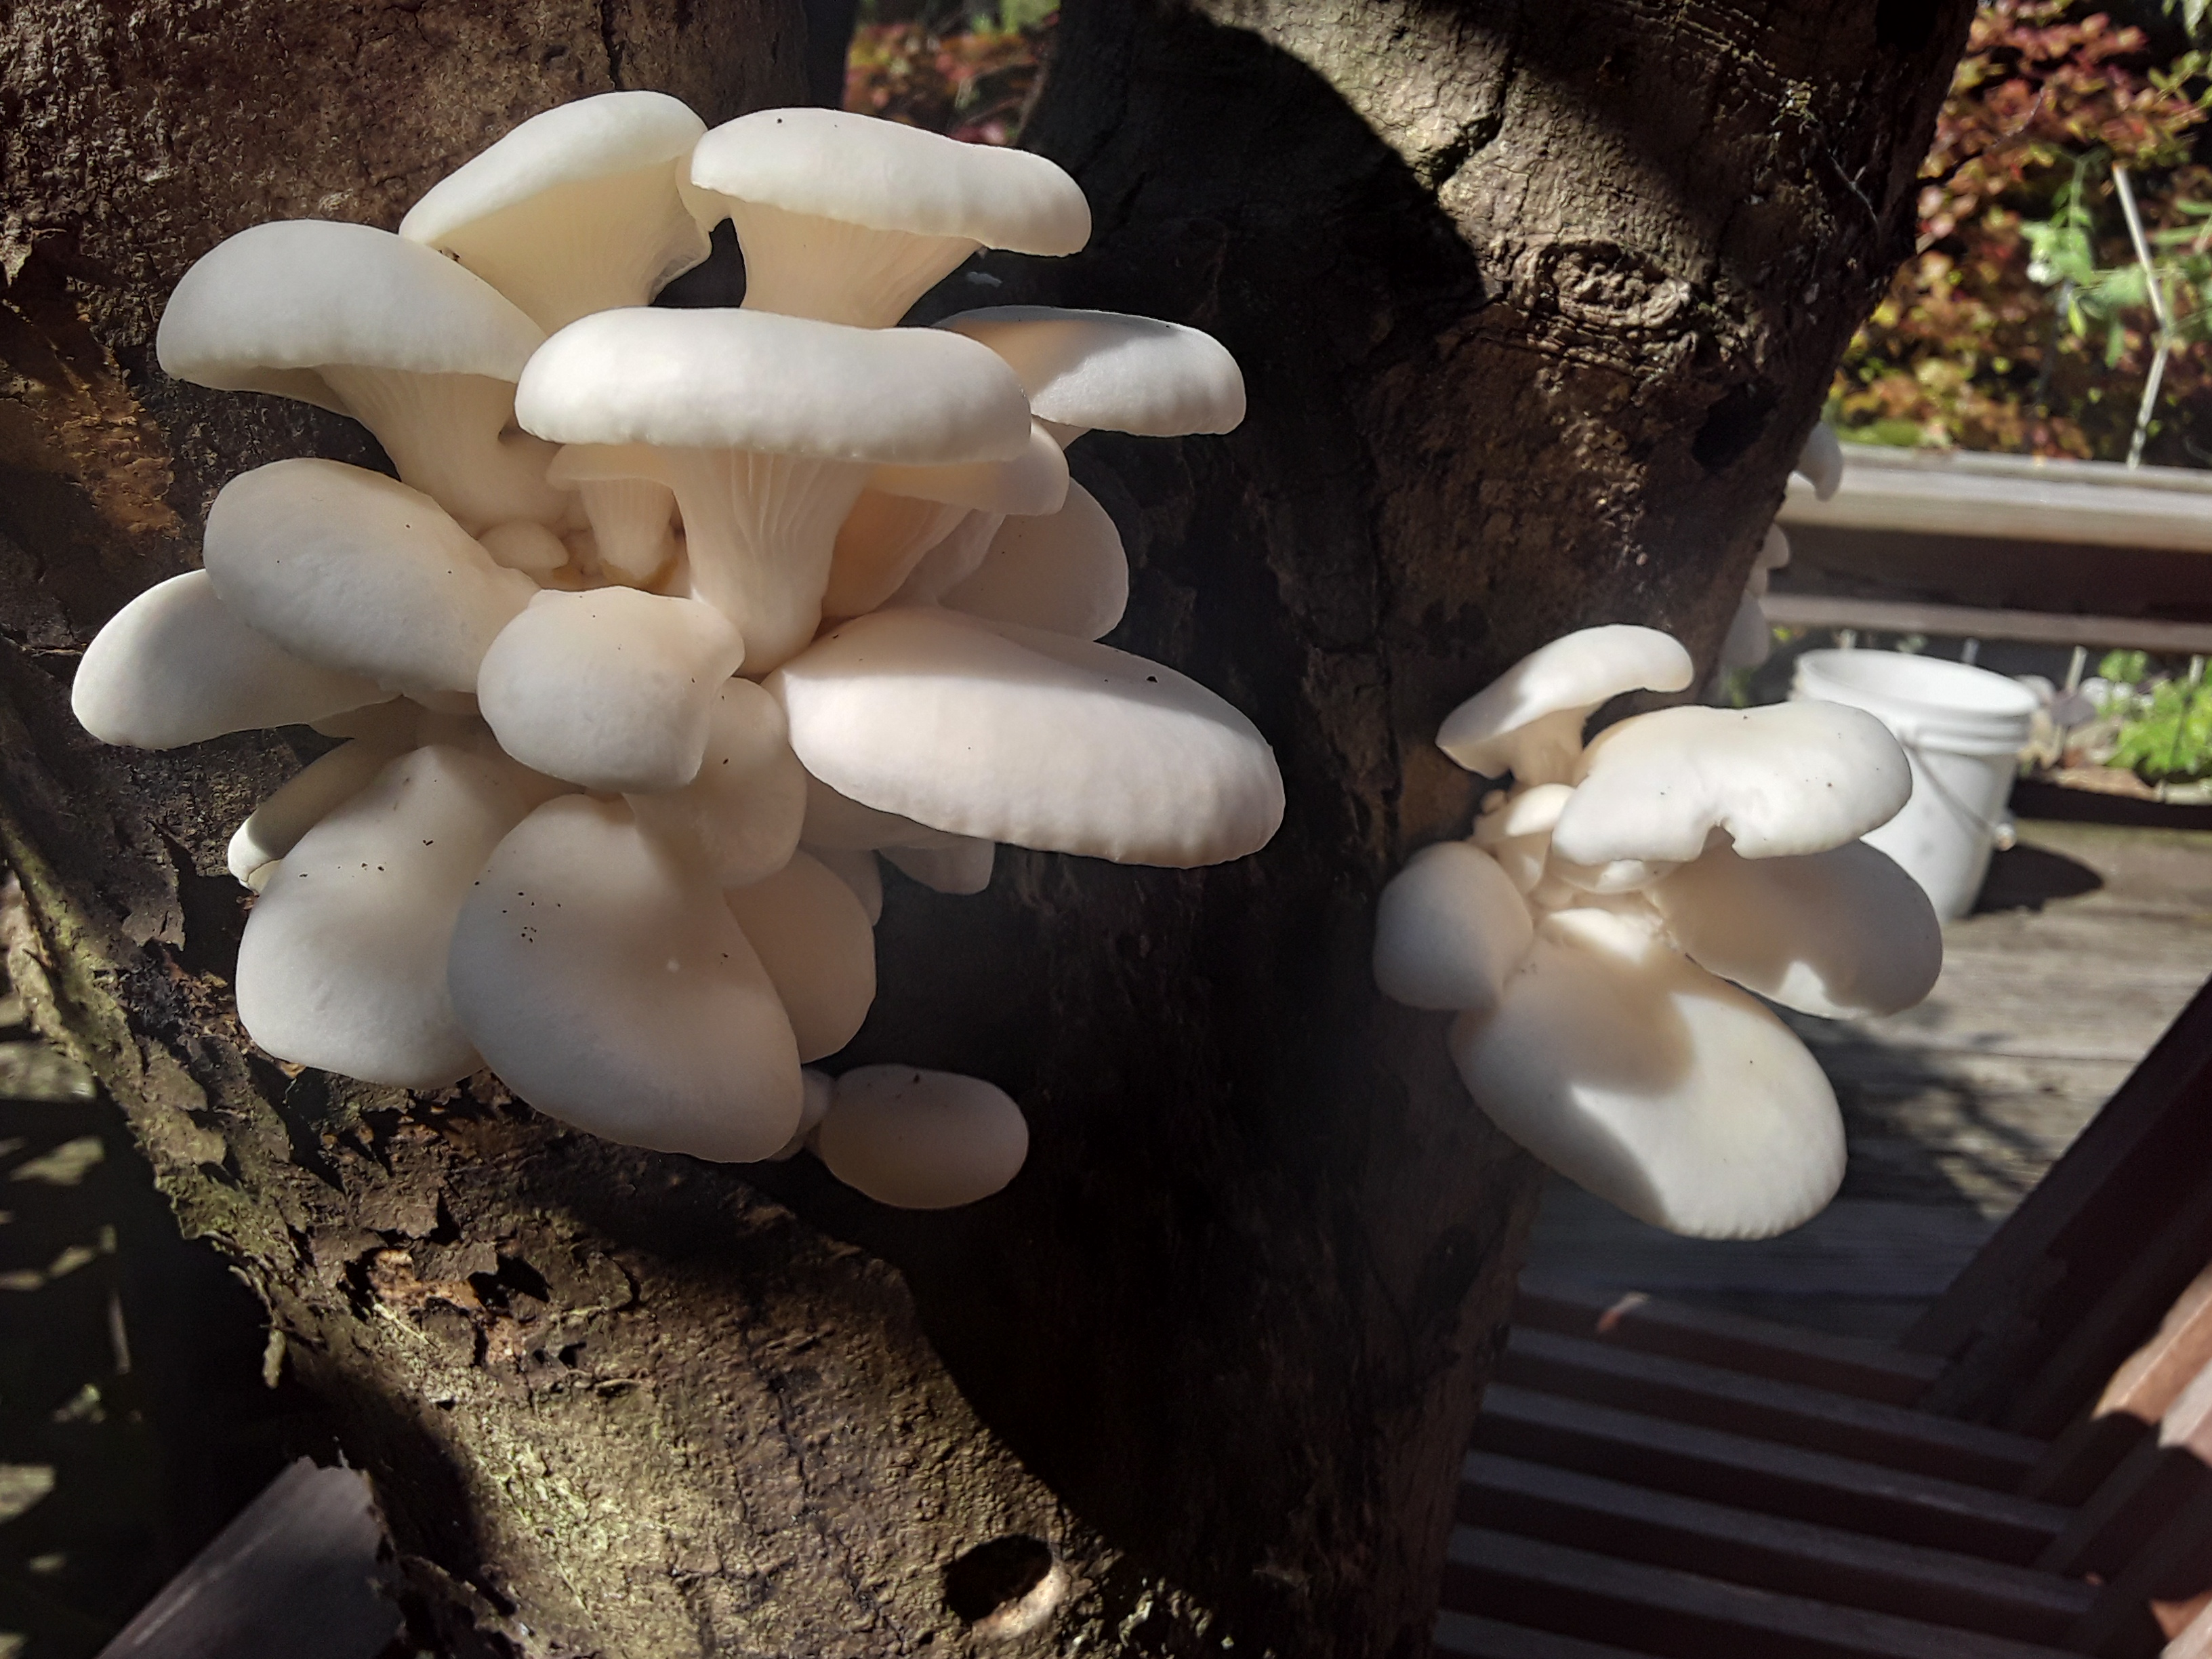
For instance, there are many different oyster mushrooms — don’t assume they are interchangeable. If you live in the northeast, be careful not to select tropical mushrooms for outdoor log cultivation!
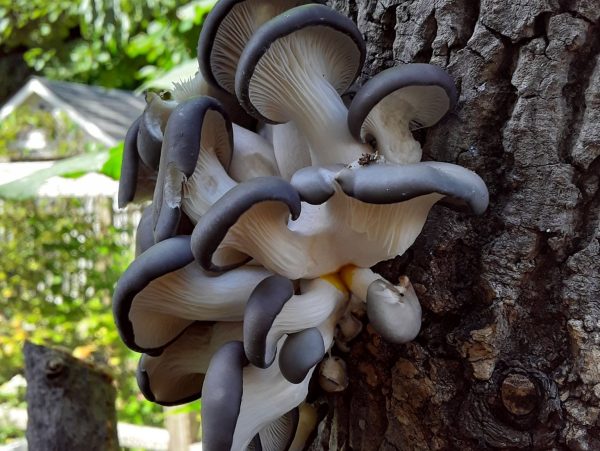
Select compatible species
Also, just like some plants prefer sandy soil, and others like loam, each saprotrophic mushroom will only colonize a limited variety of trees. Some mushrooms are more picky than others, and some trees are completely unsuitable for growing mushrooms.
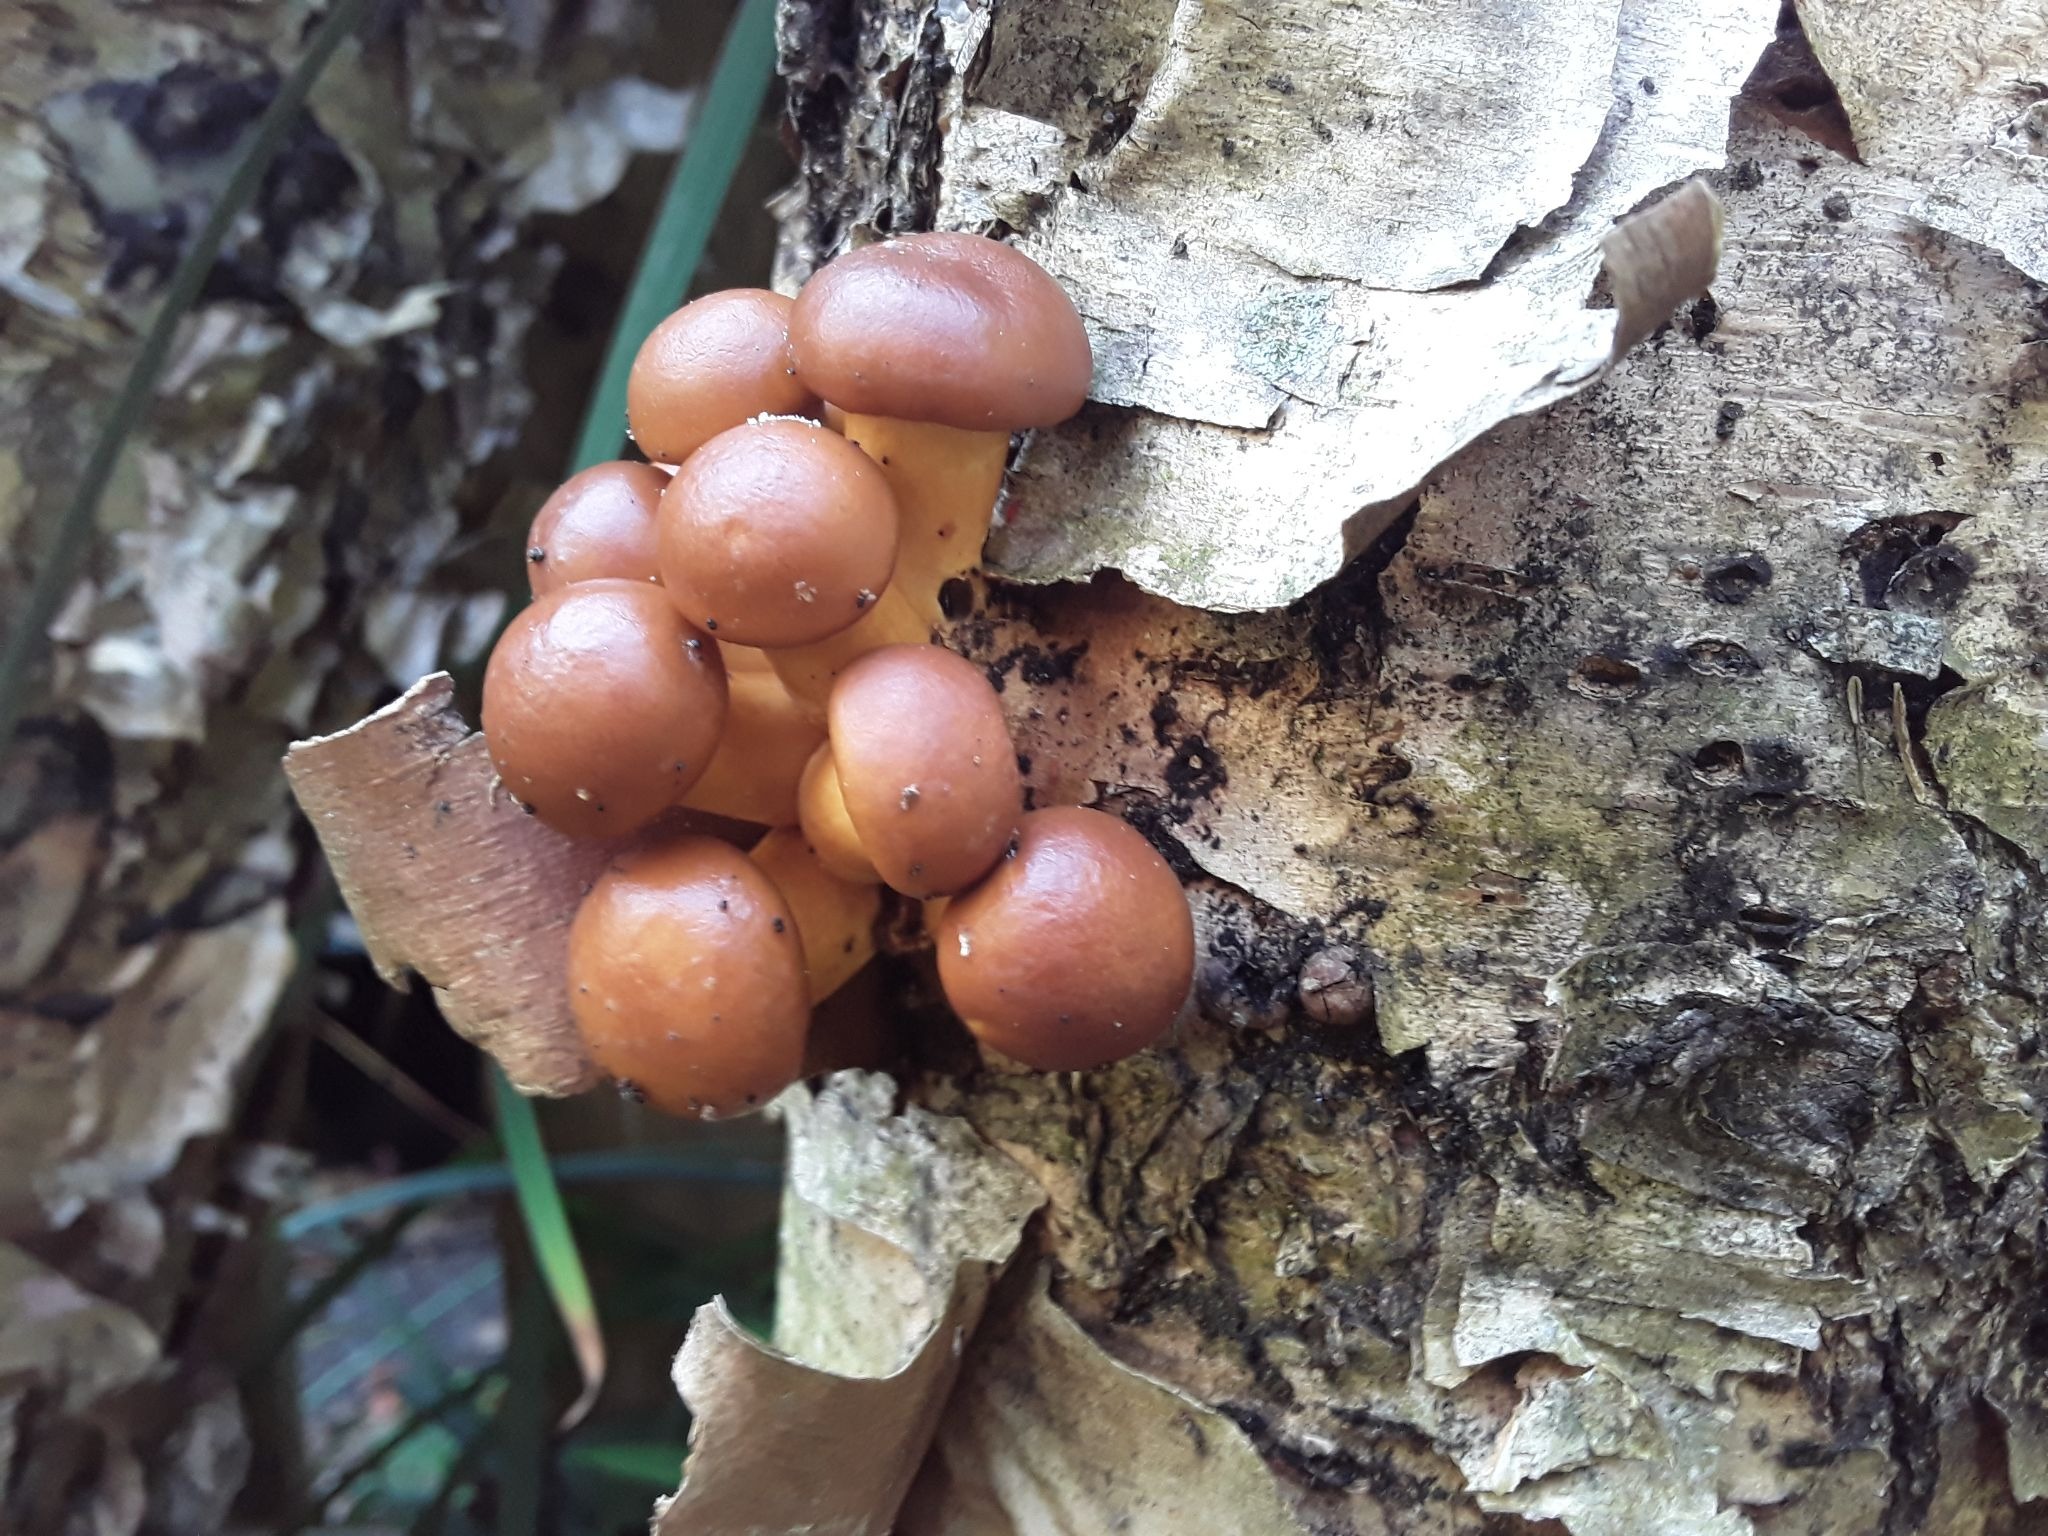
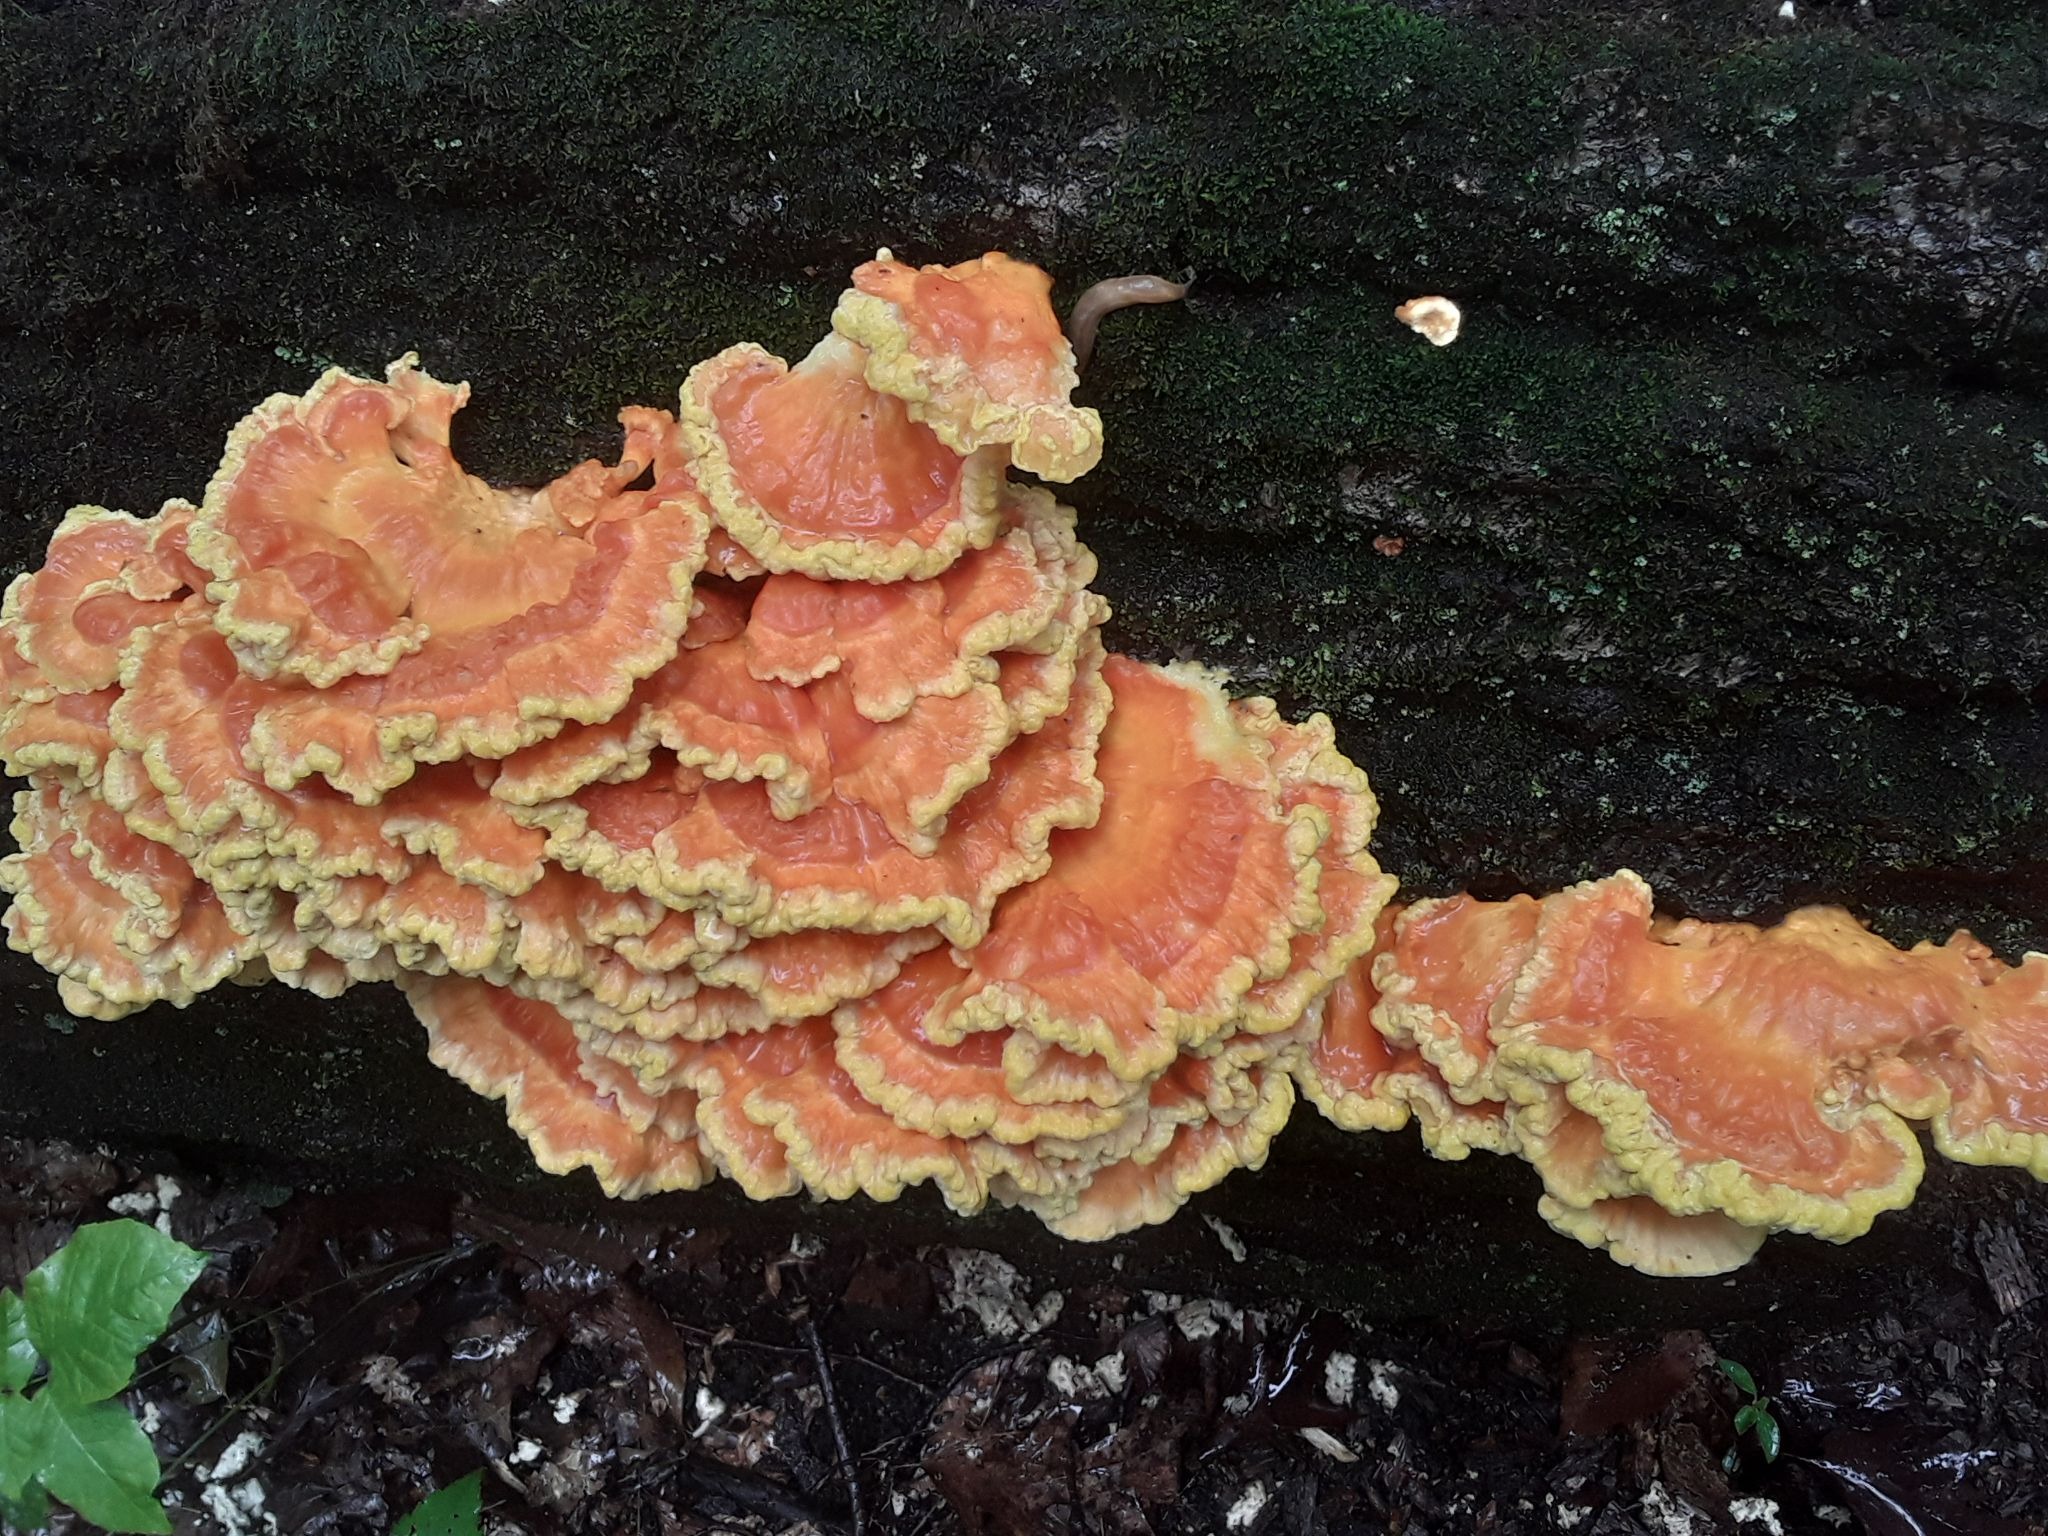
For example, Chicken of the woods is partial to oak, while lion’s mane will colonize aspen, beech, birch, hackberry, hornbeam, and maple. Shiitake is very flexible, with at least 16 reliable hosts — no doubt a factor in its popularity among mushroom growers.
Matching your mushroom with an appropriate substrate will ensure a better yield.
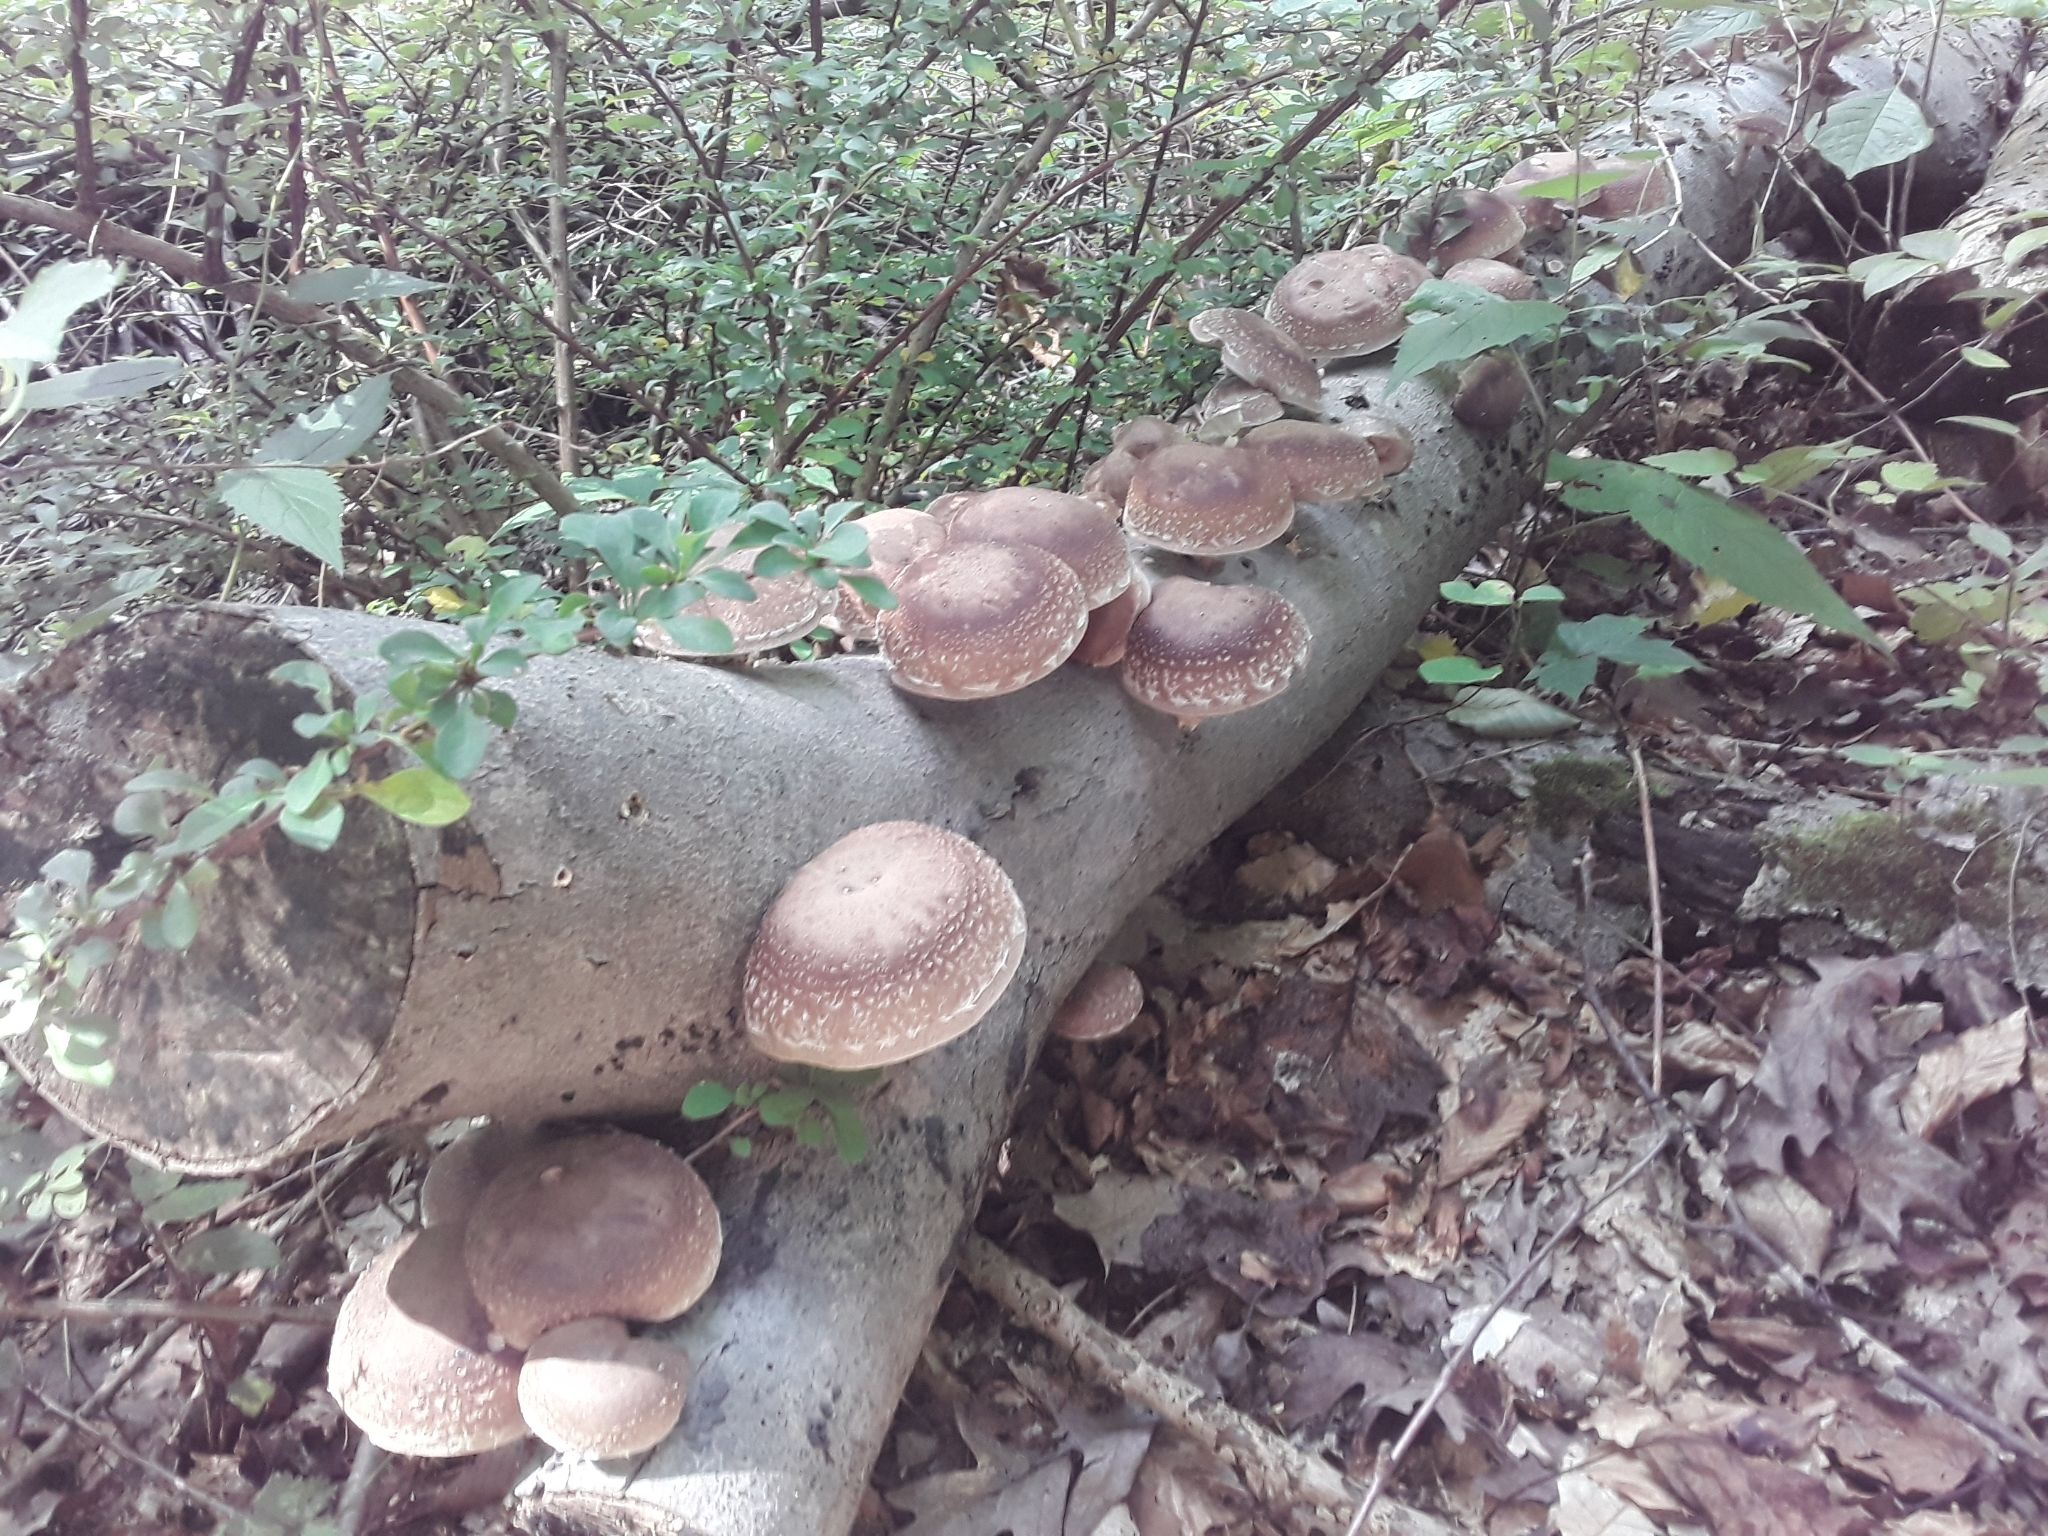
Some trees, like walnut, apple, peach, walnut, and many conifers, and walnut are unsuitable for growing most mushrooms. Your mushroom spawn supplier will probably provide a compatibility chart for your reference.
Sourcing wood
There is no need to start cutting down healthy trees for your mushroom hobby. Put the word out among your friends and family, and keep an eye out for tree work in your area. Soon you’ll have plenty to choose from. Identify the tree, at least to the genus and preferably to the species. Select healthy wood (no signs of interior rot) with intact bark. Logs should be around 6-10 inches in diameter, and cut to a length that you can move (about 30-36 inches). These are good for plugs. Larger diameter pieces should be reserved for totems.
Timing
The ideal time to inoculate mushroom logs is when the trees are dormant. After the leaves drop in the fall and before the buds swell in the spring, the wood contains all the necessary moisture and nutrients to support good colonization of mycelium. But because trees contain anti-fungal compounds for self-defense, a two-week waiting period is recommended after the trees are cut. These compounds degrade over time, but you don’t want to wait so long that the wood dries out or other fungi take hold. Two weeks is the sweet spot here.
When a tree leafs out, the wood becomes more dry, because the moisture and nutrients are being used for the growth of the tree. Thus, summer and fall wood is not ideal. It can produce mushrooms, and may be worth a try if you come across some healthy, downed trees, but definitely don’t go cutting trees down specifically for mushrooms at this time. When using summer or fall wood, you can forget about the waiting period. To preserve what little moisture is in the wood, you want to act quickly. Ideally, you would have your supplies ready and waiting in the fridge.
Select your spawn
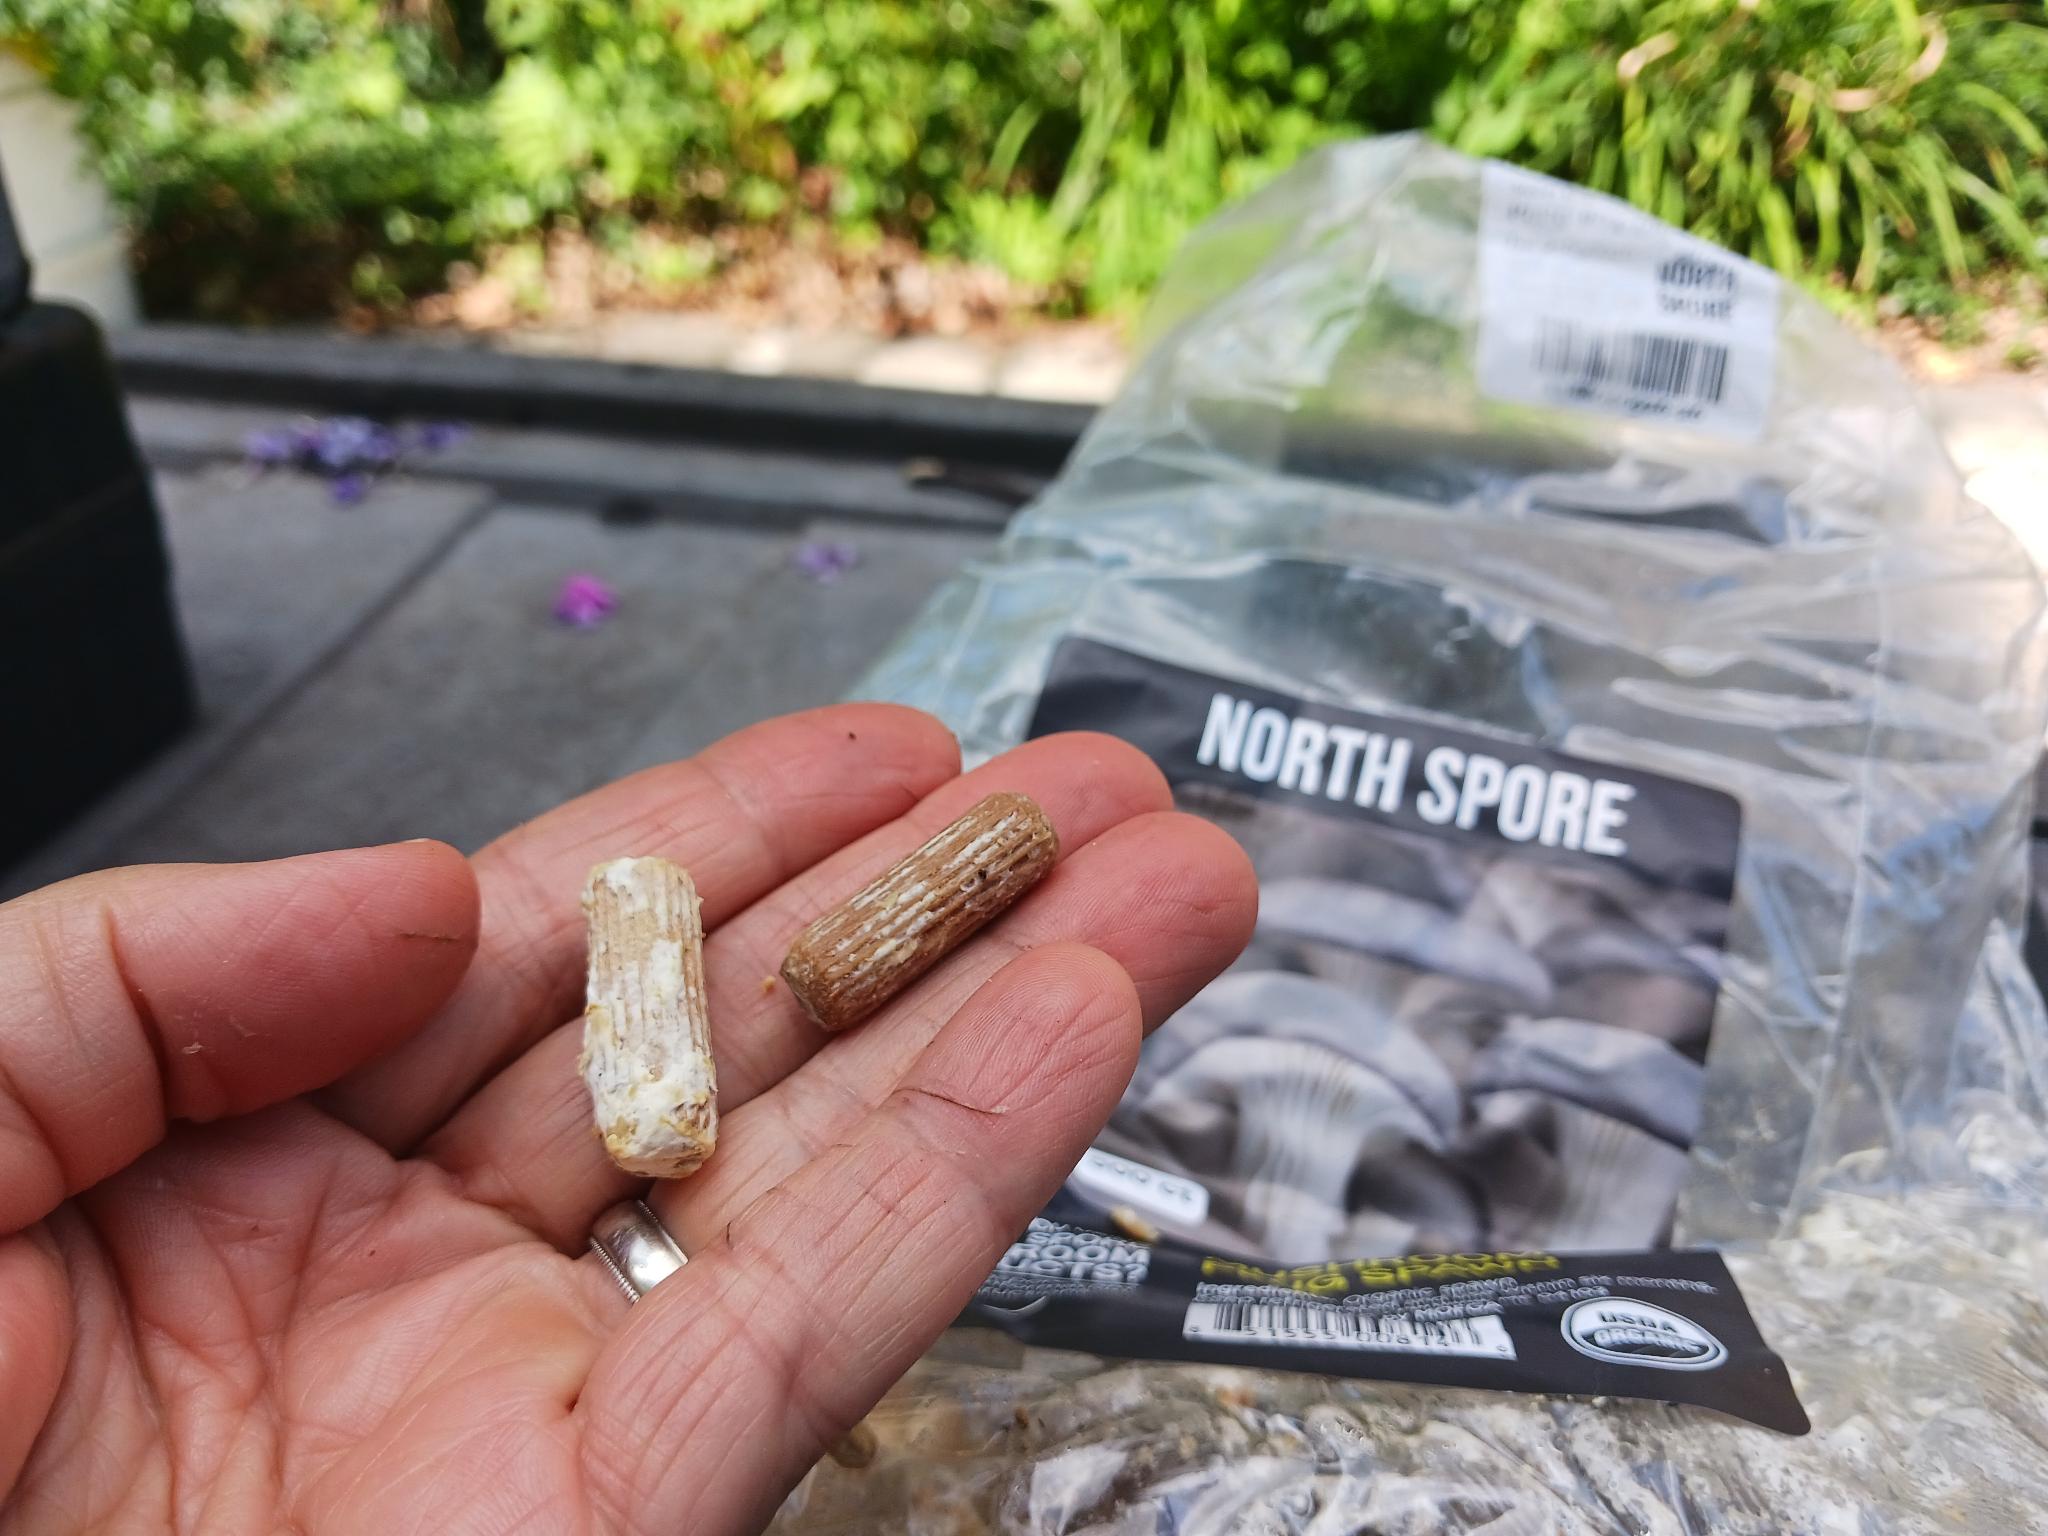
If you are working only with 6-10 inch diameter logs, hardwood dowels are easy to find for all the common mushrooms, and are very easy to work with. They come in bags of 100 or 500, and you can figure you’ll use about 40 per log.
If you have larger diameter logs that you want to make into totems, you’ll need sawdust spawn, which will be sandwiched between the layers. Sawdust spawn generally comes in five pound bags, so the shipping can add up. If you have a local supplier it might be worth a visit.
The good news is that sawdust spawn can also be used for plugs. You only need a thin layer of spawn between tightly fitting sections of your totem, so there will be leftovers to stuff into holes in your smaller logs. I use a funnel with a dowel to push it into slightly larger holes, and have had good results.
Some wood, like maple and beech, are compatible with a number of mushrooms, so if you have a plentiful source of wood, you might like to try a few different species of spawn. Surplus spawn will keep in the fridge for the next project — a bonus if you happen upon some summer wood.
Essential tools
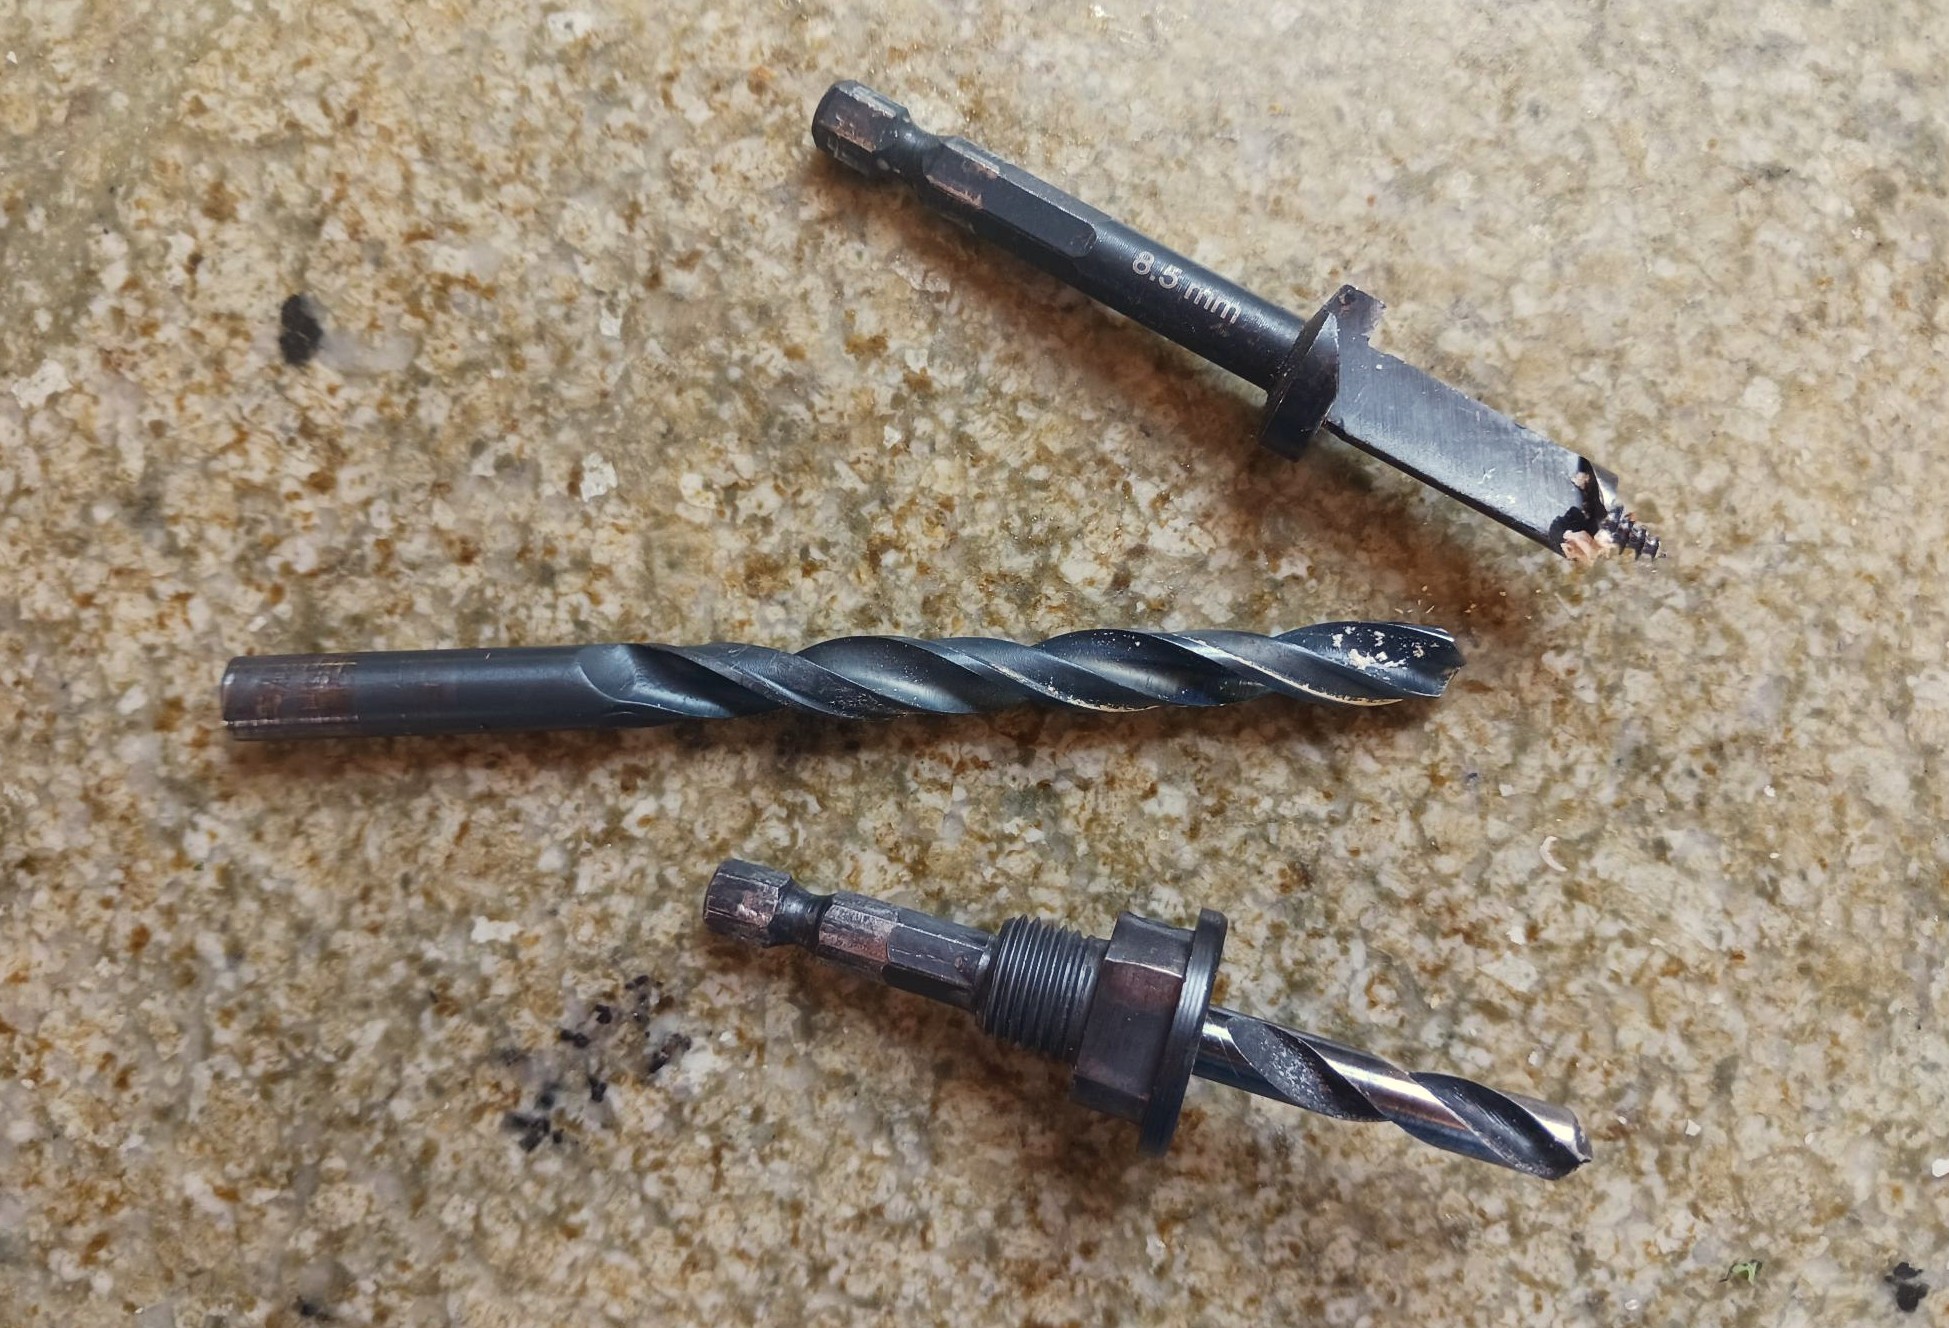
- To make holes in the wood, you need a drill. A cordless drill is necessary for working in the woods, but hardwood can drain your battery in no time — so be sure to have a backup. A more powerful corded drill will make quick work of plugging logs closer to an outlet.
- The drill bit should be about ¼ inch for wooden dowels, and a little larger for sawdust. Your spawn supplier will probably offer a special bit that only goes the depth of the dowels.
- Food-grade wax is used to seal the holes. Beeswax is great but it is an unnecessary expense. The wax acts like mulch in a garden — it keeps the moisture in and keeps the weeds (other fungi) at bay. Pellets or granules will melt much faster than a block of wax.
- A camp stove is great for heating wax outdoors. Keep the flame very low, or use a double boiler. If wax gets too hot it can emit toxic fumes and cause serious burns on contact. A small cast iron pan under your melting pot will help keep the wax in a liquid state longer.
- To apply the wax, invest in some inexpensive wool daubers specially designed for this. Do not use a synthetic paintbrush — trust me!
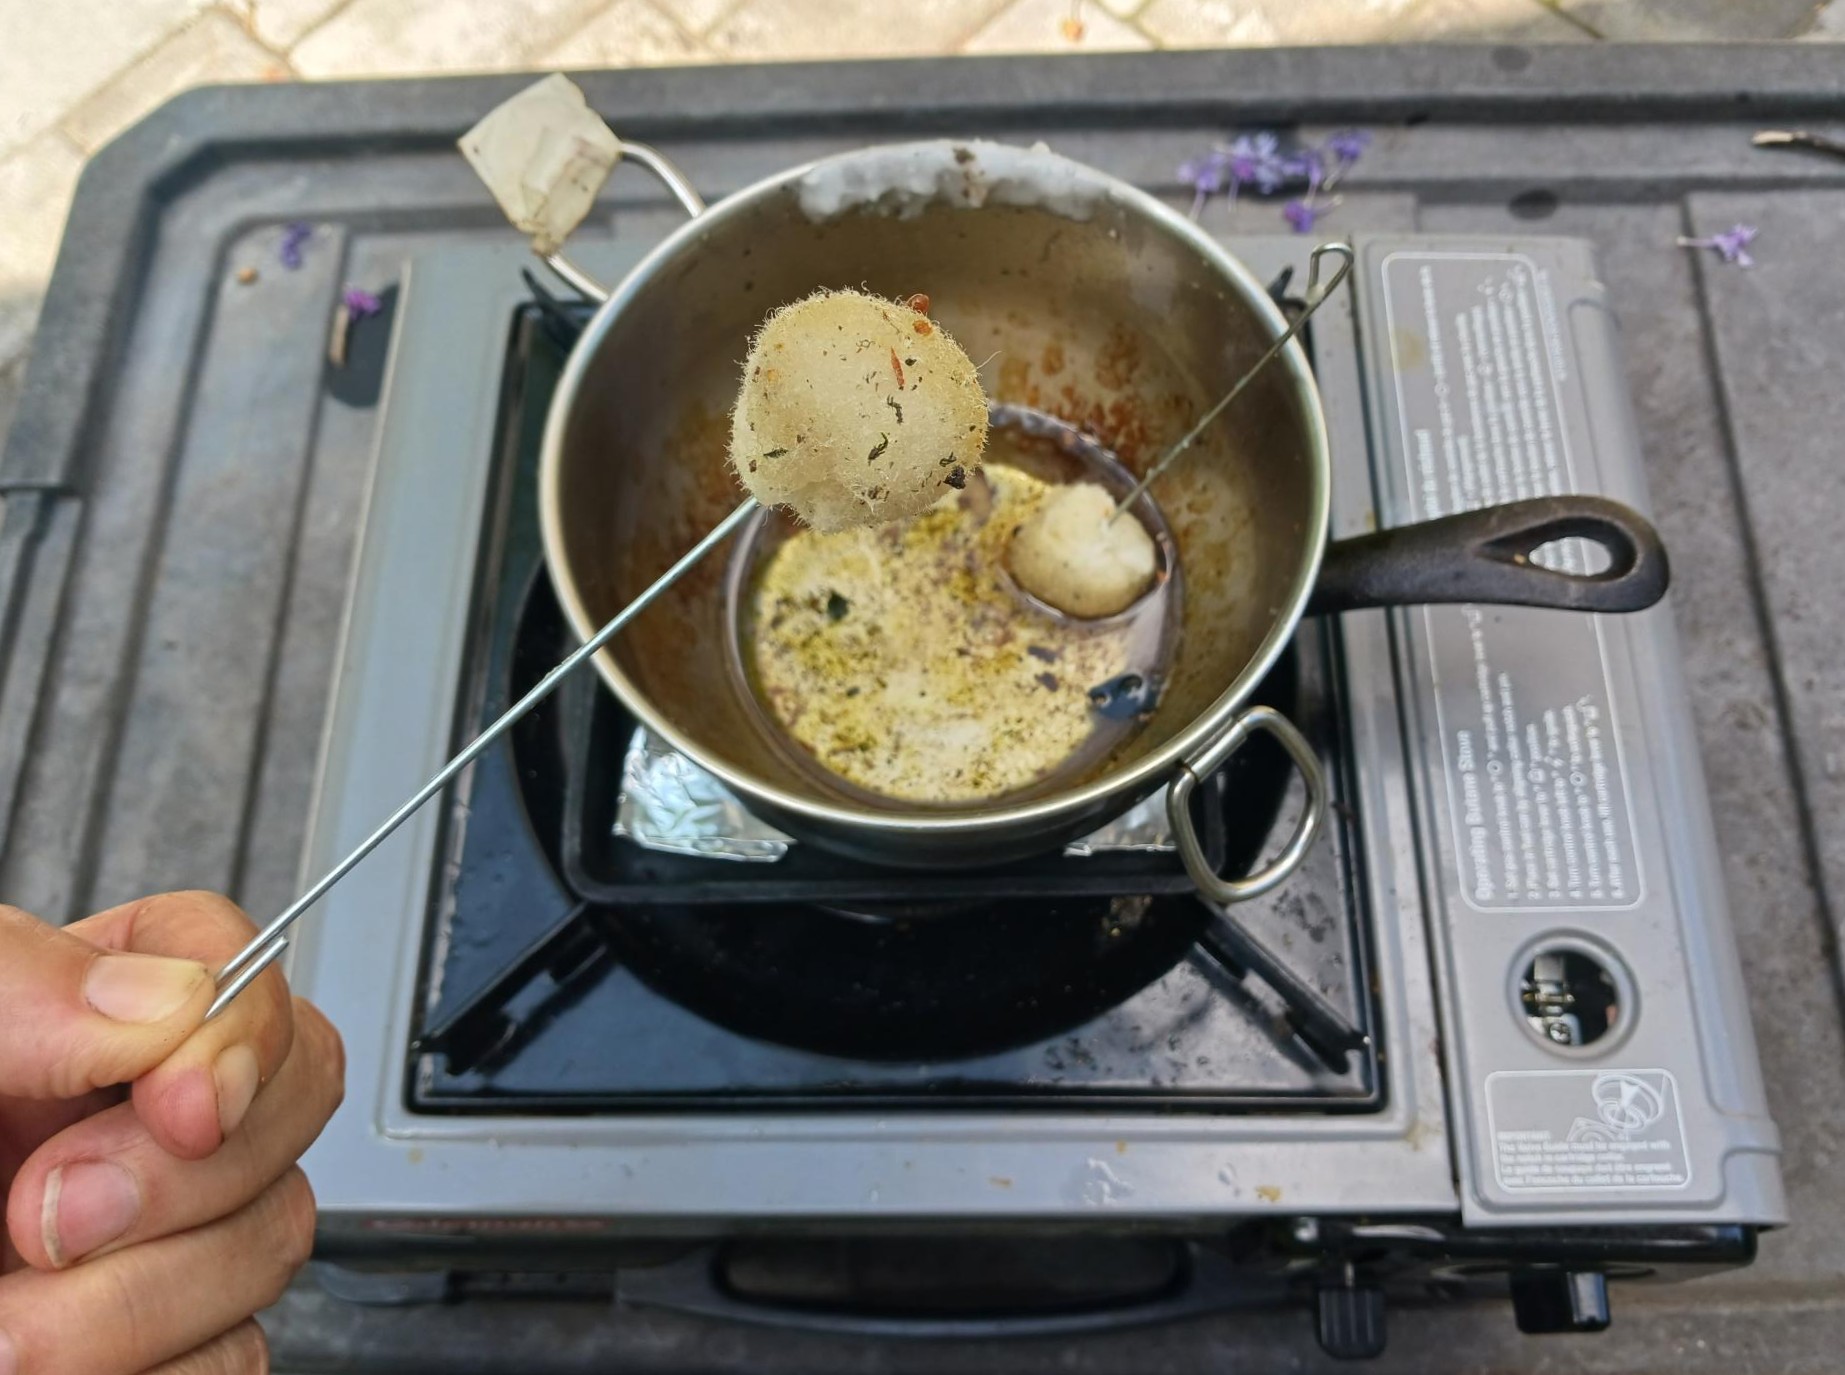
Location
Most mushrooms prefer a cool, moist place, out of direct sunlight — one that mimics their natural forest habitat. Avoid placing your logs under an eve or other solid covering, as this will prevent them from getting a good soaking when it rains.
Under a tree, on the north side of a fence, near the runoff from your roof, or any shady, low spot in your garden are all good options. Wherever you put your mushroom logs, make sure they are easy to check on. All too often, growers discover they missed a bloom by not looking at the right time.
Placing the logs directly on the ground will help keep them moist from your regular rainfall, which may improve fruiting speed. If you stack them up like many growers recommend, you’ll be creating a dryer situation (like a raised bed) that will probably require watering to ensure a good harvest.
If you have a large trunk that is not in the way, let it lie and pop some plugs in it. In order to get good colonization, drill the holes no more than 5 inches apart in staggered rows. This will help the mycelium form a strong network to support several years of fruiting.
Patience
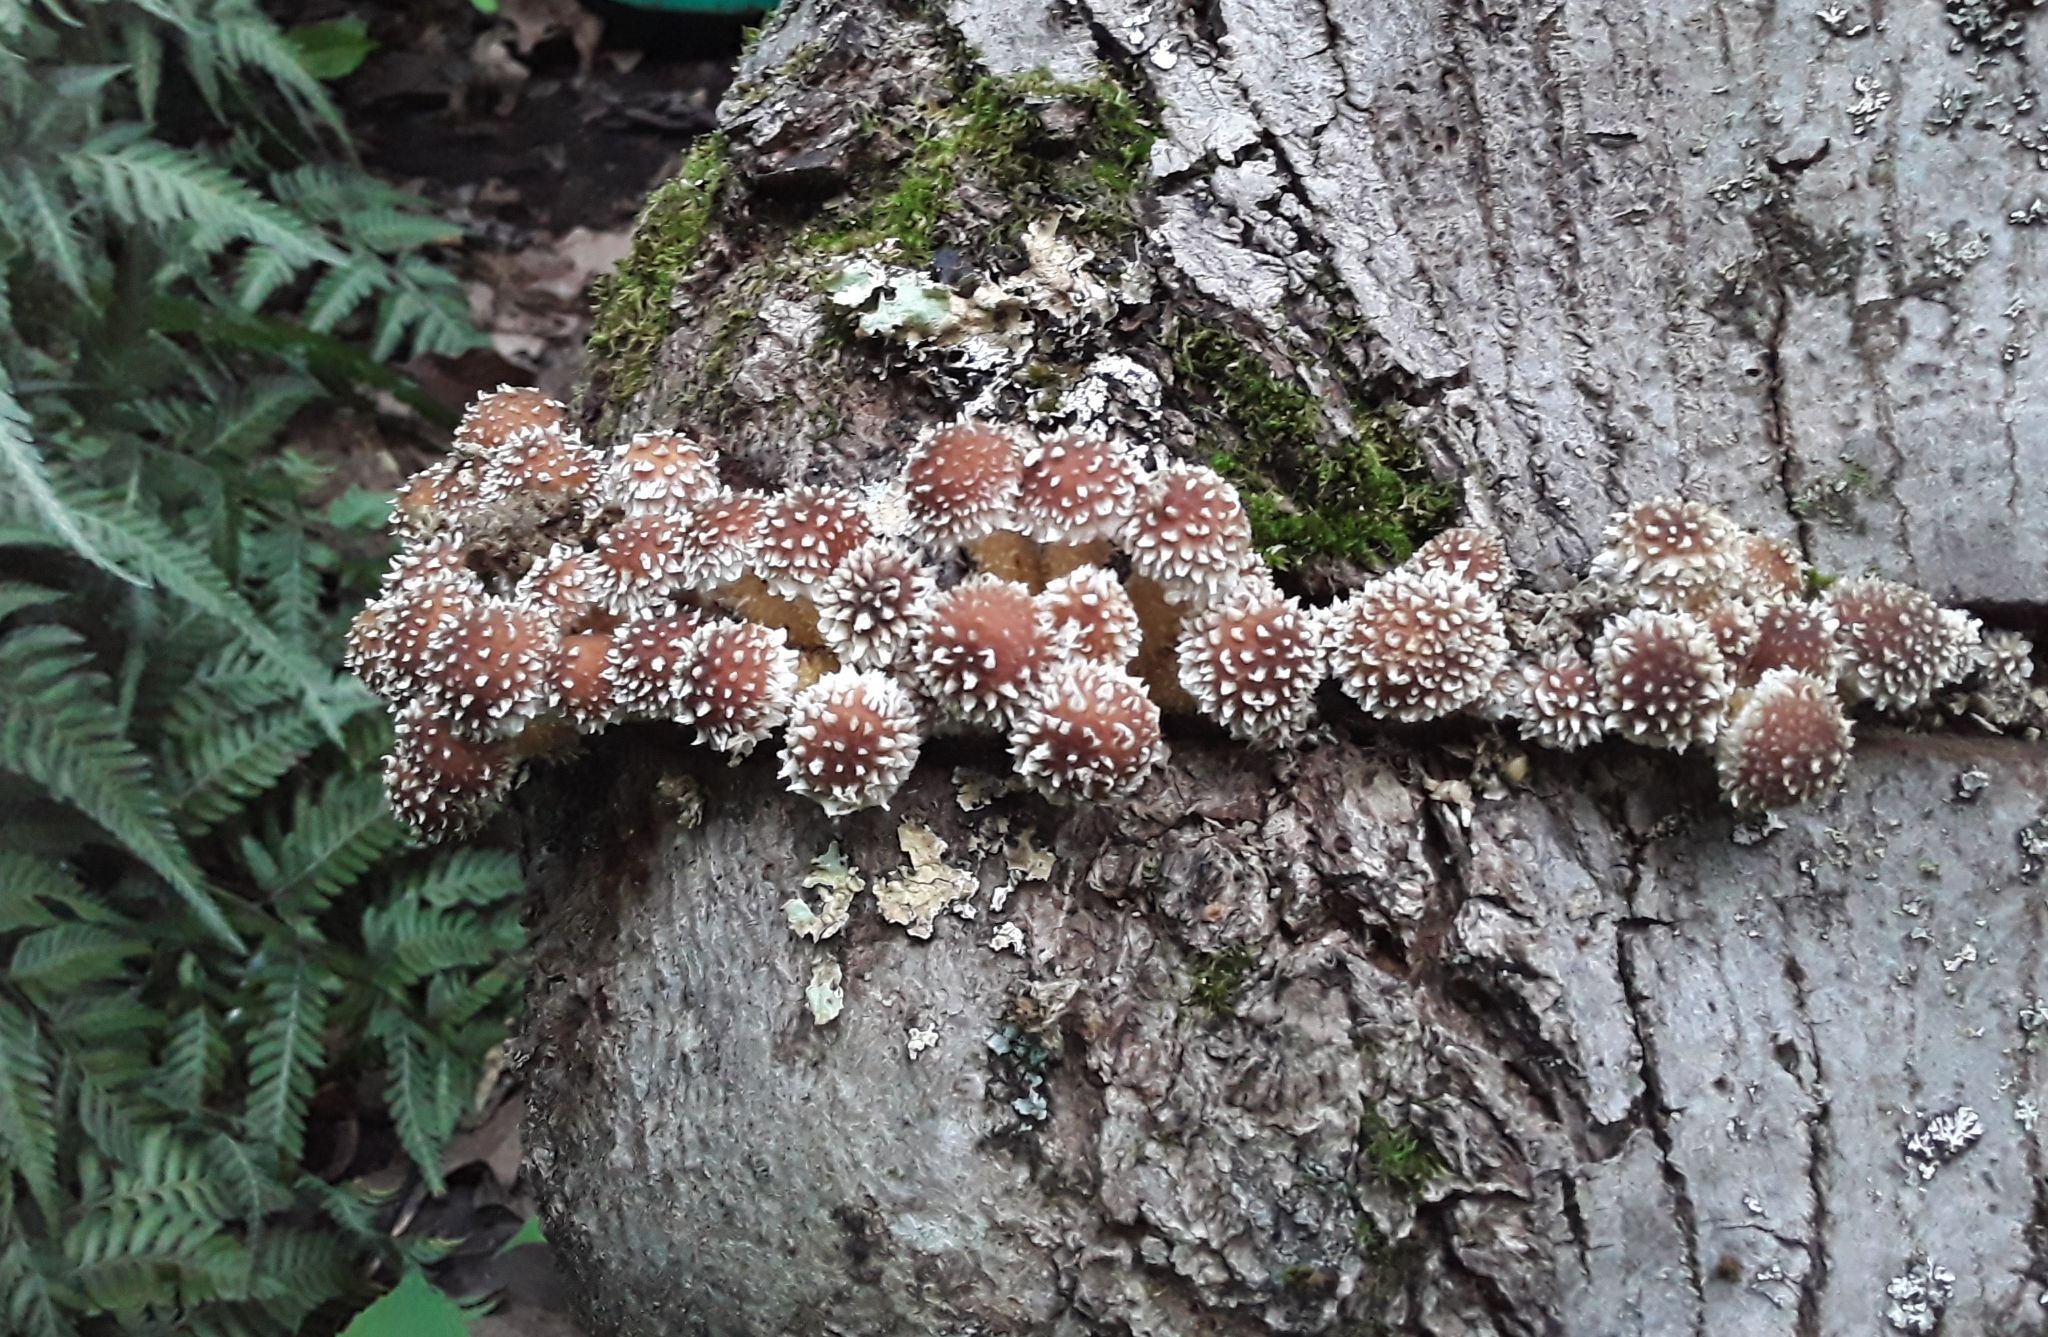
Fruiting time depends on many factors. Under ideal conditions, the mycelium will take hold and colonize the wood quickly and thoroughly, but you won’t see any of that. In most cases you’ll have to wait nearly six months for your first bloom, and it could take much longer. I remember having given up on my nameko mushrooms after 18 months, and then, after a good rain, they finally popped out.
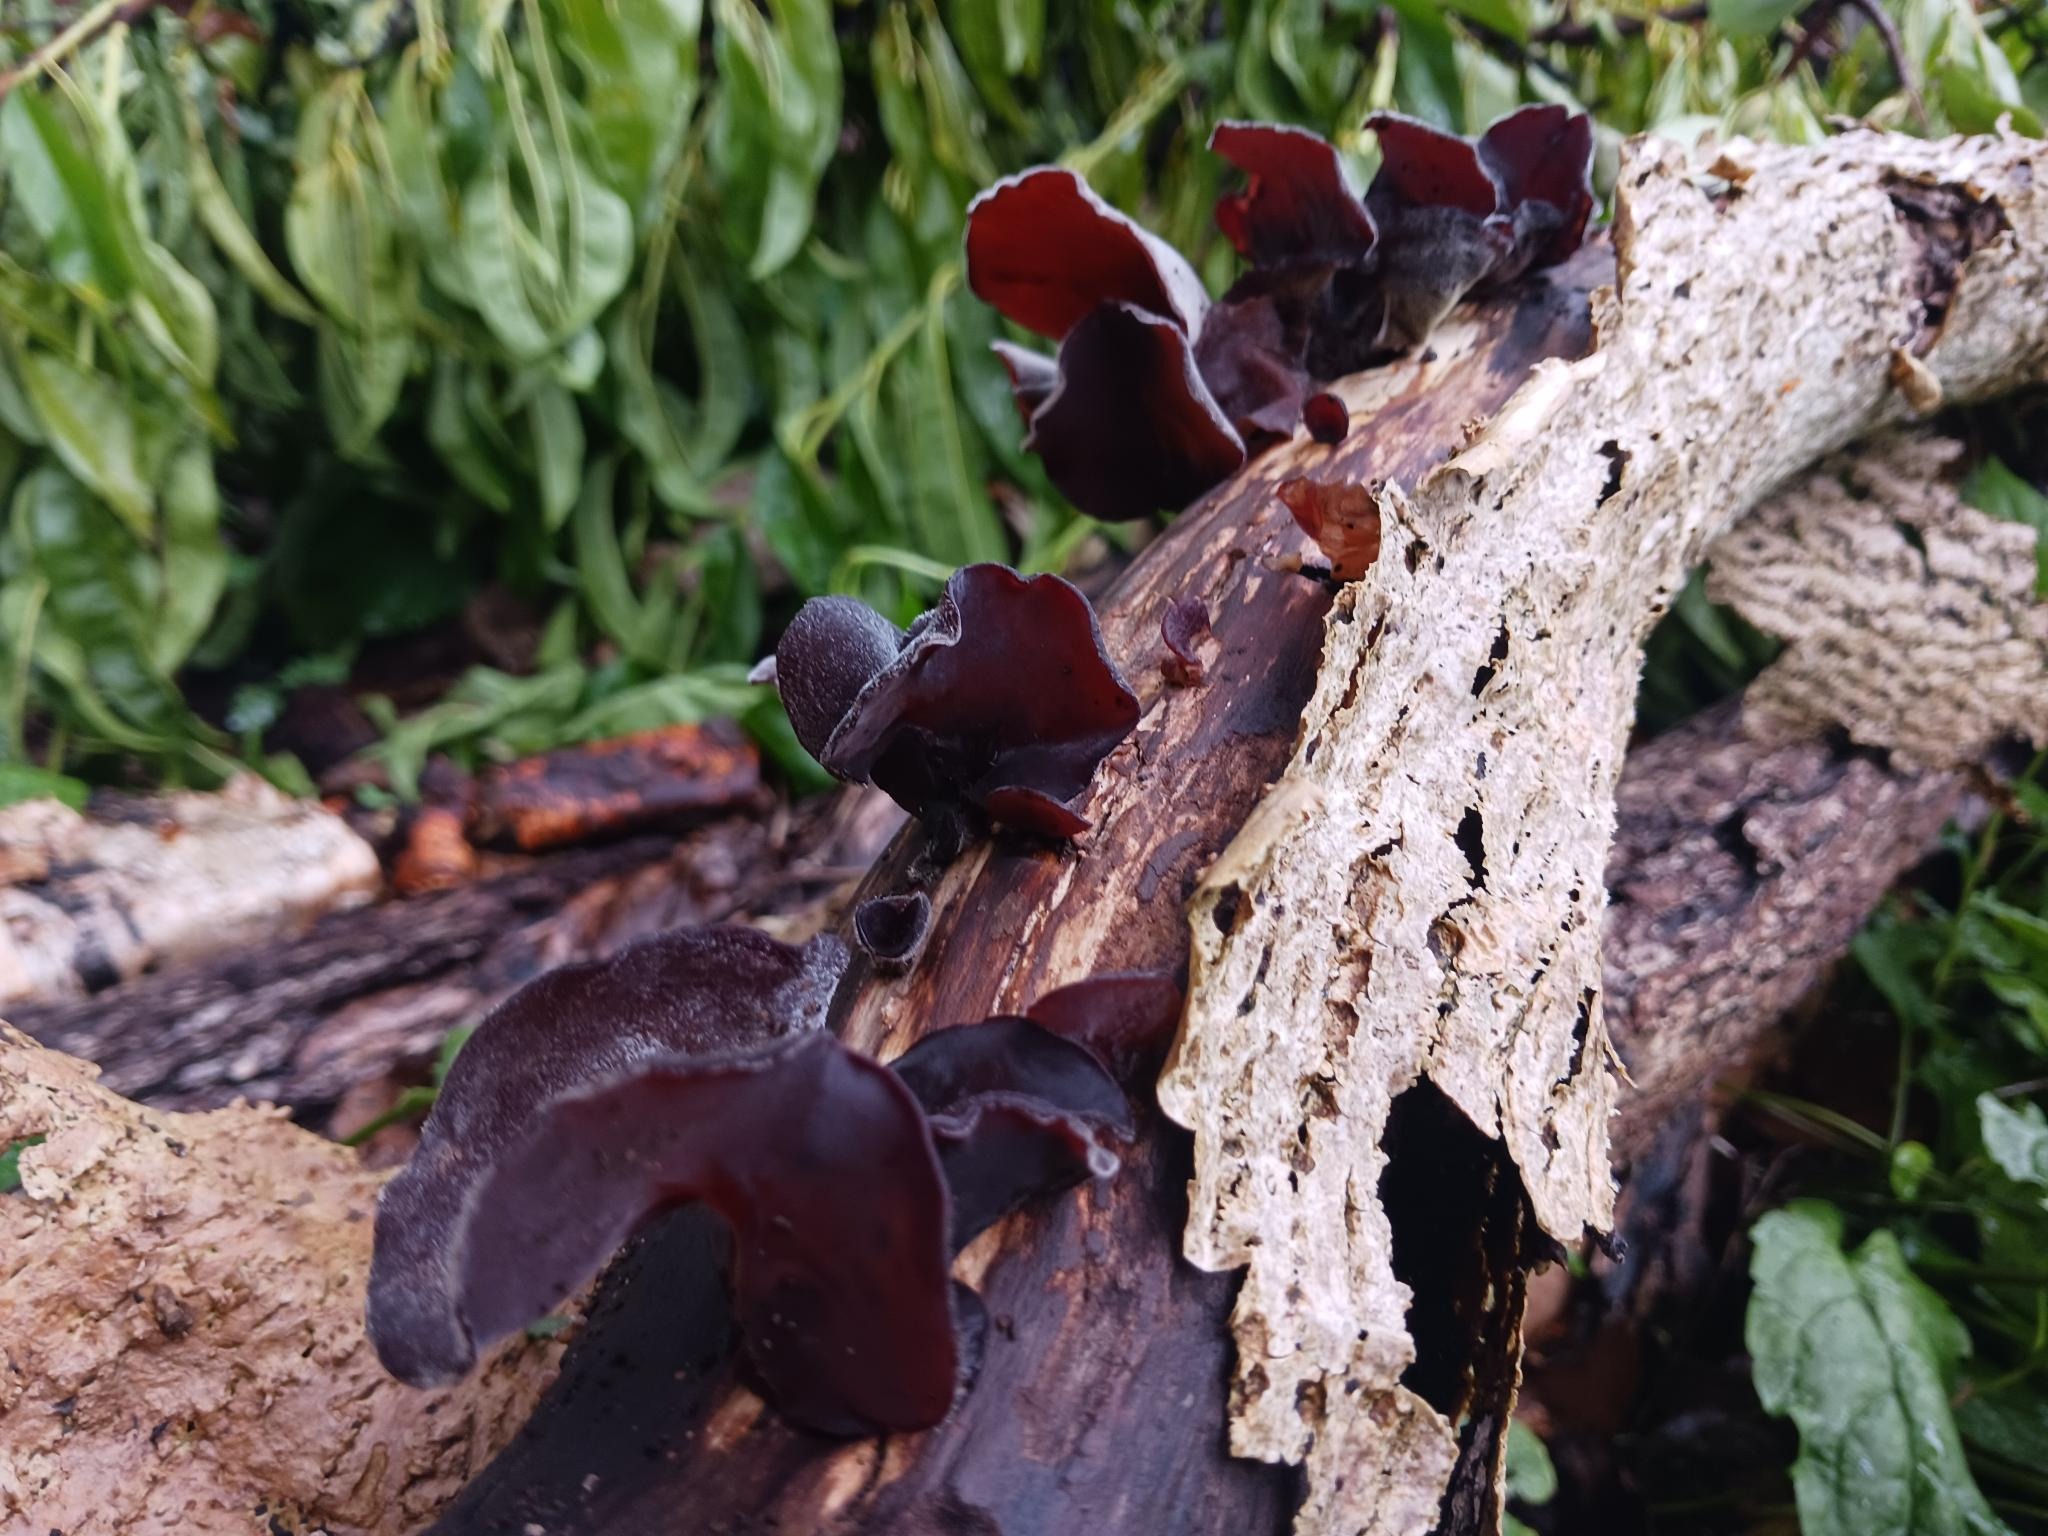
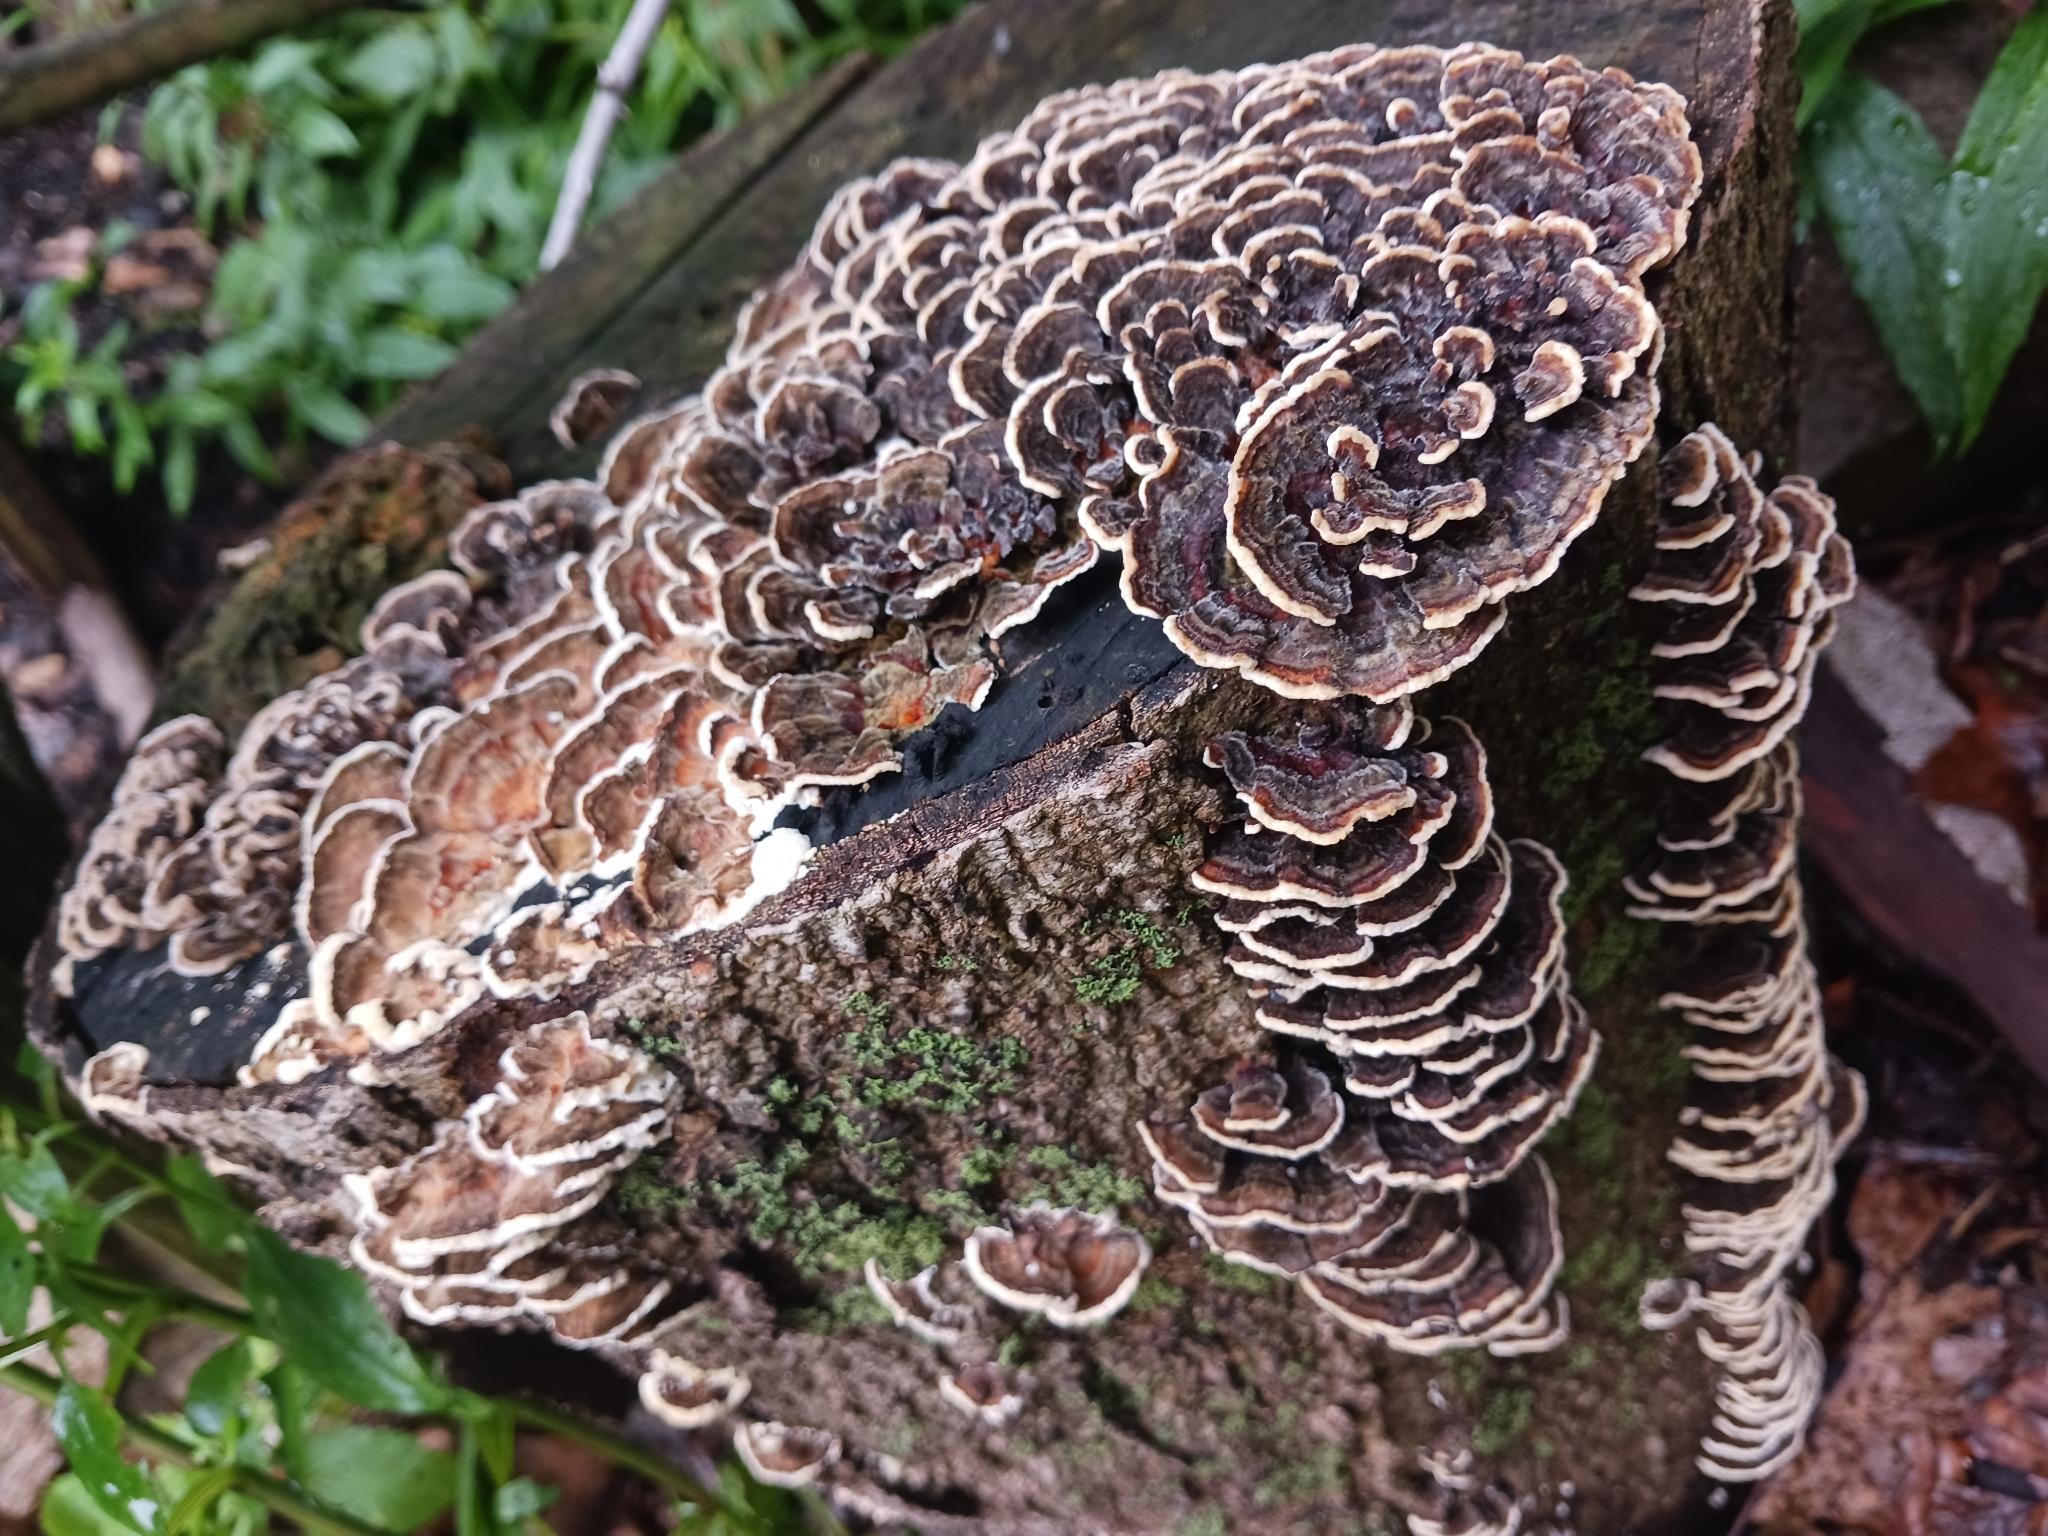
While you wait, experiment, explore, and spread your enthusiasm for mushrooms. Even if your logs don’t produce what you were hoping for, never lose hope. They might be hosting another local specimen that you can look forward to, like the turkey tail and wood ears that I just discovered in my garden this week.